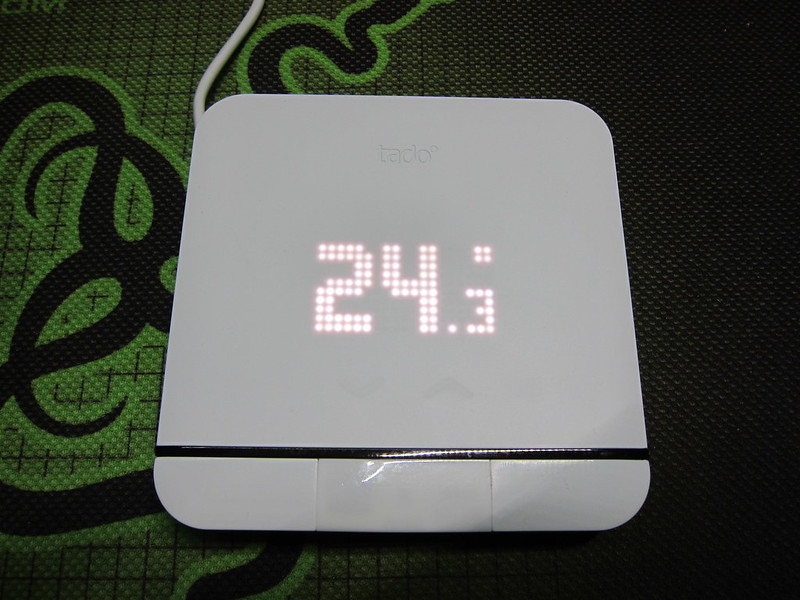
tado Smart AC Control – Unboxing & Setup
I was seeded with the tado Smart AC Control for review. Similar to my previous review of the Moto 360 (2nd Generation), I will split this review into two posts. The first post (this post) being the unboxing and setup and the second post will be about the experience using tado Smart AC Control.
In Singapore, tado Smart AC Control is being distributed by Aerahaus Smart and right now you can only get it online from Aerahaus Online Store. tado Smart AC Control is designed and made in Munich, Germany. If you bought the set from Aerahaus Online Store, it will come with a 2 years local warranty and support from Aerahaus Smart.
The retail price is S$319 with free shipping within Singapore.
History
tado Smart AC Control was born out of a Kickstarter project two years ago. It raised a total of US$204,287 out of their initial goal of US$150,000 from 1,601 backers.
The project started in May 2014, successfully funded in June 2014 and finished shipping to backers in July 2015.
About
tado Smart AC Control is similar to Ambi Climate. It allows you to control your air conditioner using your mobile device from anywhere in the world.
Personally, I think tado Smart AC Control is slightly better than Ambi Climate because of these three main reasons:
- It supports IFTTT and Apple HomeKit, so you can use it with Alexa on Amazon Echo and Siri on iOS.
- It has buttons and display on the device itself so you still can control your air conditioner using the device if you do not have your phone with you.
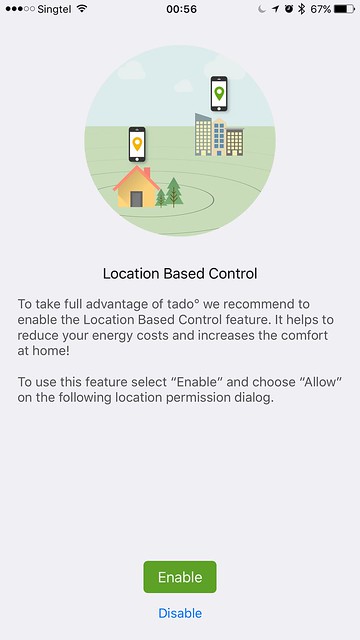
- Geo-fencing. You can set it to automatically switch on the air conditioner when you are reaching home.
Specifications
- Package Contents: tado Smart AC Control, power cord, installation guide
- Dimensions (H x W x D): 100mm x 100mm x 14mm
- Weight: 74g
- Product finish: front/white with one dark stripe, black/grew with cord wrap
- Power supply: AC 120/240V, International with Local 5v/1A USB power supply, cable length 1.85m
- Multi-language support in English, German, French, Italian, Spanish
- Wireless connectivity: Works on your home Wi-Fi network with any 802.11 b/g/n, 2.4GHz router
- Top-touch-panel Buttons: temperature up/down, AC mode and on/off, fan speed, swing
- Top-touch-panel Display: LED Matrix Cap-Touch Display 19×10
- API: iBeacon, IFTTT, Apple HomeKit ready
- Sensors: humidity, temperature, noise, luminosity, IR-temperature, motion detectors via PIR-Sensor, IR-RX & IR-TX
Unboxing
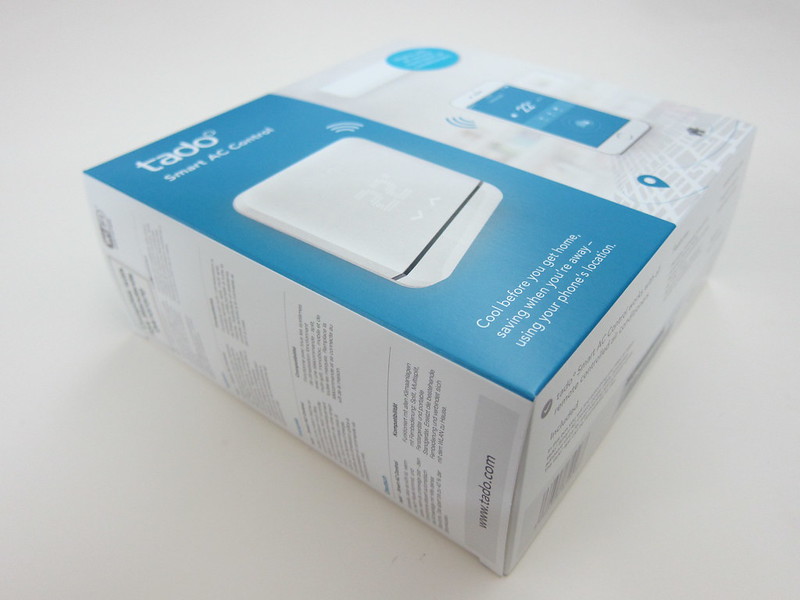
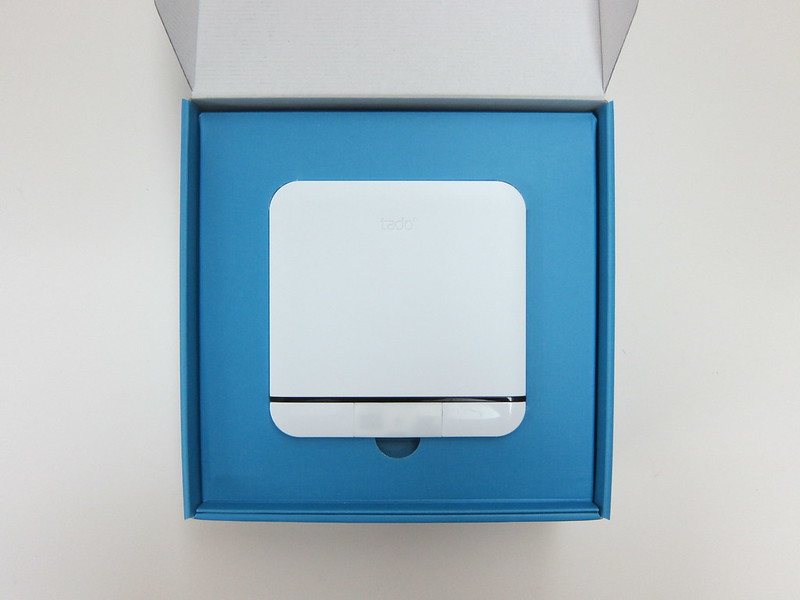
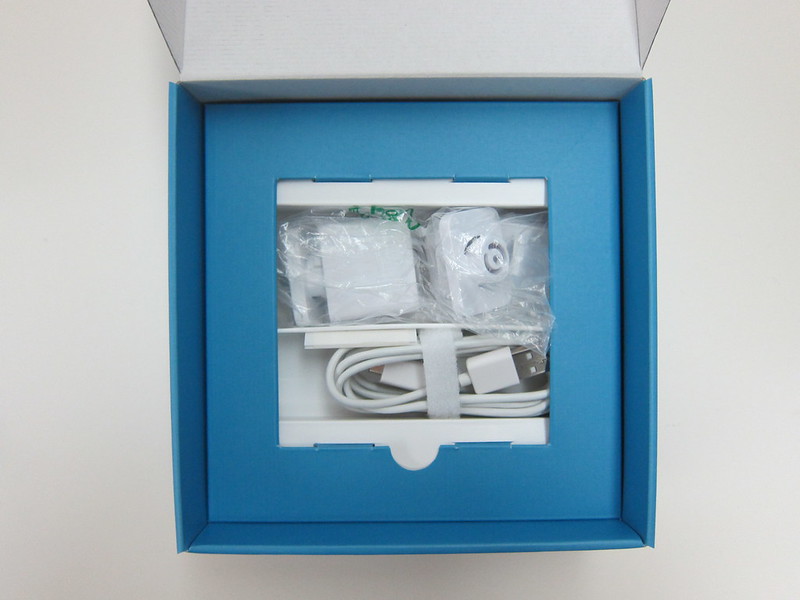
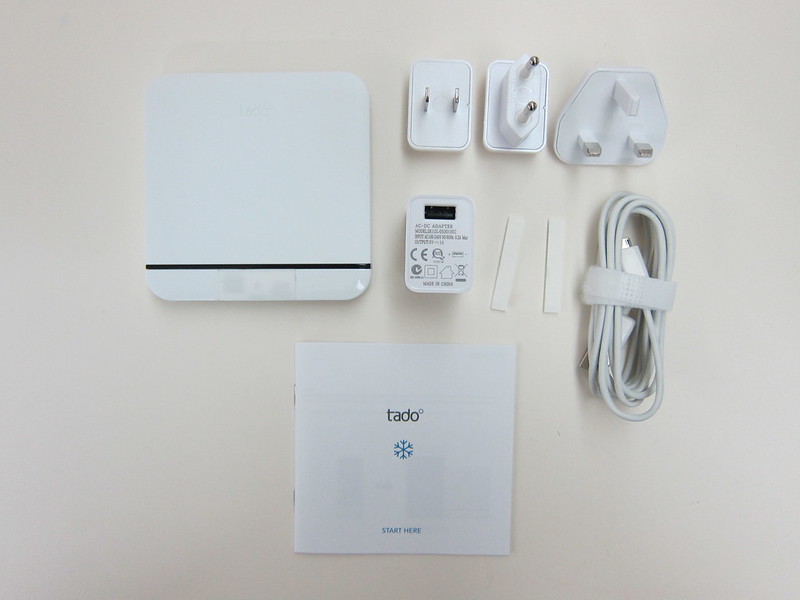
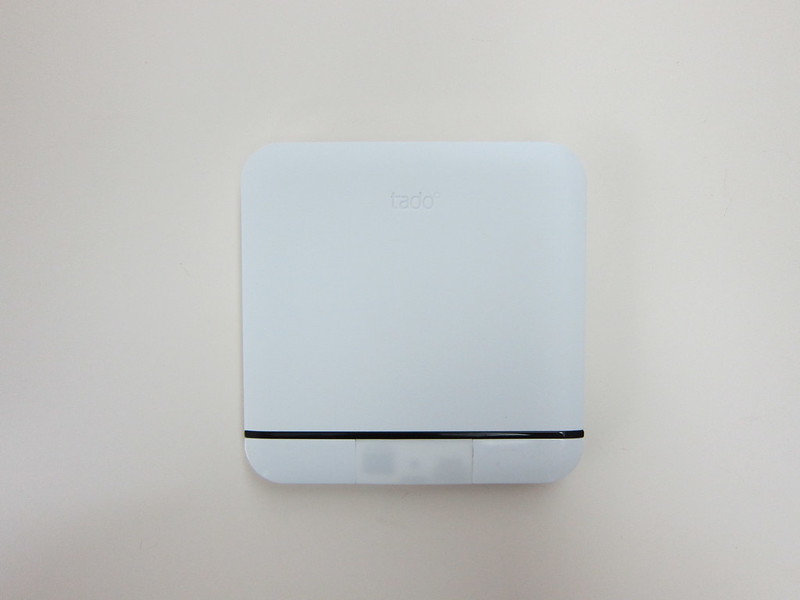
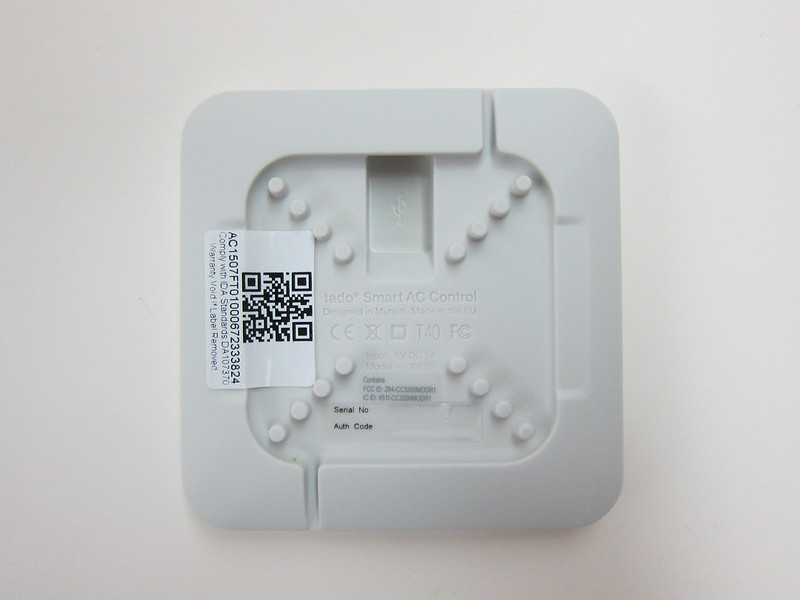
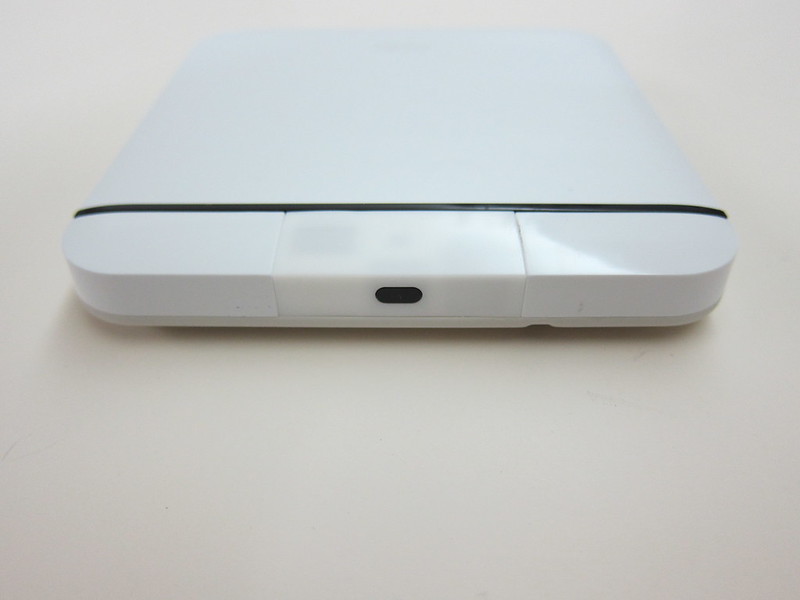
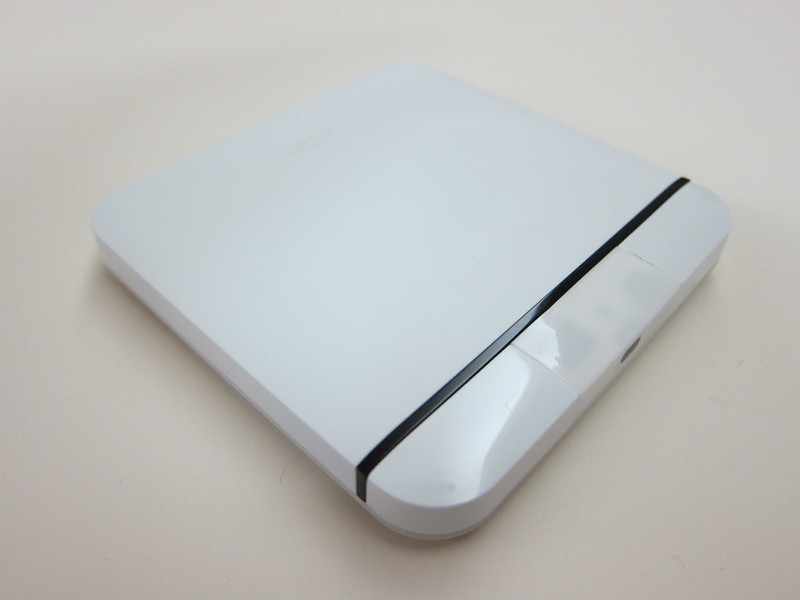
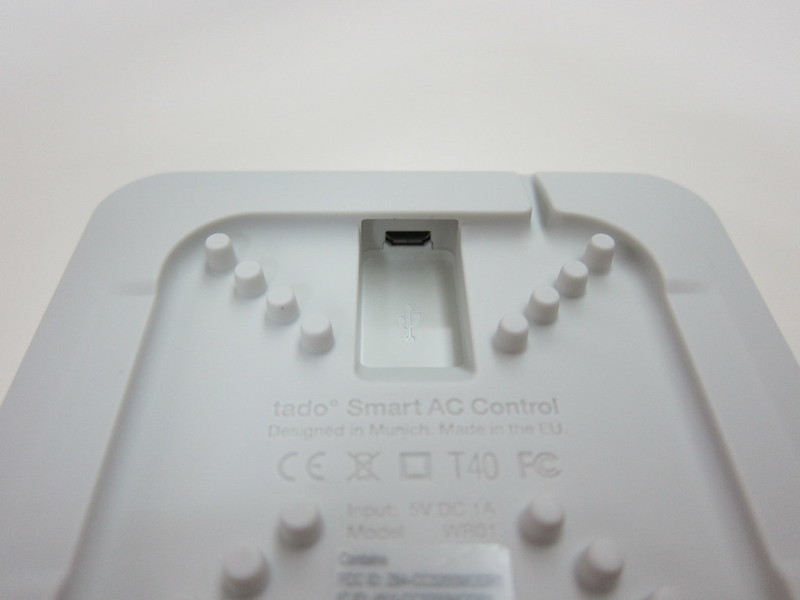
The default packaging includes the tado Smart AC Control, 5V/1A USB charger with three international plugs, Micro-USB cable, 2x adhesive strips and the instructions manual.
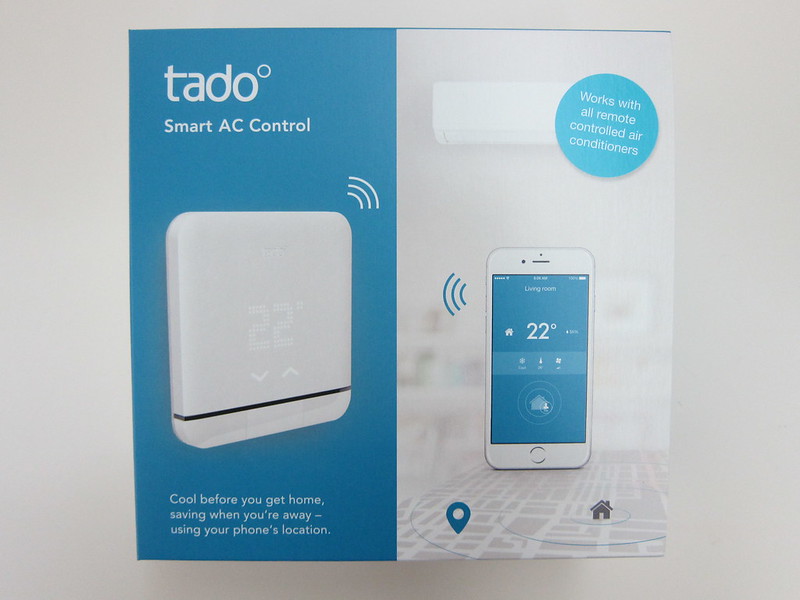
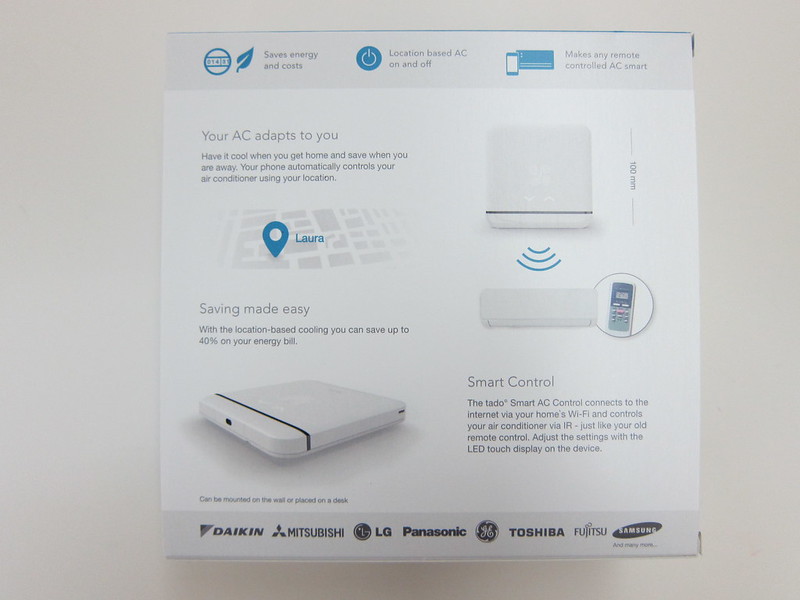
Setup
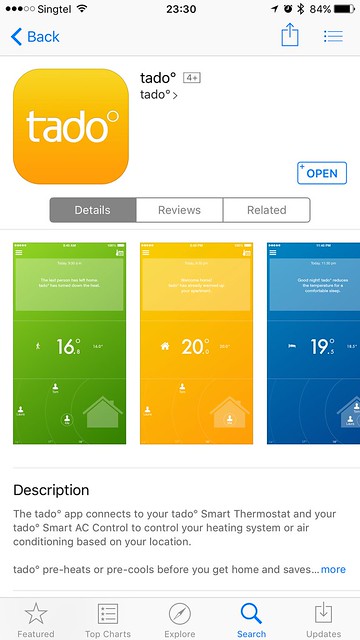
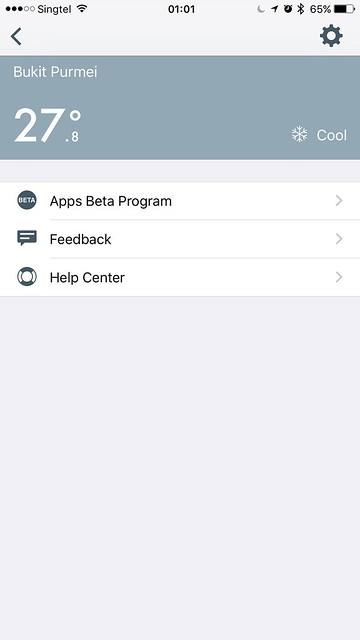
Similar to most IoT devices, you will need a mobile app to setup the tado Smart AC Control as well. The tado app is available on iOS, Android and Windows Phone.
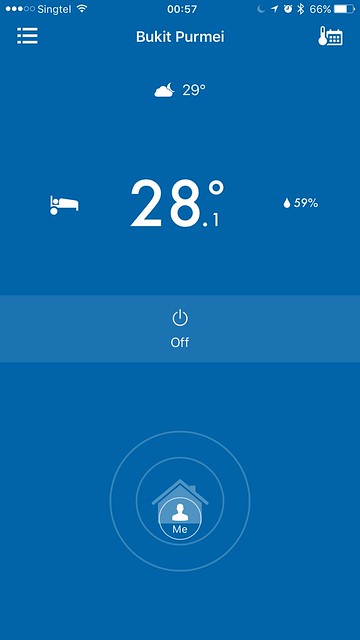
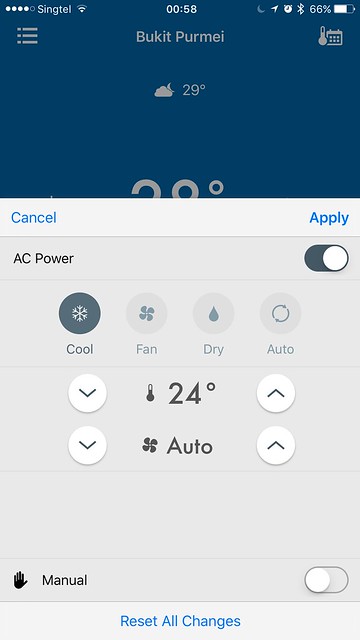
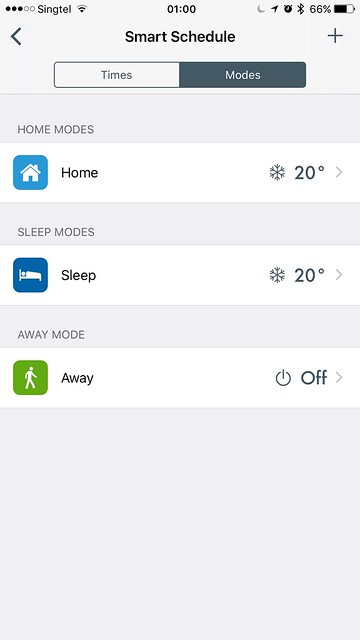
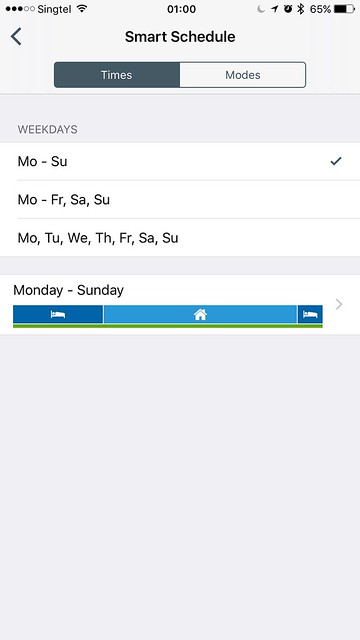
I am pretty impressed with the iOS app. The app is quite beautifully designed and it is responsive. Probably the best IoT app that I have used. The worst being Logitech Harmony iOS app which is horribly sluggish.
The first step is to create a tado account account. And when that is done, it will prompt you to create a “home”. Because it supports geo-fencing, you have to enter your home address that is associated with your “home”. You can have multiple homes and you can associate multiple tado Smart AC Controls to each home.
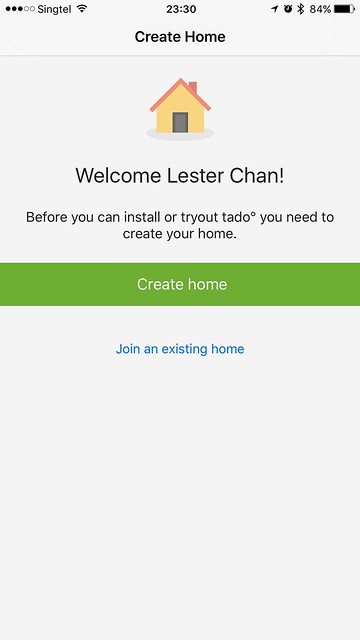
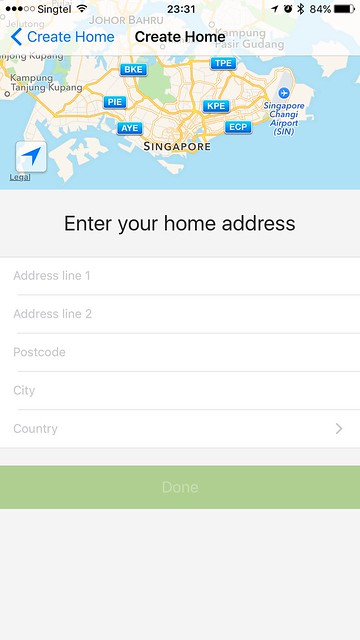
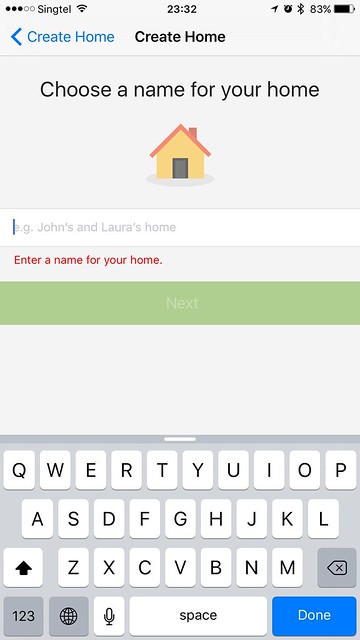
Once that is done, it will prompt you to connect to the Wi-Fi network created by device and have that device connect to your home Wi-Fi network.
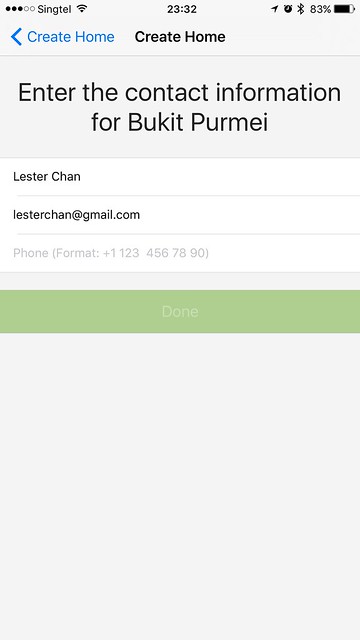
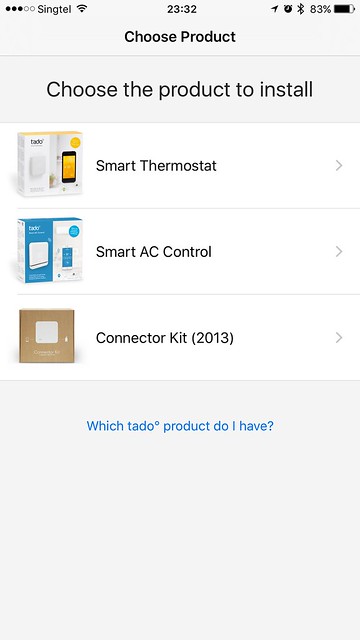
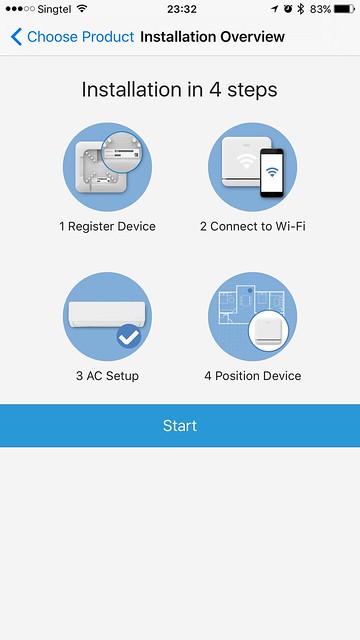
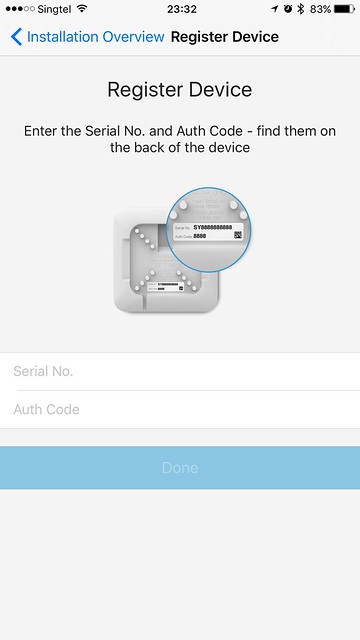
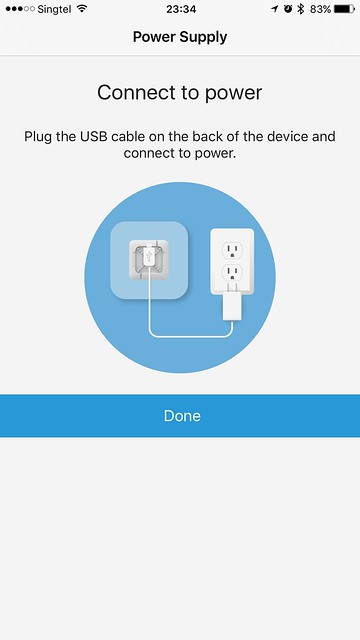
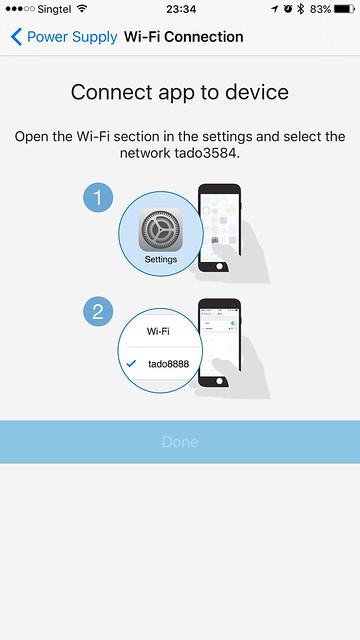
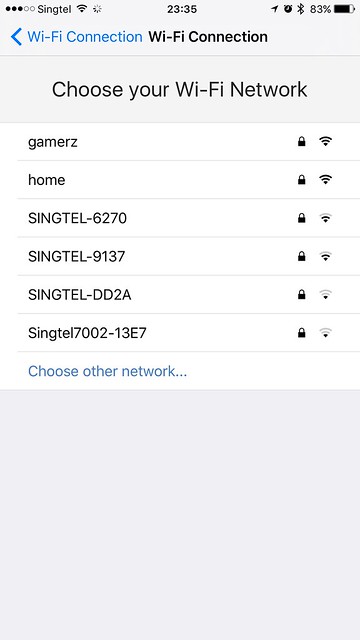
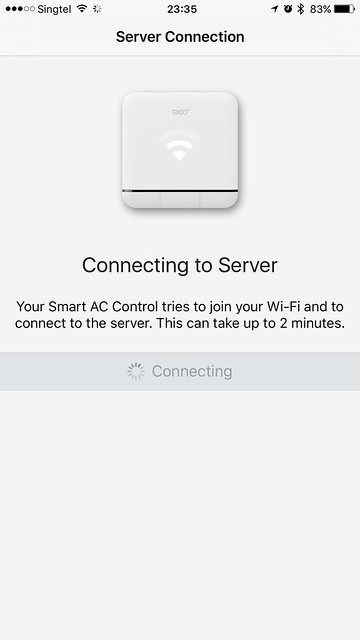
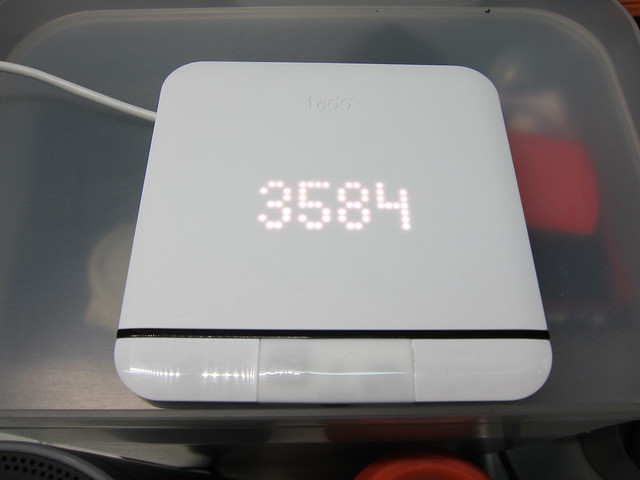
Once the device is connected to your home Wi-Fi network, it will immediately update its firmware and you do not have the option to skip it. The update takes almost 20 minutes which is kinda irritating and interrupt the setup process. I feel that the firmware update should only happen after everything have been setup.
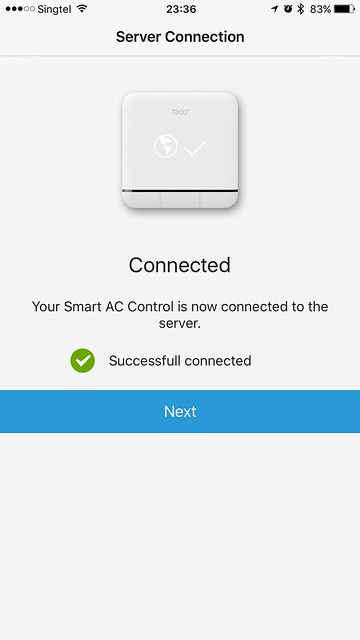
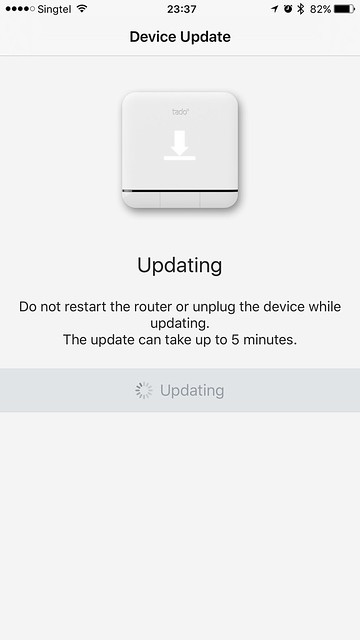
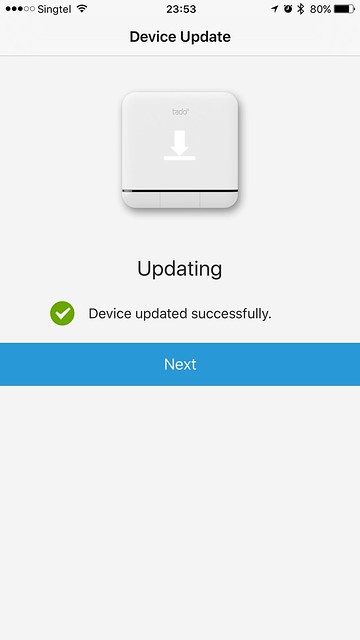
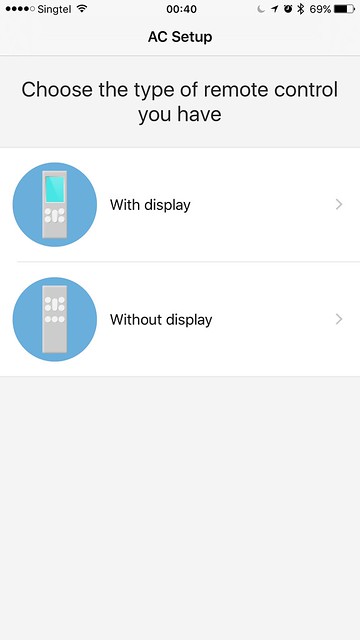
After the firmware update is done, it is time for you to setup the device so that it can control your air conditioner. The process is extremely long, probably the longest I have taken to setup an IoT device.
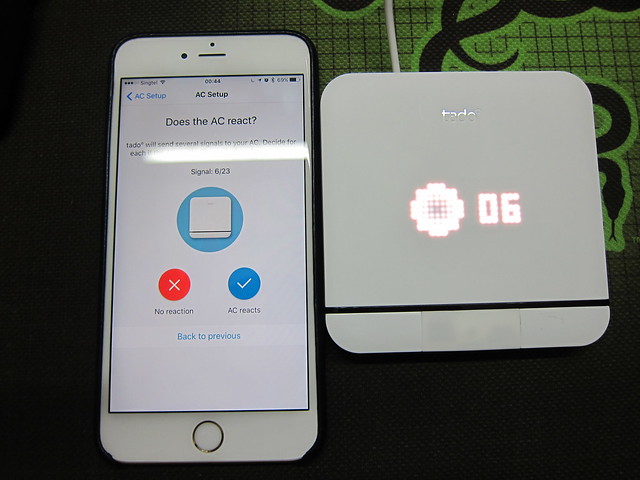
The reason being it doesn’t require the user to know which air conditioner remote control he/she is using. He/she just needs to know the brand of air conditioner and tado will try to guess it by sending a series of signals to the air conditioner. On the user’s end, he/she just have to tap on either “No reaction” or “AC reacts” when each signal is sent. For my case, out of 23 signals sent, only 3 signals have no reaction.
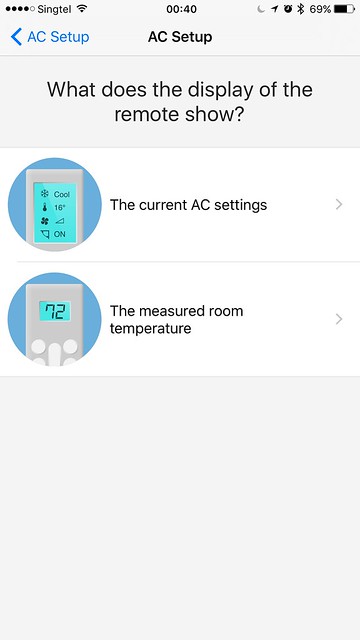
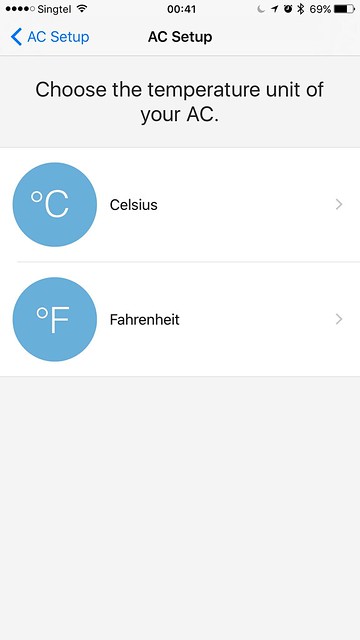
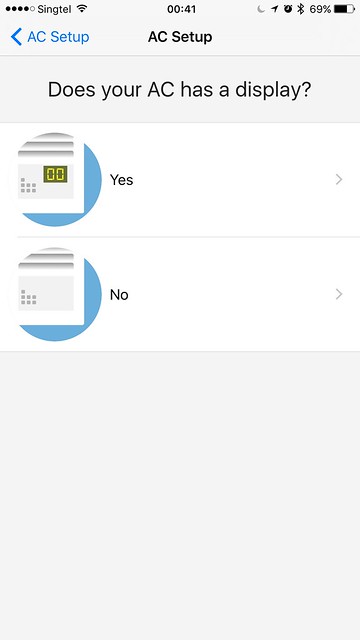
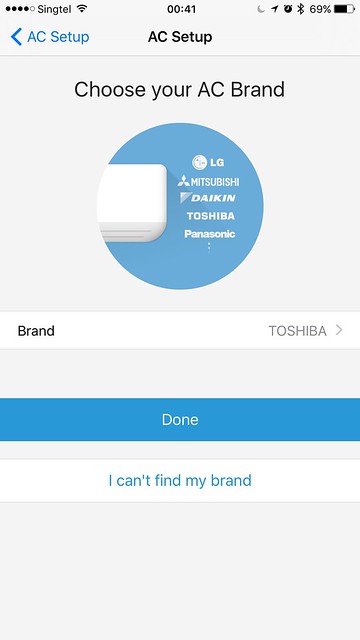
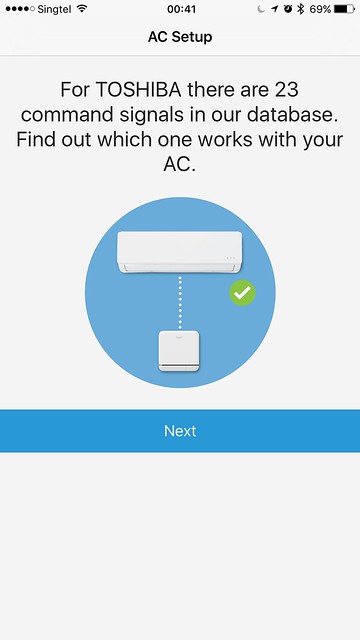
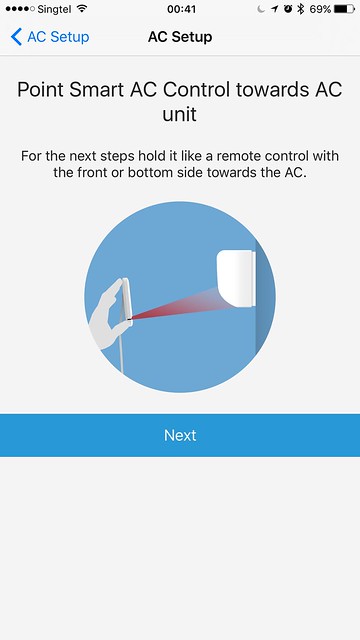
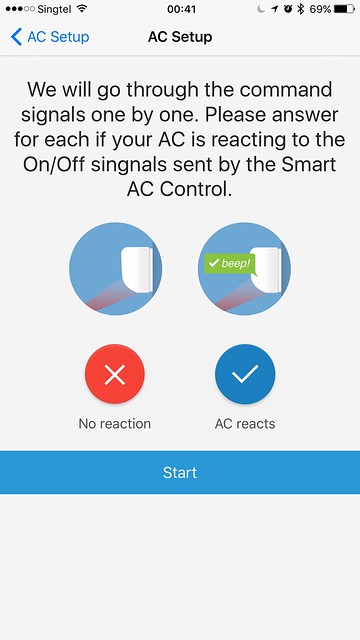
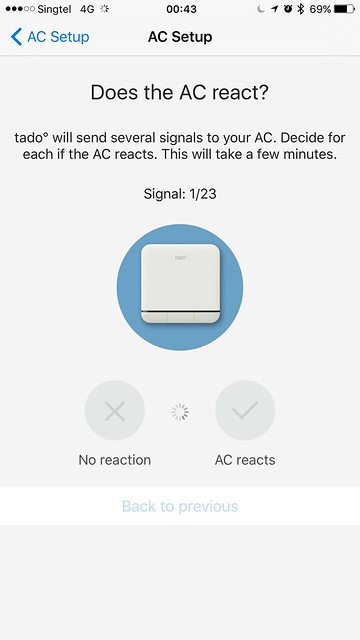
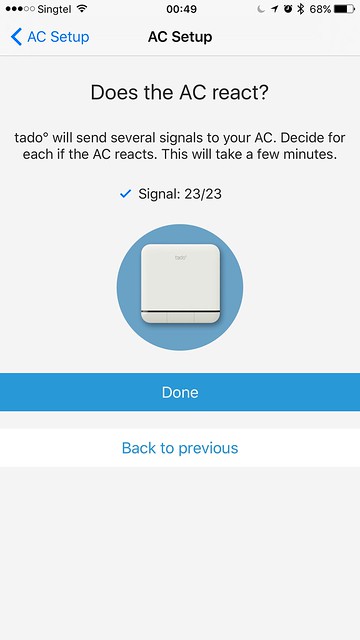
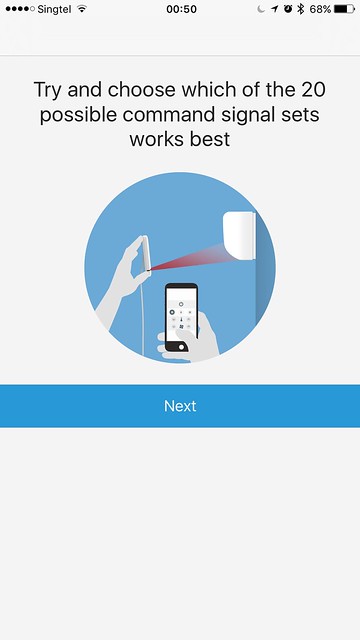
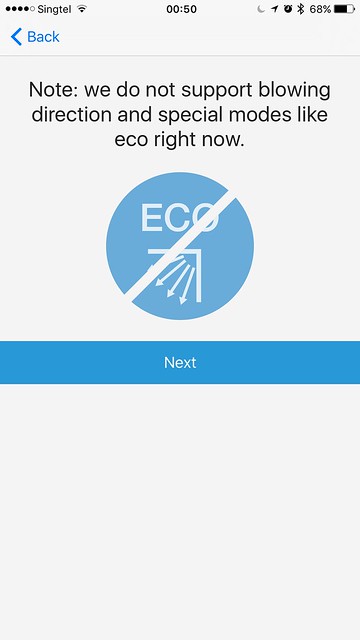
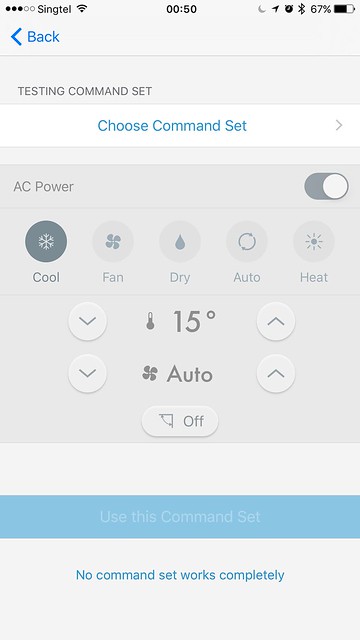
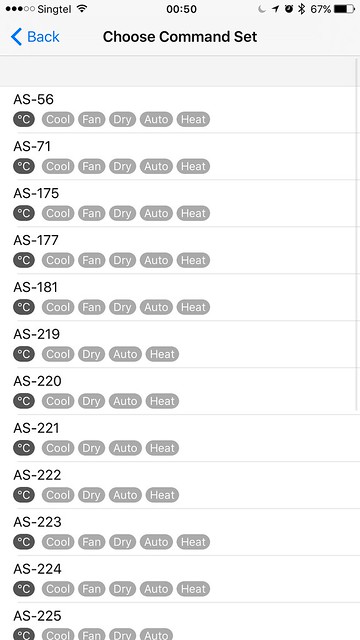
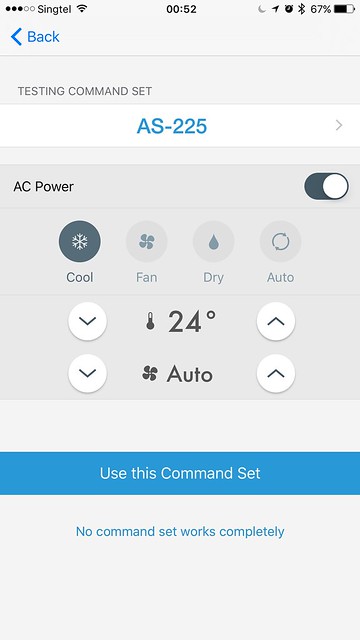
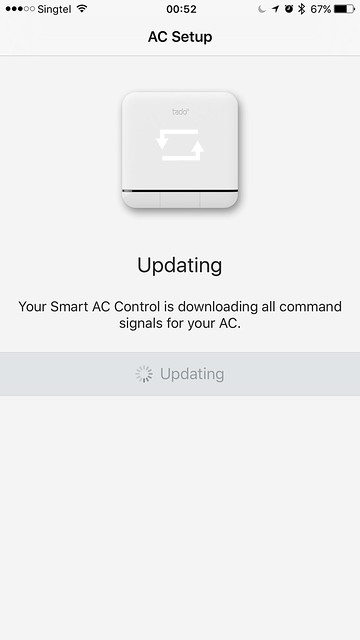
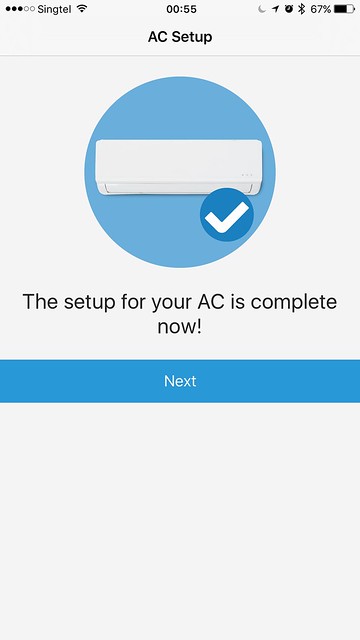
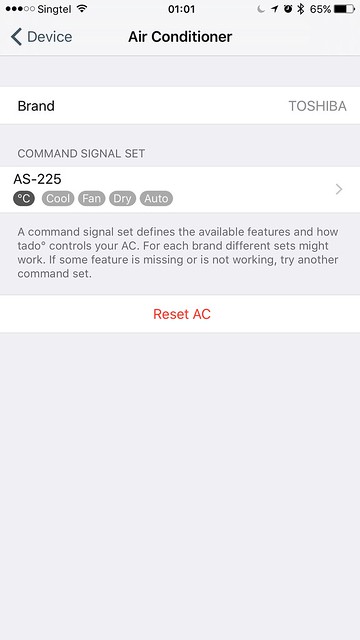
Once all the signals have been verified, you have to choose a signal command set that tado will use to control your air conditioner. I chose the set AS-225 because that is the only set that doesn’t have “heat” mode in it. Who needs “heat” mode in Singapore anyway.
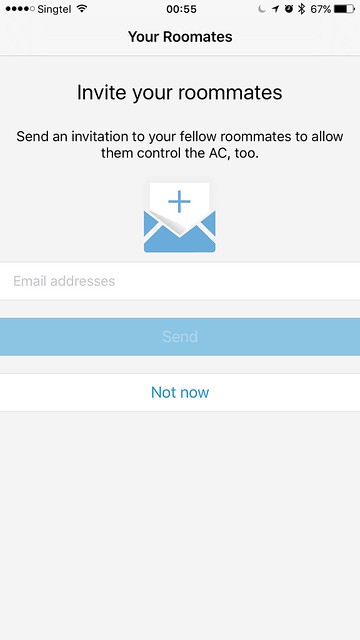
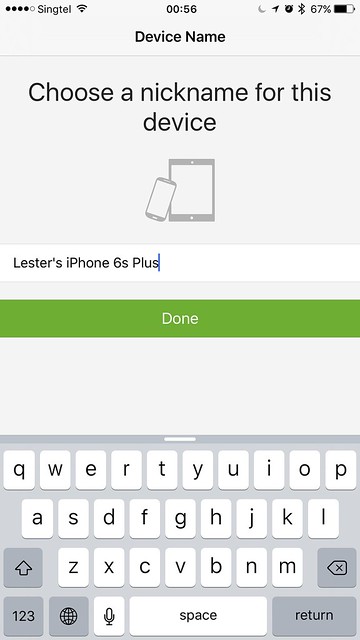
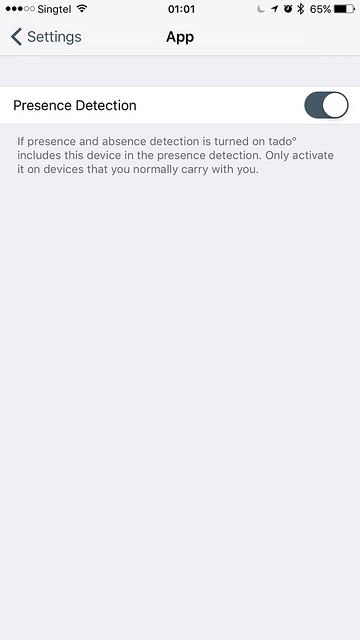
Only a few remaining settings are left which is the invitation to roommates to control your air conditioner, nickname for your mobile device and enable location based control.
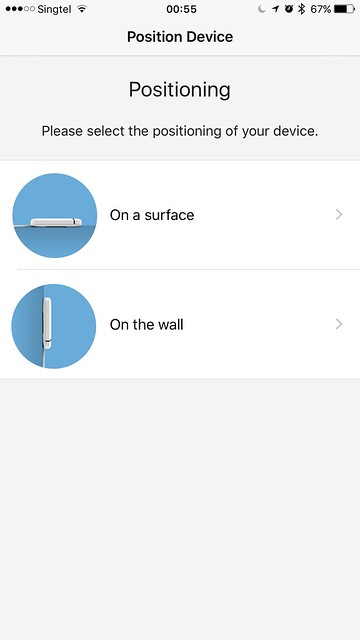
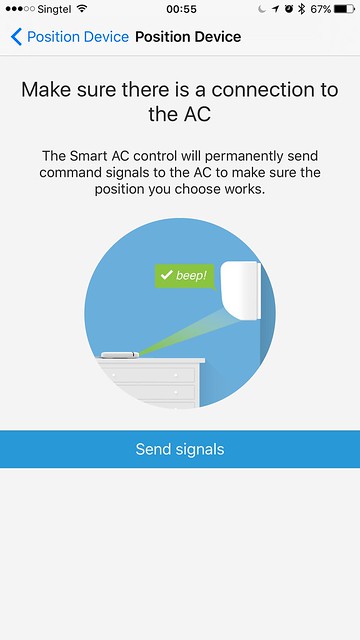
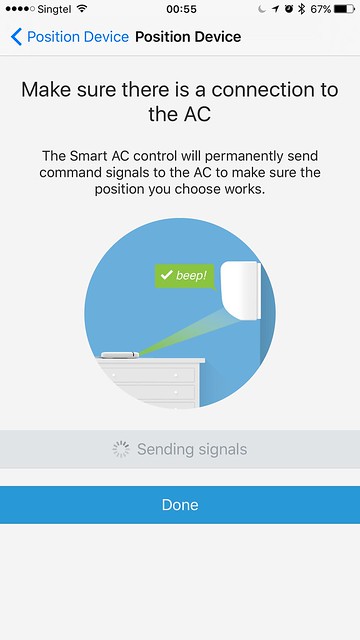
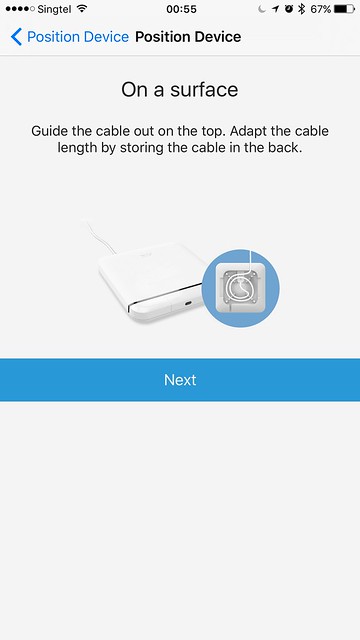
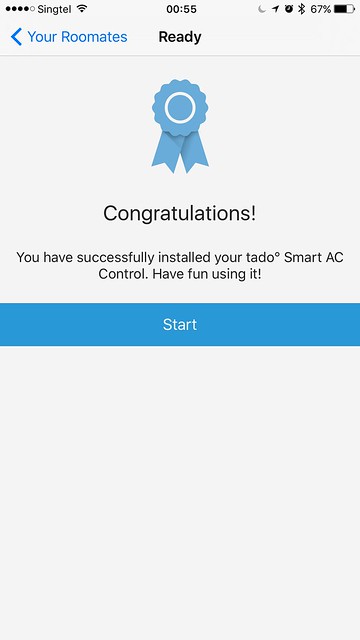
Finally, you are now ready to use the tado Smart AC Control. The whole setup easily takes more than 30 minutes, including the updating of the firmware.
Stay tuned for the next post about my experience with the tado Smart AC Control!
