I got my Timbuk2 bags when I was in San Francisco last December. One of my readers wrote in and asked a couple of questions regarding the Timbuk2 Q Backpack 2011. So I thought instead of replying him via email, I might as well share it with other readers whom might find it useful as well.


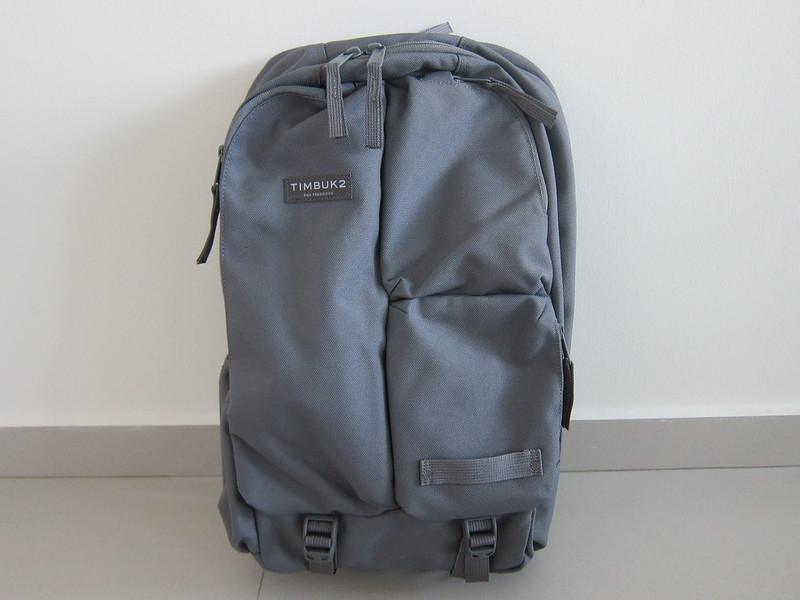
I bought the Timbuk2 Q Backpack 2011 (420d nylon gunmetal/blue/black) for US$99 which after 8.75% California after tax comes up to US$107.66 (S$134.18).
The thing I like about the Q Backpack 2011 is that it has a dedicated/separated side compartment for any 15″ laptops. So you do not need to remove your bag to access your laptop, just un-sling 1 end of the strap and you can access it.
It has a total of 5 compartments (including the laptop compartment) for different purposes.


The main compartment can fit a 1,000 pages textbook as well as a lunchbox.


The large front compartment is for you to store your gadgets like a 3G dongle, pen, USB flash drive, portable HDD, cables, etc. It also fits my Cocoon Grid-It of 10.5″ x 7.5″ in size.

The smaller front compartment is for easier access of your keys, wallet and perhaps your namecard holder.

Last but not least, the bottom compartment is meant for your laptop charger, since it is the heaviest item your will probably put in your bag, it makes sense to place it at the bottom so as not to squash your items!
")