I backed the Sonoff NSPanel Smart Scene Wall Switch when it was a Kickstarter project back in October 2021.
My pledge level is the “Flash Sale – NSPanel,” where I paid HK$389 (S$68) for the Sonoff NSPanel, and shipping to Singapore cost me HK$94 (S$17). So in total, I paid HK$483 (S$85).
This is probably the fastest Kickstarter project to be realized. I backed it on 11th October 2021, and it got fully funded on 10th November 2021. Sonoff raised a total of HK$2,640,508, surpassing the initial goal of HK$38,922 from 3,663 backers.
It got shipped to me on 6th December 2021. After 30 days in transit, I received it on 7th January 2022. I am so worried that SingPost will lose my parcel because one of my parcels got lost by them on the last week of December 2021.
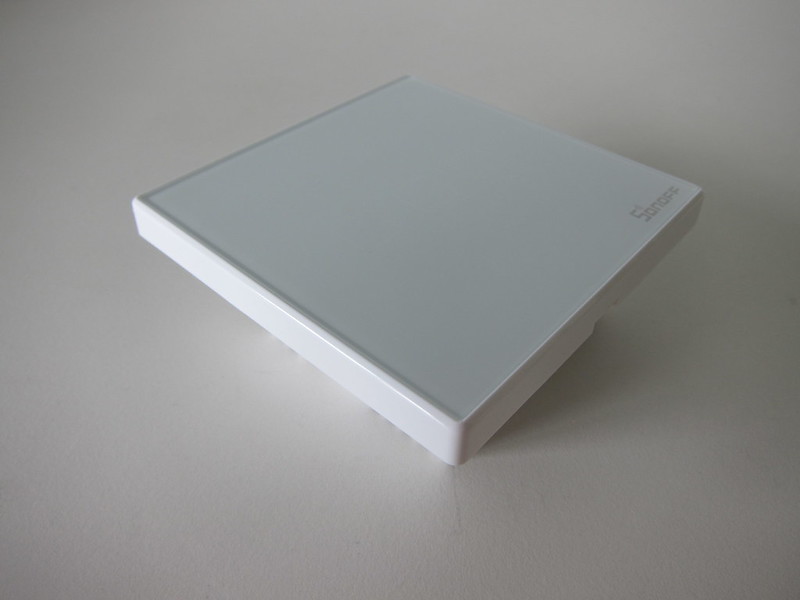
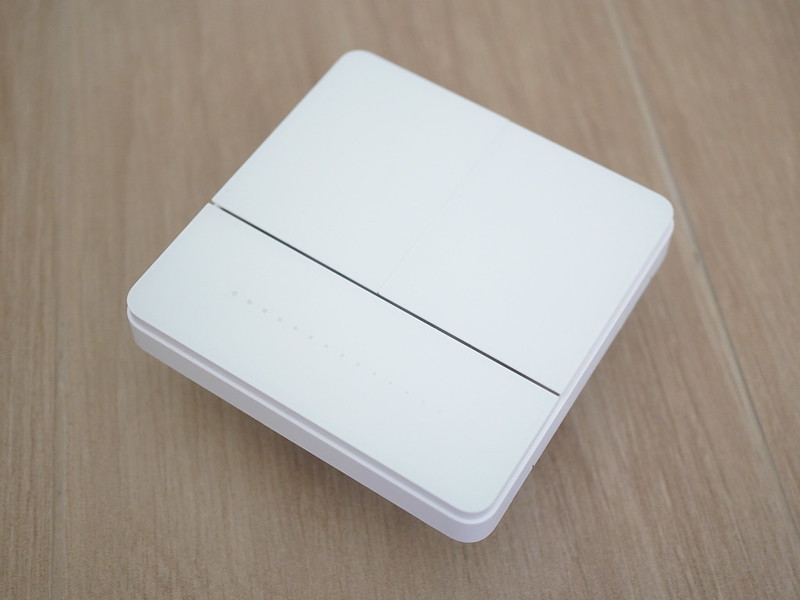
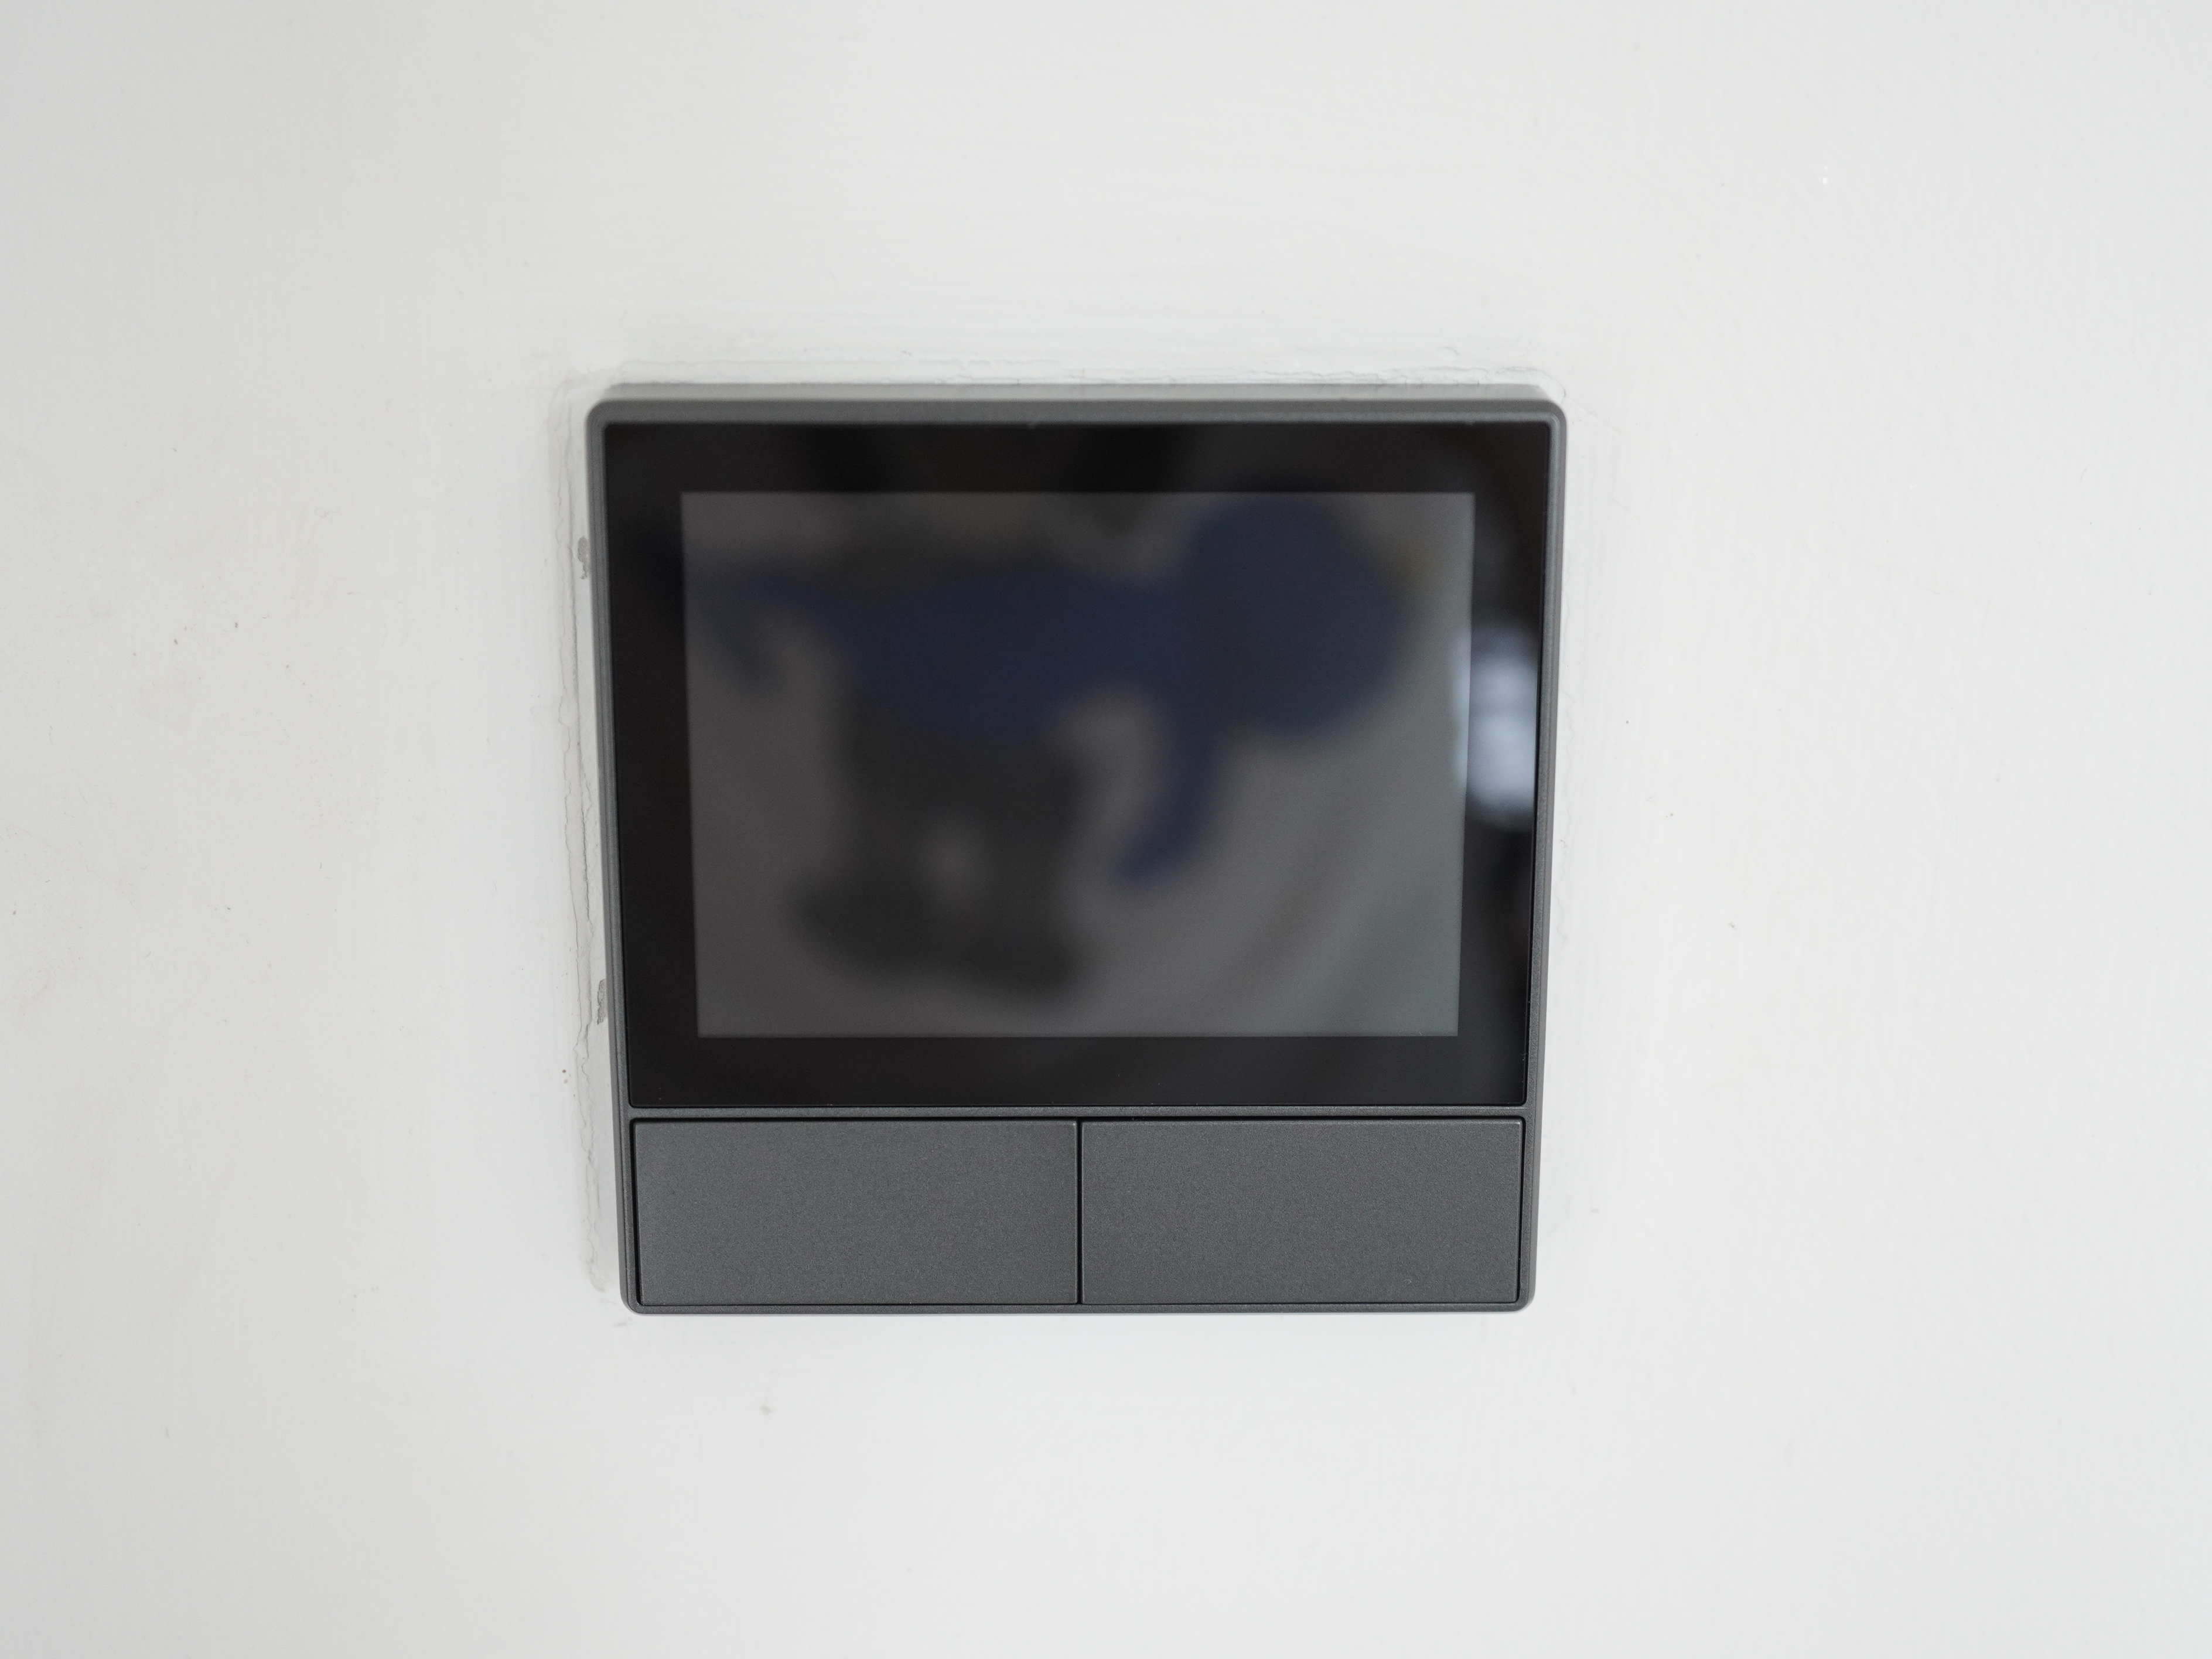
There are two variants of the Sonoff NSPanel, EU and US. In Singapore, ours is the EU version, and it measures 86 x 86 x 41.7 mm.
For wireless connections, Sonoff NSPanel supports 802.11 b/g/n 2.4 GHz wi-fi and Bluetooth Low Energy 4.2. I want to emphasize that the 5 GHz wi-fi band is not supported.
The screen of the Sonoff NSPanel is a 3.5″ capacitive touch panel that gives you a resolution of 480 x 320.
Unboxing
Similar to the Sonoff T2UK Wi-Fi Smart Wall Switch, the box contents are simple.


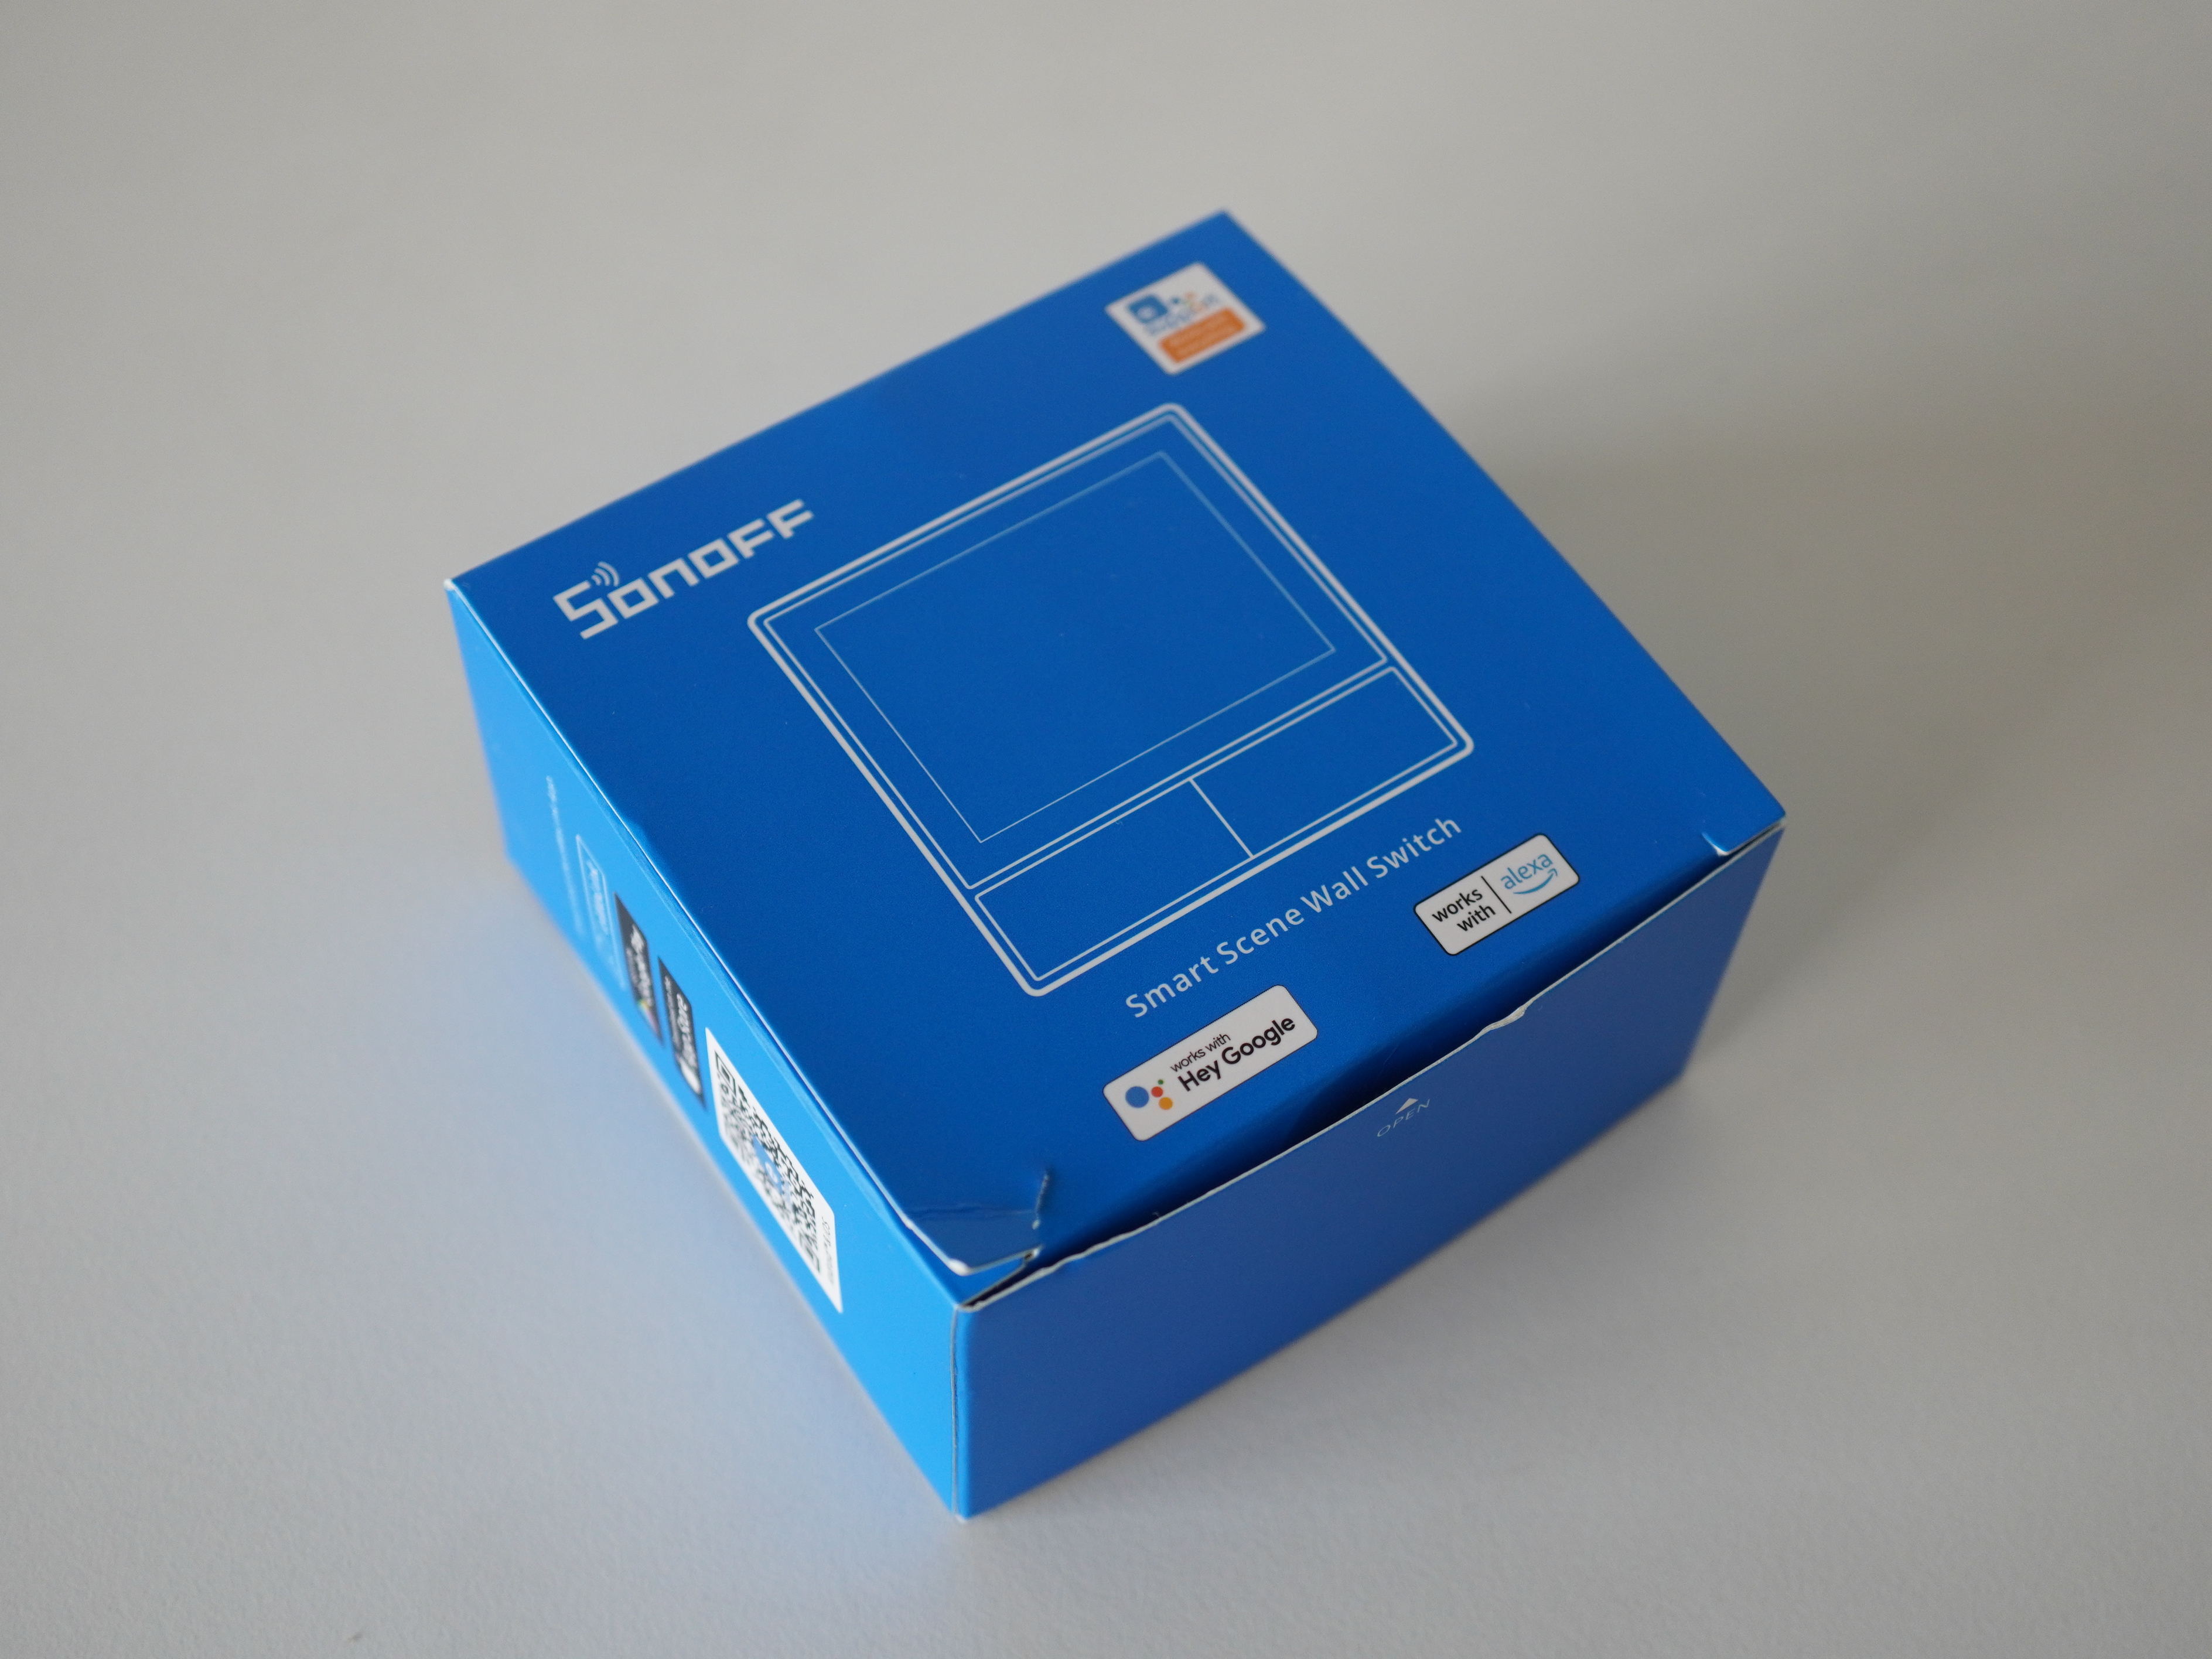
Just the Sonoff NSPanel itself, two screws, and an instruction manual.

The included two screws are pretty useless in Singapore because it doesn’t fit into the padding box of HDB’s light switches.
Installation
A neutral wire is required for the Sonoff NSPanel to work, and remember to turn off your circuit breaker before attempting to install.
Unlike the Sonoff T2UK, the Sonoff NSPanel comes with a removable slider covering all the inputs.
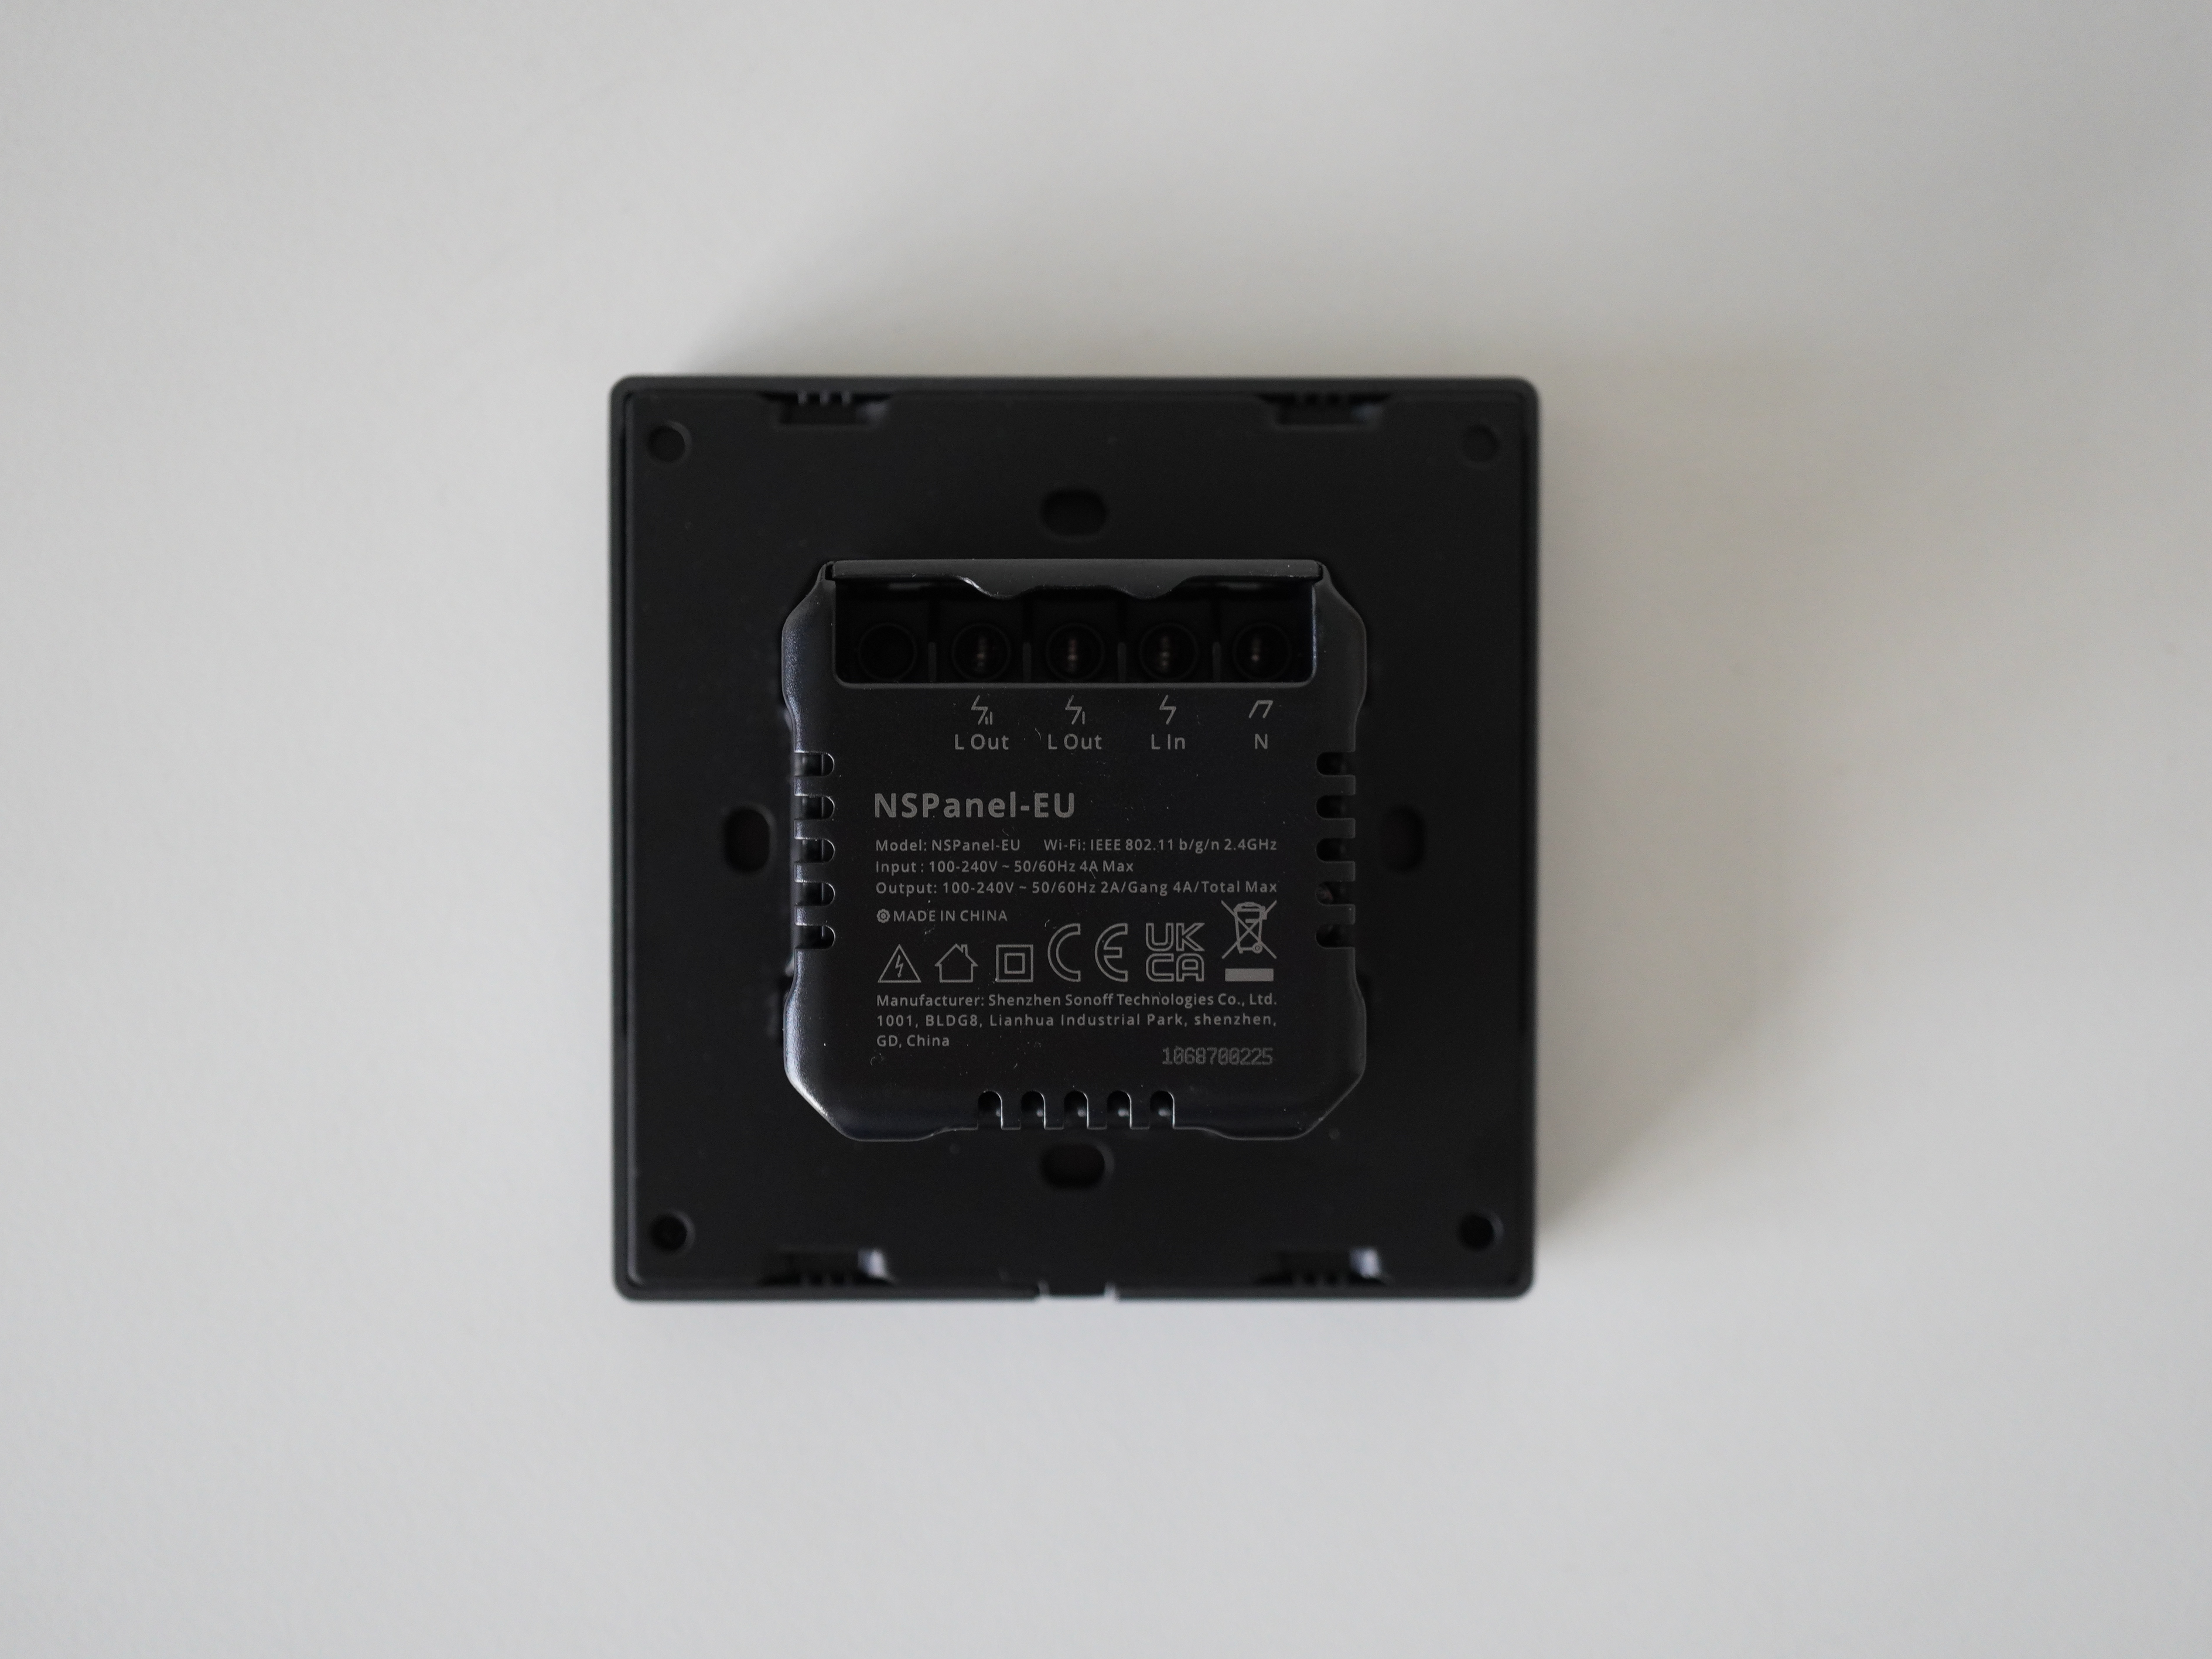
So you have to remove the cover before connecting all the wires to Sonoff NSPanel and slide it back when you are done with it.


Setup
The setup is even more straightforward than the Sonoff T2UK.
Using the eWeLink app (iOS | Android), click the “+” icon, and choose “Bluetooth Pairing”.

It should detect your Sonoff NSPanel almost immediately, and you can follow the instructions on the screen.


Using It
There are only two buttons on the Sonoff NSPanel, so technically, it is a 2-gang switch that allows you to control up to two lights.
Two main swipe gestures, swiping down will reveal the Sonoff NSPanel, which allows you to adjust the brightness level and the sleep mode.

Swiping left and right will rotate between the three screens of the Sonoff NSPanel.
The three screens of the Sonoff NSPanel, are the home screen, thermostat screen, and widgets screen. You can scroll through them indefinitely as they are looped. Surprisingly, the screen is quite responsive.
Homescreen contains the date and time, your location’s weather forecast, and the indoor temperature. Yes, the Sonoff NSPanel comes with a built-in thermometer.

Many complaints on Kickstarter and Sonoff Facebook Group say the built-in thermometer is inaccurate. However, I found it accurate after comparing the temperature readings from two other devices.
I don’t have any thermostat devices supported by eWeLink, so this screen is useless for me.

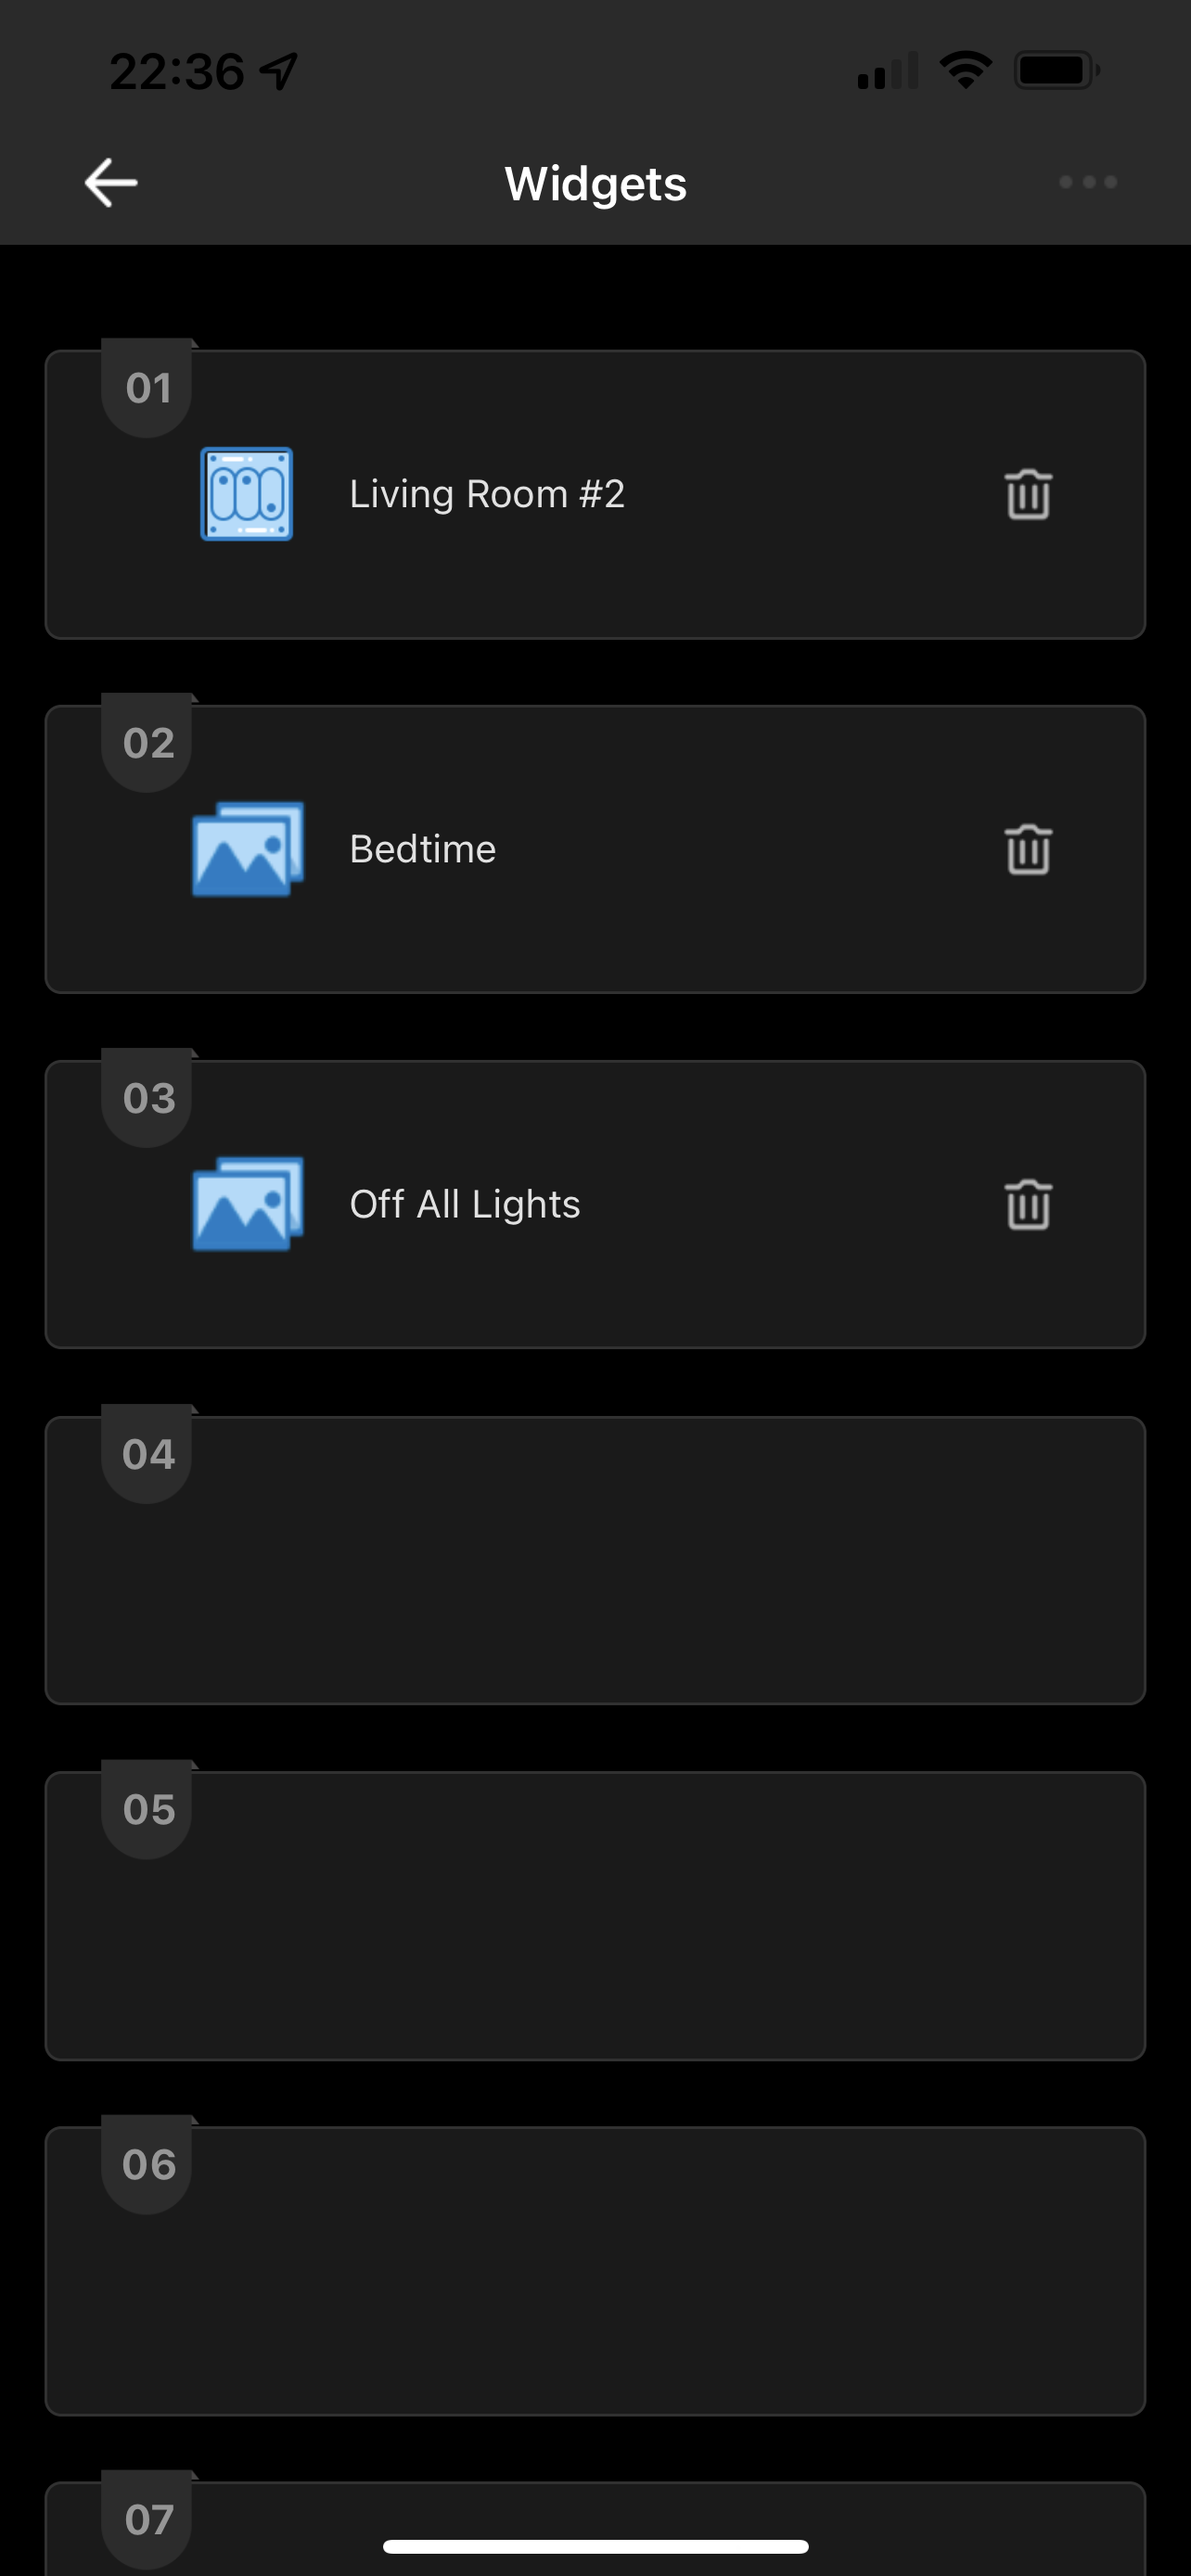
Widgets are probably the only useful things for me. You can create widgets to control a single Sonoff device or a group of Sonoff devices via scenes in the eWeLink app.
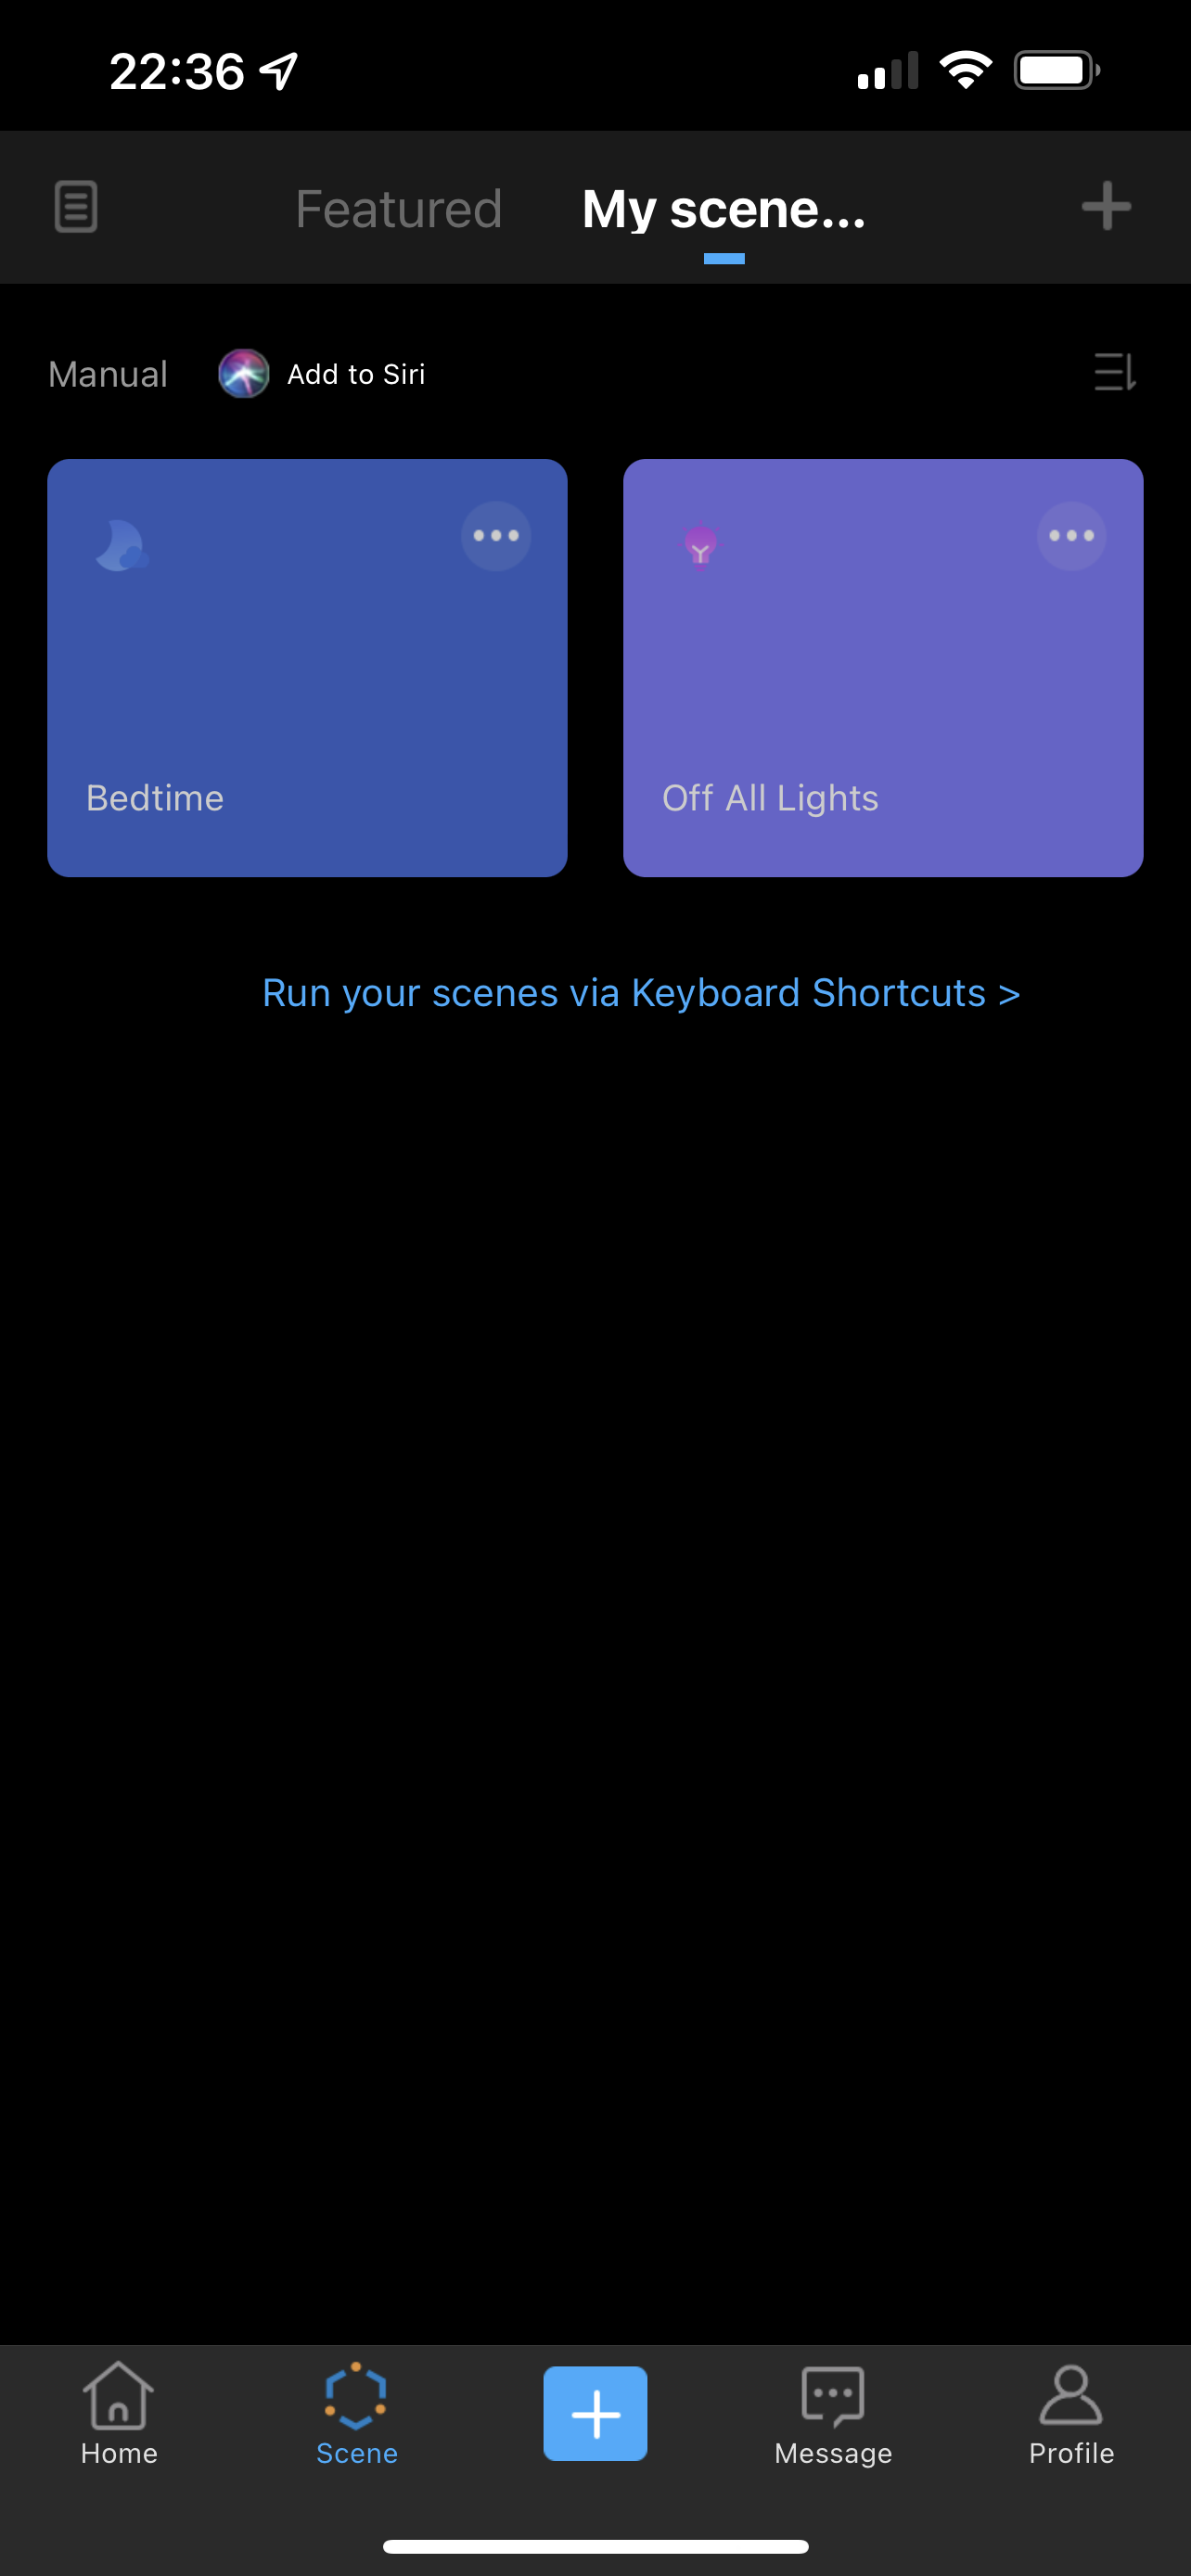

You can have a maximum of 8 widgets. I have three widgets right now. One to control my other living room light and two scenes. One scene to switch off all the lights and one to prepare the lights for bedtime (off all lights and on master bedroom light).
There is an energy-saving mode that can be scheduled in the eWeLink app. When the energy-saving mode is active, the screen will remain black unless the screen is being touched. Pressing any of the physical buttons of the Sonoff NSPanel in energy-saving mode will not turn the screen back on. This is useful if you are putting the Sonoff NSPanel in the bedroom.

Conclusion
I feel that the Sonoff NSPanel is in the early days and lack any wow features. To me, it is essentially a wall switch with a screen that allows you to control other switches and lights using the screen.
Given the price, I think it is acceptable. However, I think you can get more out of your old phones and iPad if you can mount them on your wall.
I also don’t foresee eWeLink as an open ecosystem, so developers cannot build apps for it. So the features of the Sonoff NSPanel might remain limited throughout its lifespan.