Philips hue Review
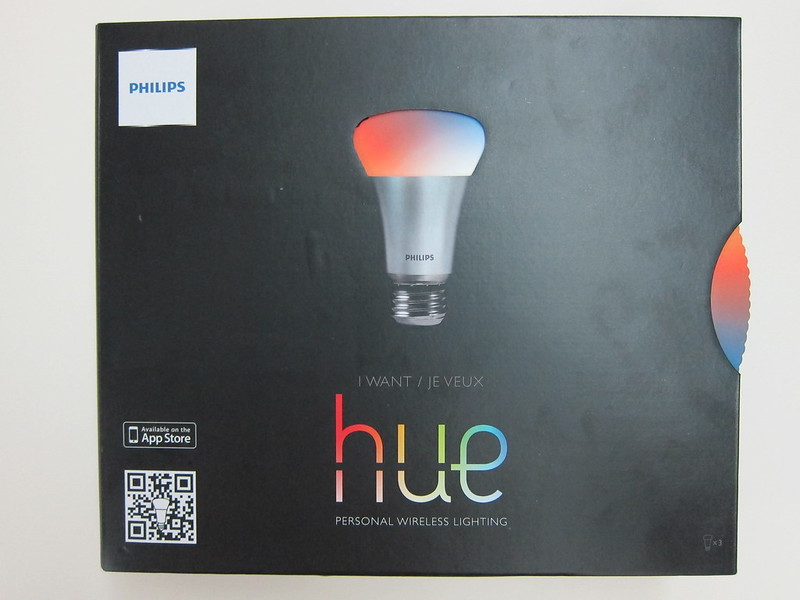
Philips hue enables you to control light wirelessly and create and personalize light with an app on your smartphone or tablet.
It was officially launched on the 13th November 2013 in Singapore and when it was first launch it was an Apple Online Store (Singapore) exclusive. But from 11th December 2013 onwards, you can get it at Apple Premium Resellers and Philips branded stores.
The Philips Hue Connected Bulb – Starter Pack is retailing for S$319 while the Philips Hue Connected Bulb is retailing for S$89.
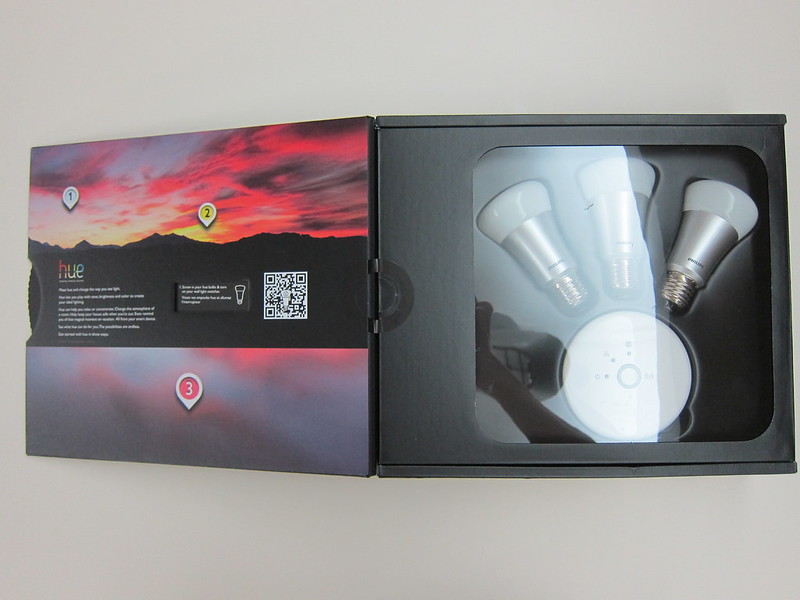
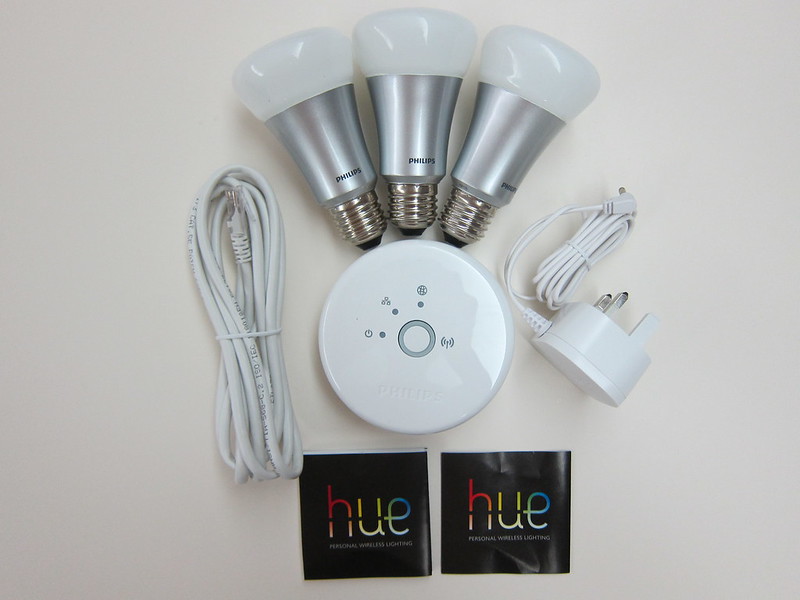
The starter pack cost S$319 and it includes the bridge and 3 bulbs. You can’t just get the bulb for S$89 if you are a first time user because you will need the bridge (the gateway for controlling lights) from the starter pack.
Each bridge allows you to connect up to 50 bulbs.
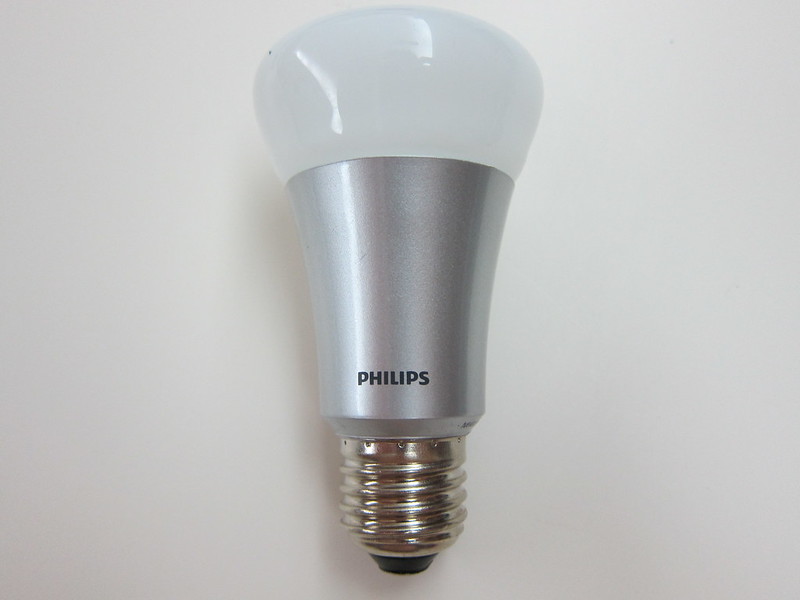
The hue bulb itself is pretty heavy, weighing at 129g while those normal light bulb weighs only about 33g. The bridge on the other hand is pretty light, weighing only 89g.
The underlying technology of Philips hue is basically ZigBee Light Link.
ZigBee Light Link gives the lighting industry a global standard for interoperable and very easy-to-use consumer lighting and control products. It allows consumers to gain wireless control over all their LED fixtures, light bulbs, timers, remotes and switches. Products using this standard will let consumers change lighting remotely to reflect ambiance, task or season, all while managing energy use and making their homes greener. You can learn more about this standard by watching our webinar “Exploring New Lighting Opportunities with ZigBee Light Link.”
Leading home lighting solution manufacturers who contributed their expertise to the development of ZigBee Light Link, including GE, Greenwave, OSRAM Sylvania and Philips.
Features
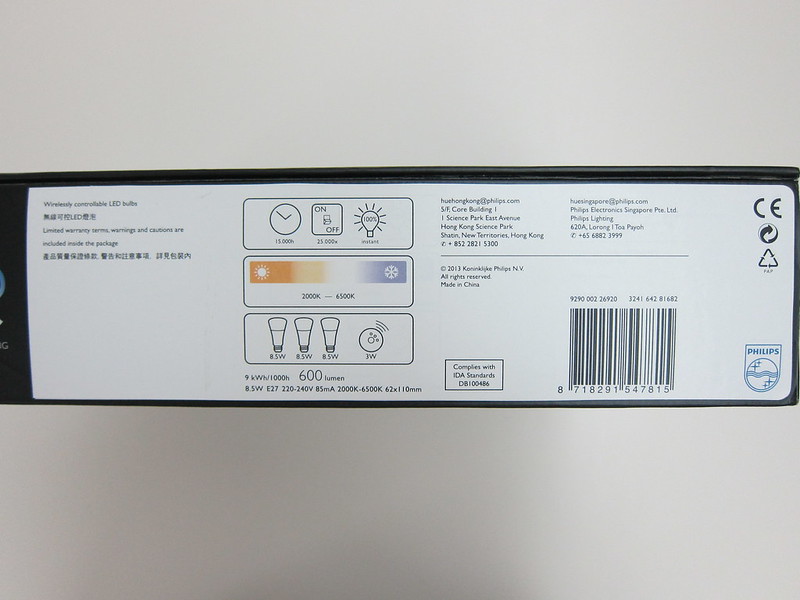
- Tunable white & RGB retrofit LED bulb
- Connected by RF Zigbee LightLink
- Perfect dim-ability via RF
- Tunable white
- Color control
- Smartphone control
- High CRI (color rendering index)
- 600 lumen light output (50W equivalent)
- 80% energy saving
- Available in E27 light fittings
- Lifespan of 15,000 hours
- Software upgradeable over Internet
Setup
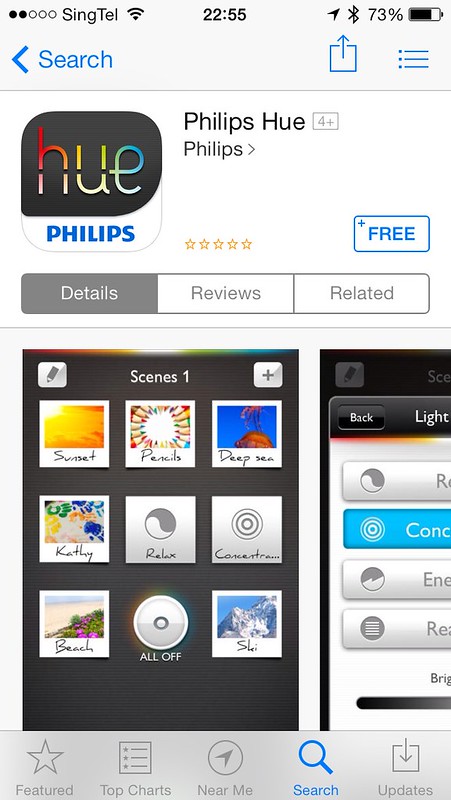
Before you start, you will need to download the Philips hue app either on the App Store if you are using an iOS device or Google Play if you are using an Android device.
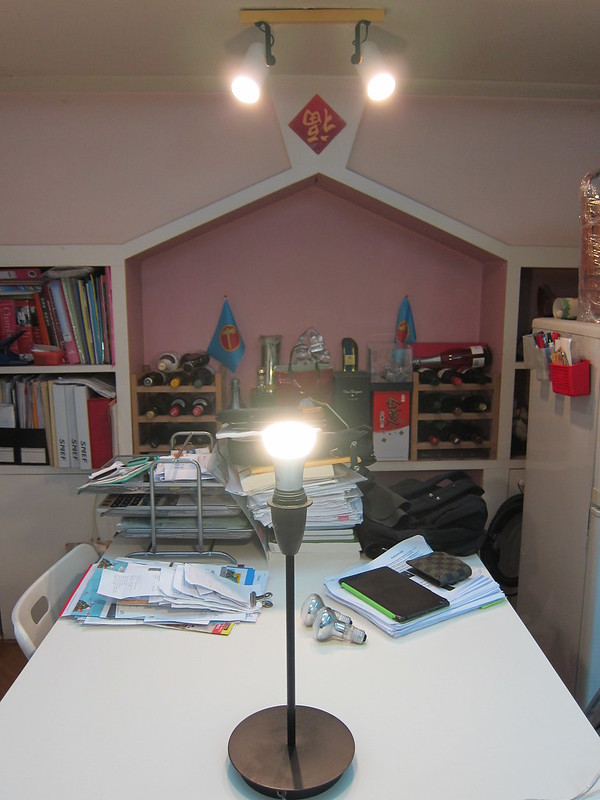
Once that is done, connect the bridge to your router using the provided LAN cable and fix the bulbs in the rooms that you wanted.
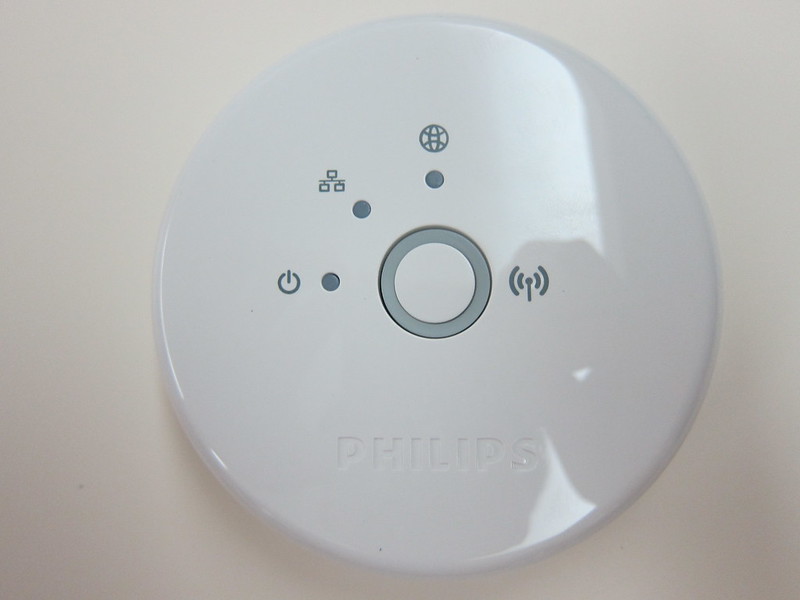
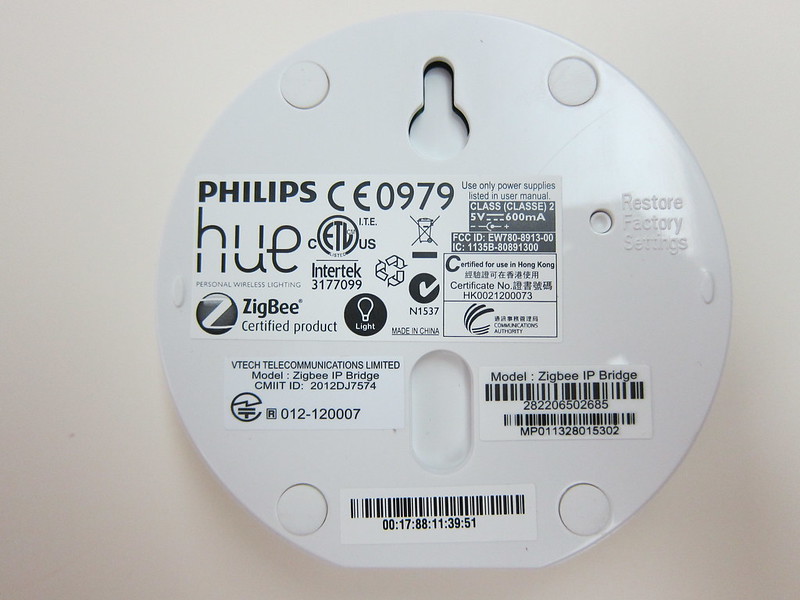
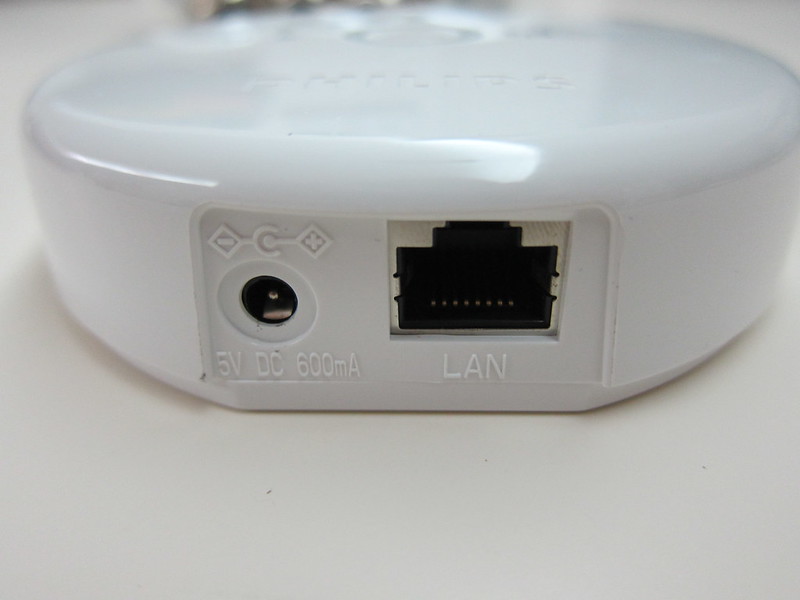
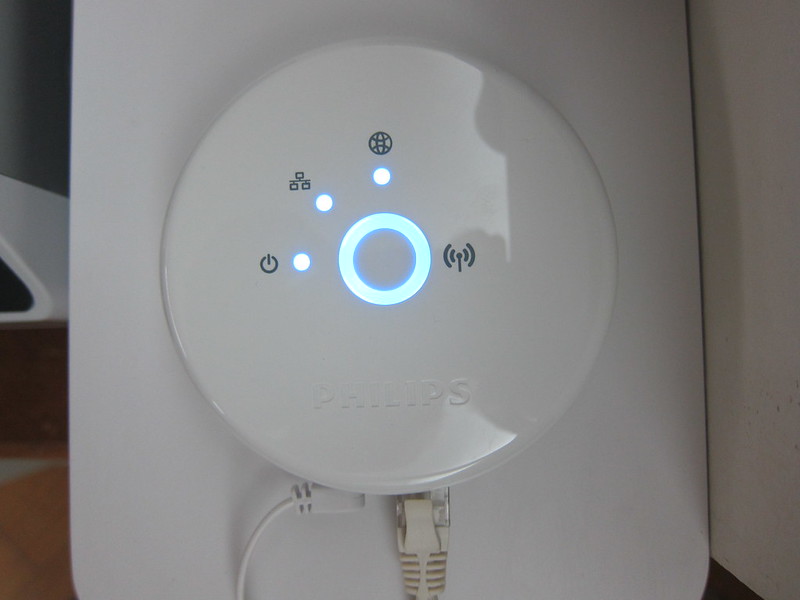
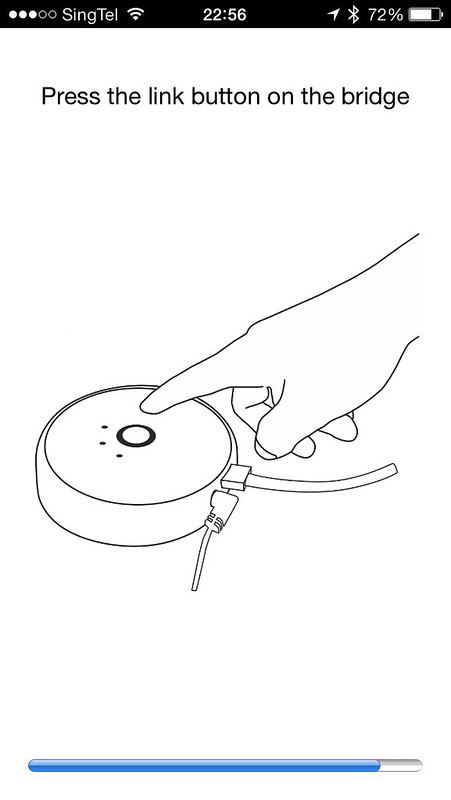
Launch the Philips hue app and after that press the link button on the bridge. Within a minute the app should be able to detect the bridge and show you all the connected bulbs.
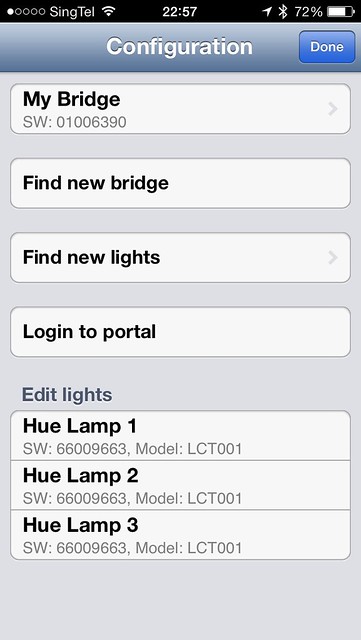
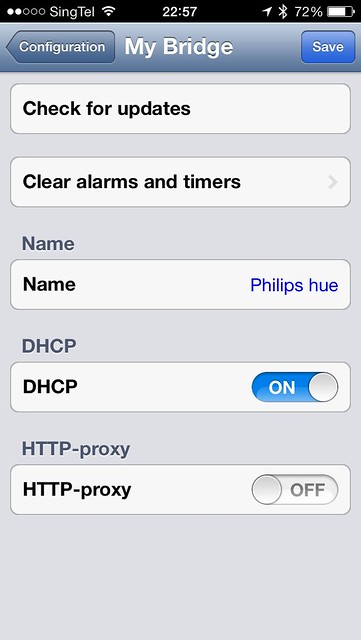
By default the bulbs are named “Hue Lamp 1”, “Hue Lamp 2” and “Hue Lamp 3”. You can rename them (in fact you better do) under the configuration. When you tap on the bulb name to rename them, the bulb will pulsate letting you know which bulb are you renaming.
Scenes
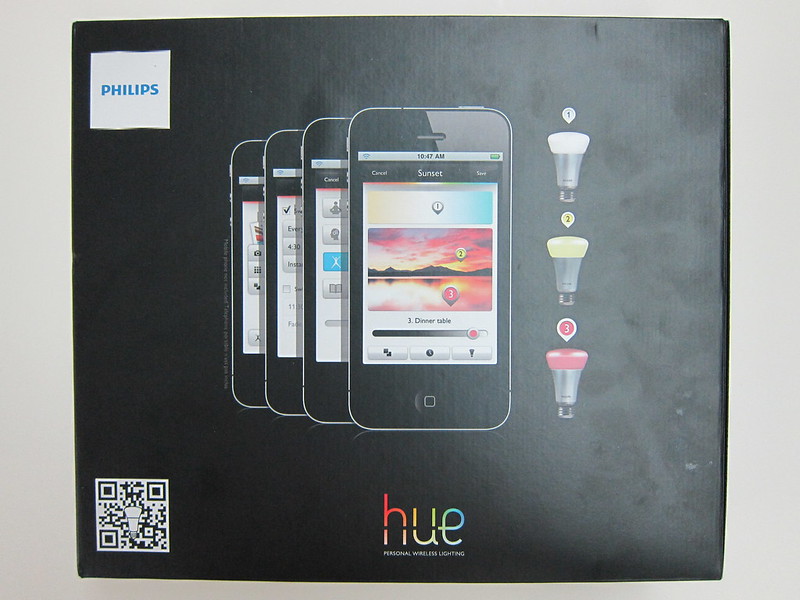
Scenes are basically a combination of colored lightings within your house to give you the ambience and mood. For example, for a sunset scene, the light color choices would be red, orange and yellow.
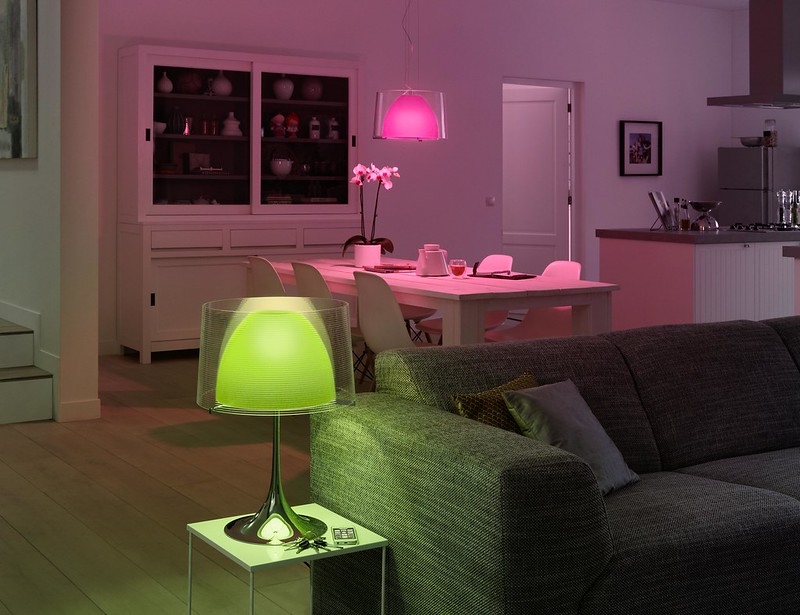
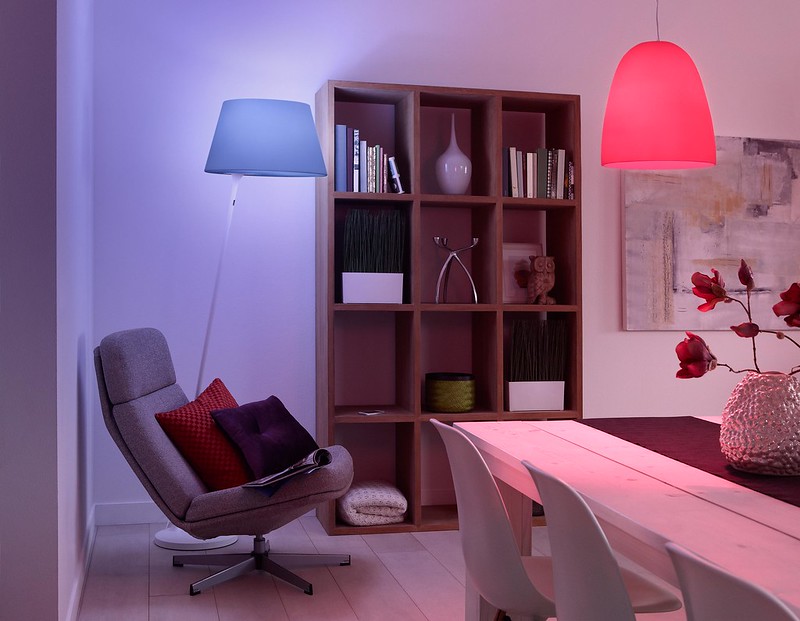
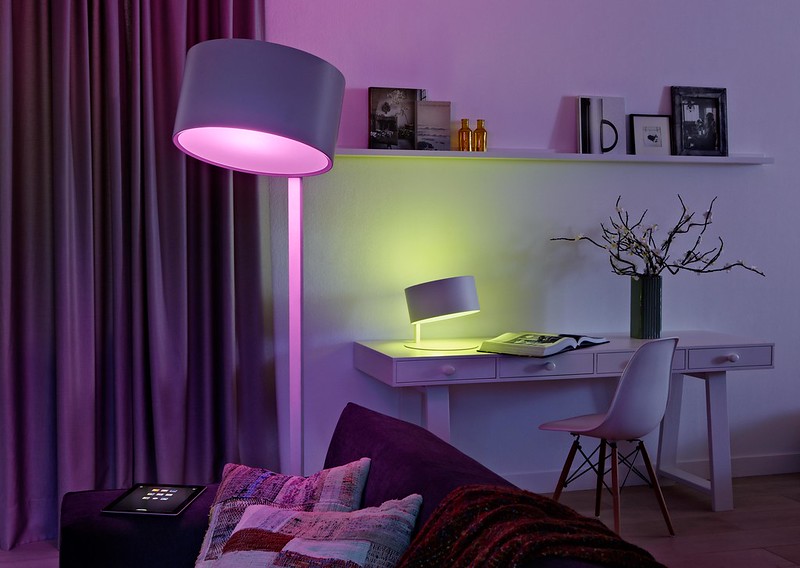
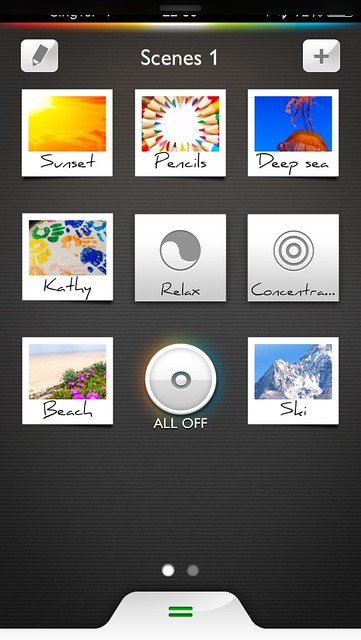
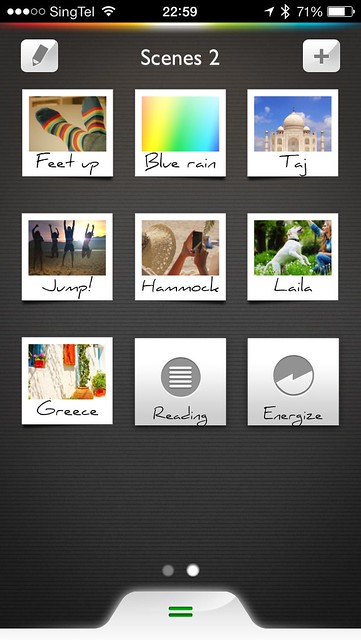
Out of the box, there are 13 scenes that have been created for you and they are Sunset, Pencils, Deep Sea, Kathy, Beach, Ski, Feet Up, Blue Rain, Taj, Jump!, Hammock, Laila and Greece.
You can create up to a total of 90 scenes.
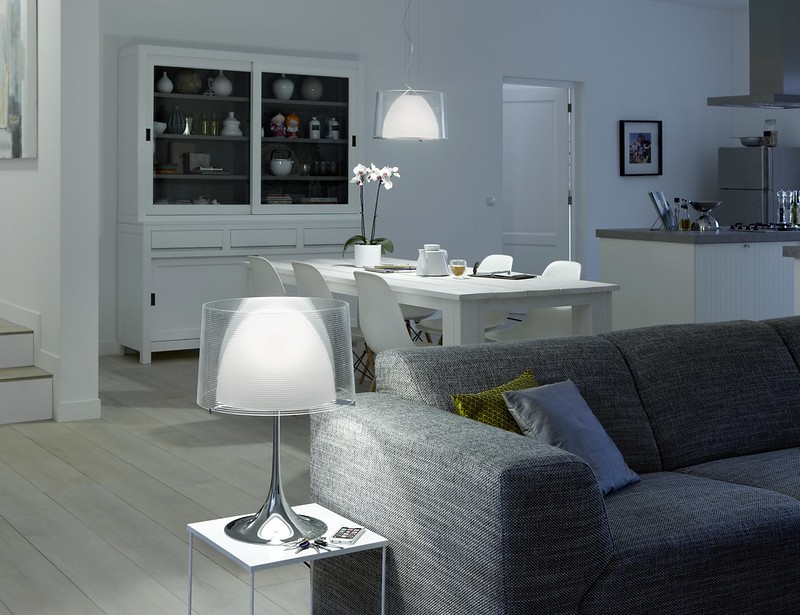
Personally, I don’t really use this feature much. I am a bright white light person.
Light Recipes
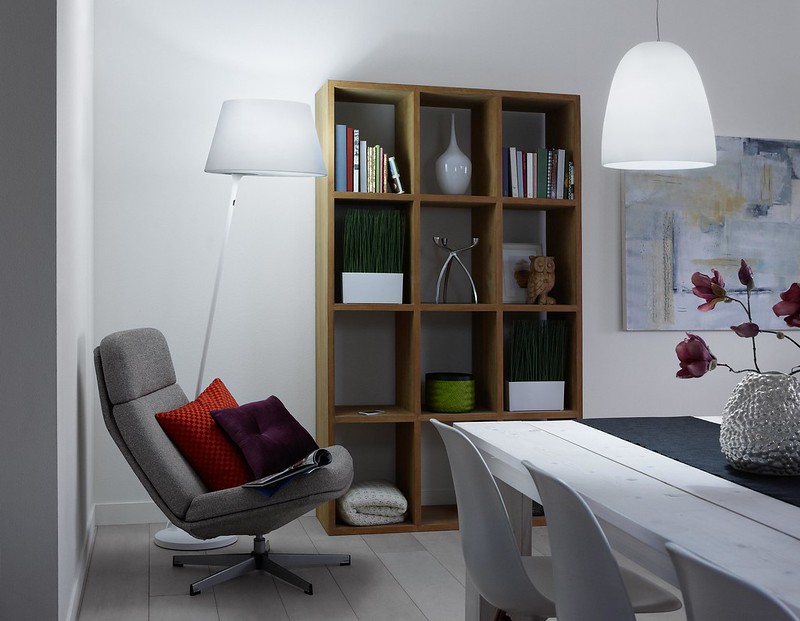
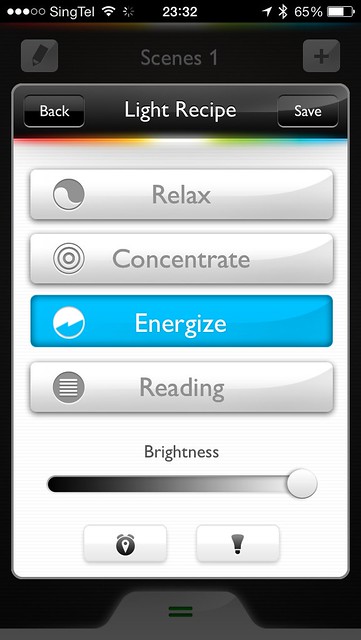
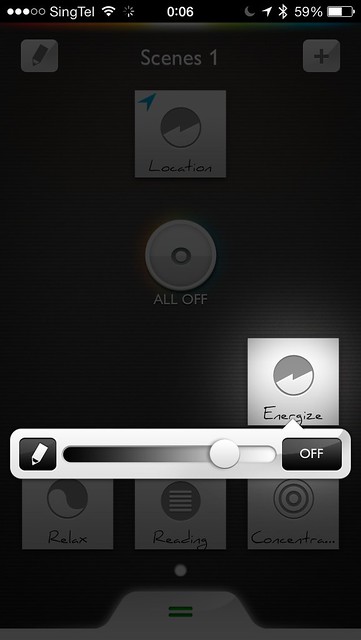
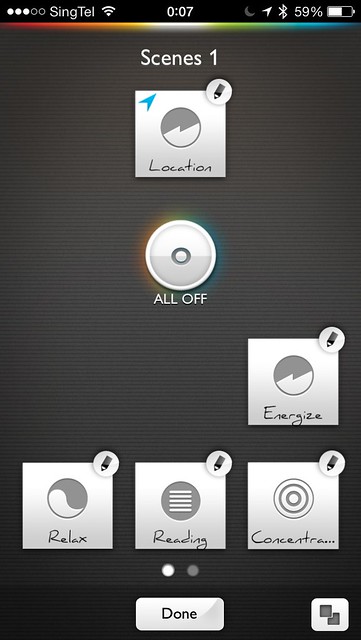
Light Recipes let you change the lighting to suit your needs. There are four pre-programmed lighting settings based on Philips’ research around the biological effects that lighting has on the body. These settings adjust bulbs to the optimum shade and brightness of white light to help you relax, read, concentrate or energize.
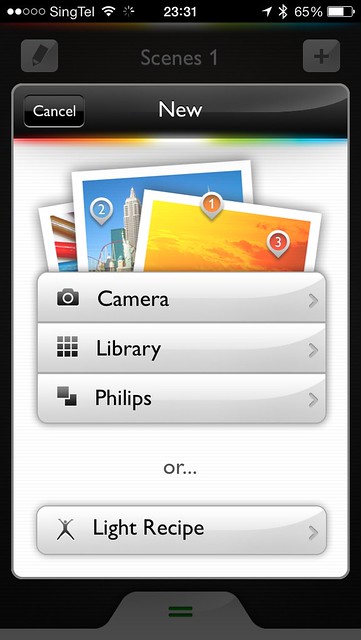
Personally, I am using energize all the time!
Trigger
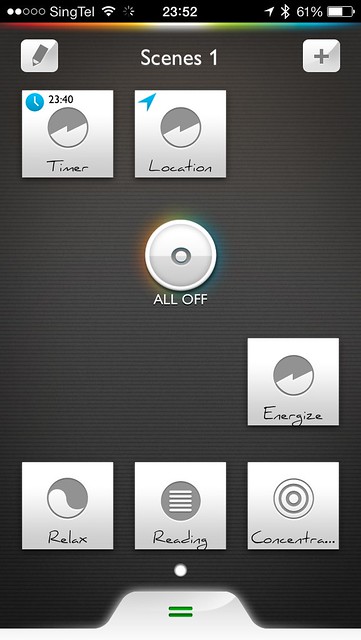
Regardless of whether you are using Scenes or Light Recipes, you can set the action to trigger the switching on or off of the lights/scenes.
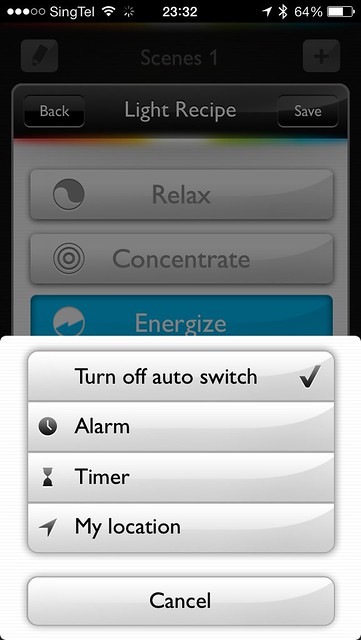
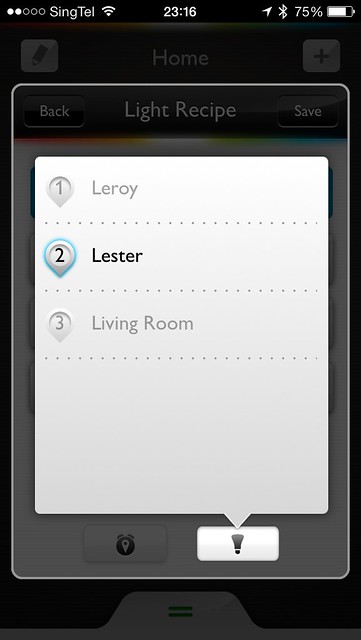
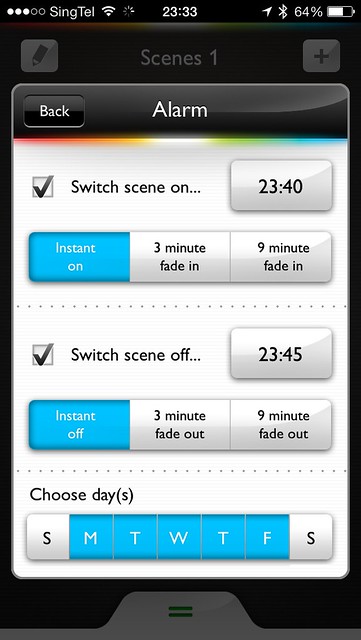
There are three triggers, Alarm, Timer and Location.
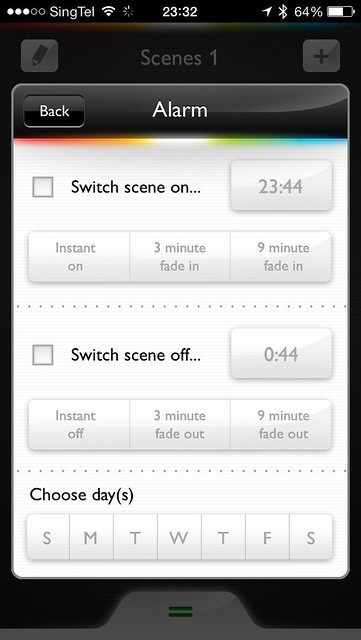
For alarm trigger, you can set the timing and the days the light will be switched on or off. You can even set it to instant on, 3 minutes fade in or 9 minutes fade in to allow a smooth transition. I tested the alarm trigger and it is very precise. I set it to switch on the light in my room every weekday at 7.15am and it does its job very well.
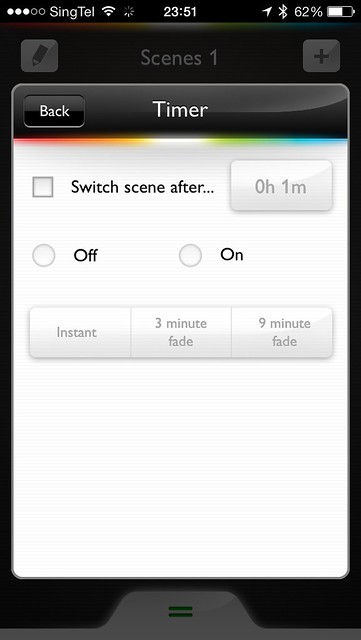
Timer trigger does the same thing as alarm, just that it is a count up timer. If you know you normally fall asleep within 15 minutes you can set it to switch off the light 15 minutes later.
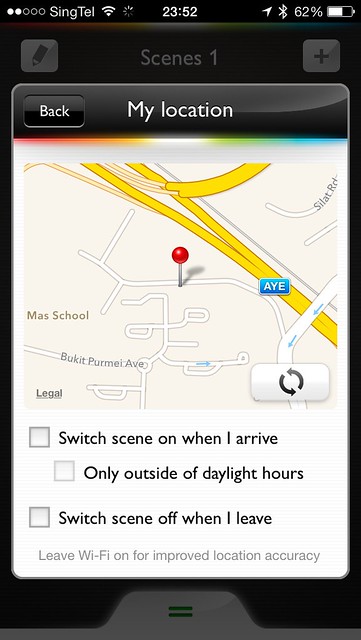
Location trigger is my personal favourite trigger. It works by using your phone’s geo-fencing capability. You can basically set the light to be switched on or off when you are in a certain location. In my case, I set it to be switched off when I leave my house and when I return home, I set it to be switched on. This feature works perfectly as advertised!
meethue.com
meethue.com is the official homepage of Philips hue and you can create an account there to link your bridge to your hue’s account. The setup experience here on the app can be confusing at first. When you first setup the bride using the app, it is locally linked, in the sense it is not using your Internet connection. However, once that is done, you can have the option of linking it to meethue.com which uses Internet connection. Your bridge can either be locally linked or linked to meethue.com but not both.
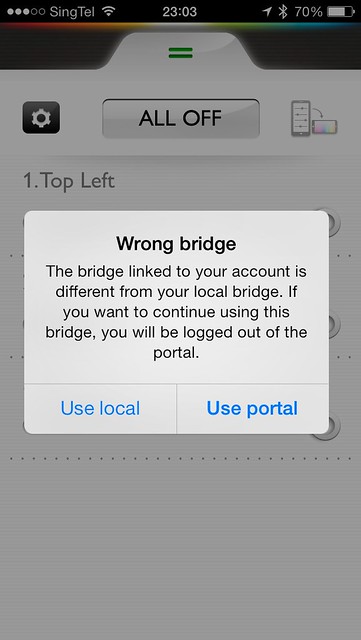
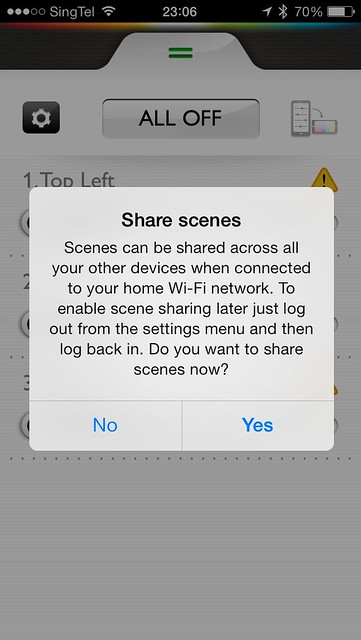
Once you login to meethue.com, all the scenes and light recipes you created on the app will be sync to there as well. Do note that you can activate them but in terms of edit functionality, it is only limited to renaming. There is also a list of community submitted scenes you can use.
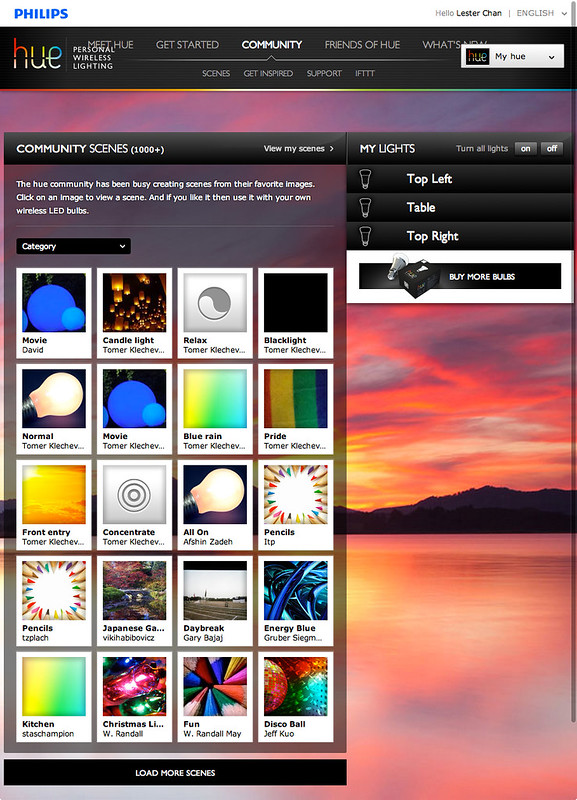
I prefer it to be linked to meethue.com because in case you forgot to bring your mobile phone out and if you are using location trigger to switch off your light, obviously it will not work. What you can do is login to your hue’s account on meethue.com and switched off the lights from the website itself.
IFTTT
IFTTT (If First This Than That) is a service that lets you create powerful connections with one simple statement: If First This Than That. This refers to a trigger and that refers to an action.
Trigger can be like, “I’m tagged in a photo on Facebook” and Action can be, “send me a text message”, so making it in a sentence: IF I’m tagged in a photo on Facebook THEN send me a text message.
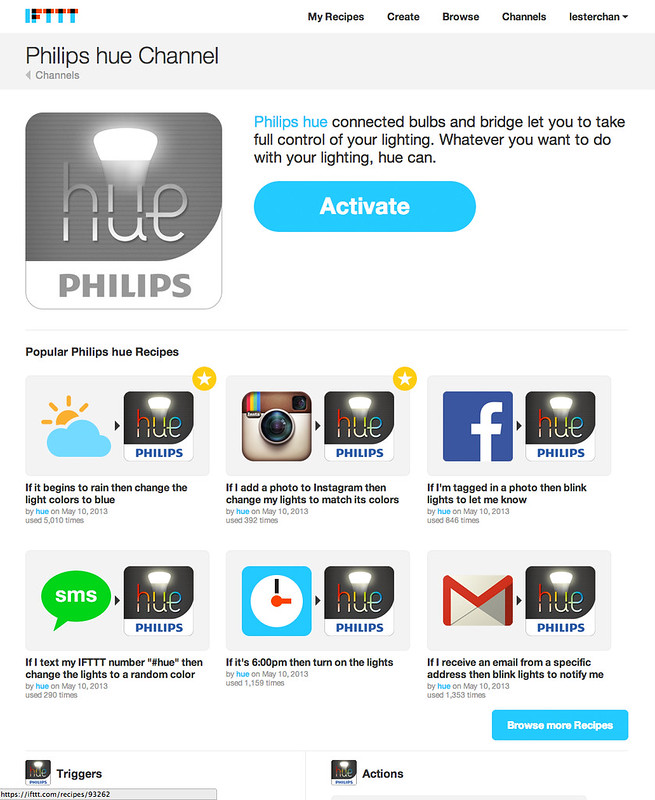
Philips tied up with IFTTT to provide actions to the hue. Some example includes:
- If it begins to rain then change the light colors to blue
- If I add a photo to Instagram then change my lights to match its colors
- If I’m tagged in a photo then blink lights to let me know
- If I text my IFTTT number “#hue” then change the lights to a random color
- If it’s 6:00pm then turn on the lights
- If I receive an email from a specific address then blink lights to notify me
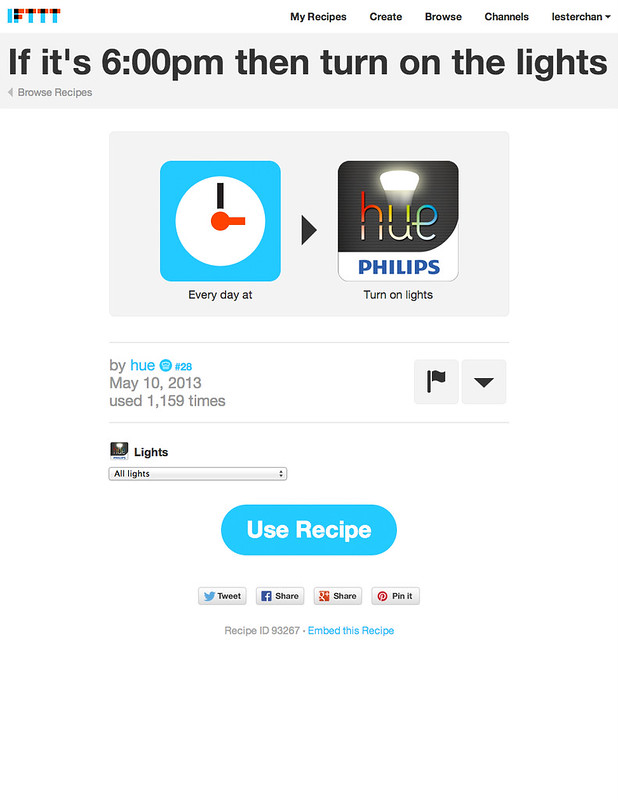
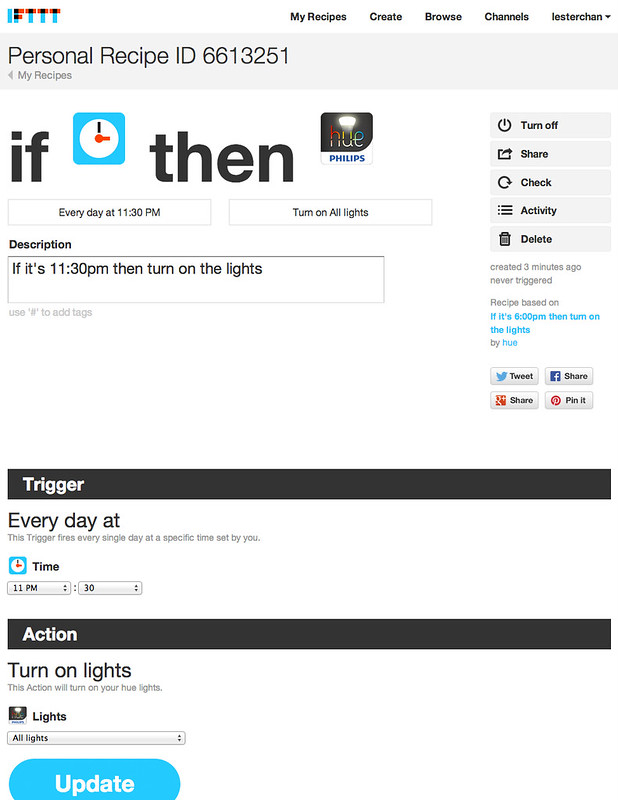
I tested the IFTTT’s recipe, “If it’s 6:00pm then turn on the lights” but it is not very accurate because IFTTT check for new trigger data every 15 minutes or lesser. When I am doing the test, I set the lights to be switched off at 11.30pm but instead it got switched off 3 minutes later at 11.33pm.
If you need a time base light control, go for the alarm trigger instead as it is more reliable.
API
Philips hue’s APIs is REST based and only works within your local area network (LAN).
All APIs calls are made to the local IP of the bridge. There are two ways of getting the local IP of your bridge, the easiest way is just to visit www.meethue.com/api/nupnp and it will tell you your bridge’s local IP. If that doesn’t work for you (I don’t see why not), you can go to your router’s DHCP table and look for the connected device name “Philips-hue” and the corresponding local IP.
Once you know your bridge IP you will need to register a username before you can use the APIs. For that to happen, go to http://[BRIDGE_IP]/debug/clip.html, which is basically a webpage (shown below) that allows you to do REST calls to itself.
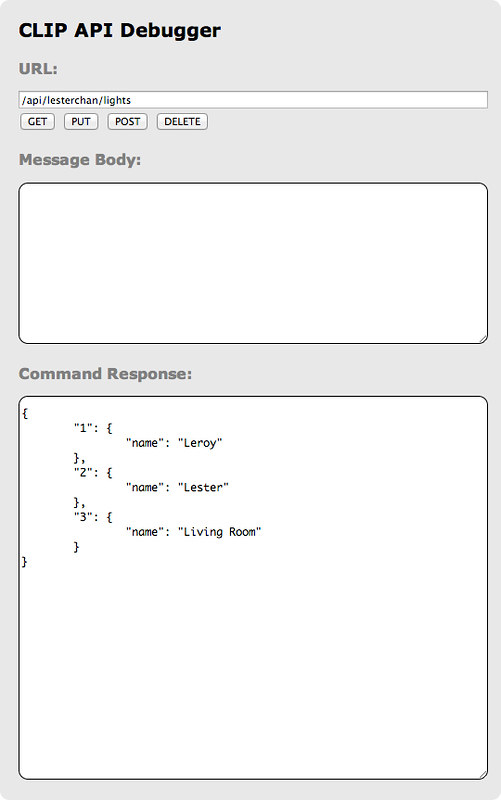
Next you need to go to the bridge and press the link button (like what you did earlier to setup the bridge) and do a POST request to /api with the payload {“devicetype”:”lesterchan.net”,”username”:”lesterchan”} using the webpage above. If it is successful, you will get back a success field. Moving forward, all APIs call will have to be made to /api/lesterchan.
For example, to switch on the light, you will need to do a PUT request to /api/lesterchan/lights/1/state with the payload {“on”:true} where 1 is your light ID. To get your light ID, you will need to do a GET request to /api/lesterchan/lights.
Check out the Getting Started guide for more details. I must say that the Philips hue documentation is pretty well done.
I love the ease of use of the APIs, but it is not very useful if it is only available within your LAN. To get it to be exposed (which maybe dangerous), you basically have to do a port 80 forwarding to the bridge local IP and you can control your lights anywhere as long as your home’ Internet connection is up and you have an Internet connection.
I wish Philips has some APIs that you can use against meethue.com since your bridge is already linked there rather than using the port forwarding method.
Summary
The only thing standing beside the Philips hue and me is the price. I love the product and the limitless possibilities of what I can do with the lights, but the price is not very attractive for me yet.
For guys and geeks, if you have some spare cash or looking to do some retail therapy, get the Philips hue!
Pros:
- Fun
- Lots of possibilities on what you can do with the Philips hue
- No need to worry about switching on/off your lights
- APIs are easy to use
Cons:
- Expensive
- Lack of APIs for control over the Internet


