Synology started out having its own brand of RAM for as long as I can remember. I covered them back in 2017. After that they went on to have its own brand of M.2 NVMe SSD (SNV3000), SATA SSD (SAT5200), and SATA HDD (HAT5300).
One of the reasons Synology introduces their own lineup of SSD and HDD is for compatibility. The SSD and HDD are optimized for use with their own Synology NAS with customized firmware. Also, when things go wrong, the users don’t need to contact different vendors. They can bring it all back to Synology.
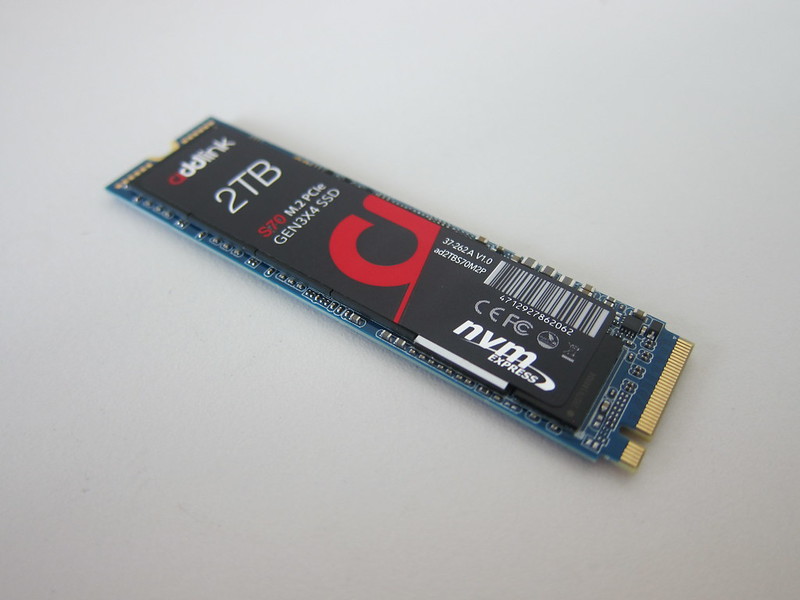
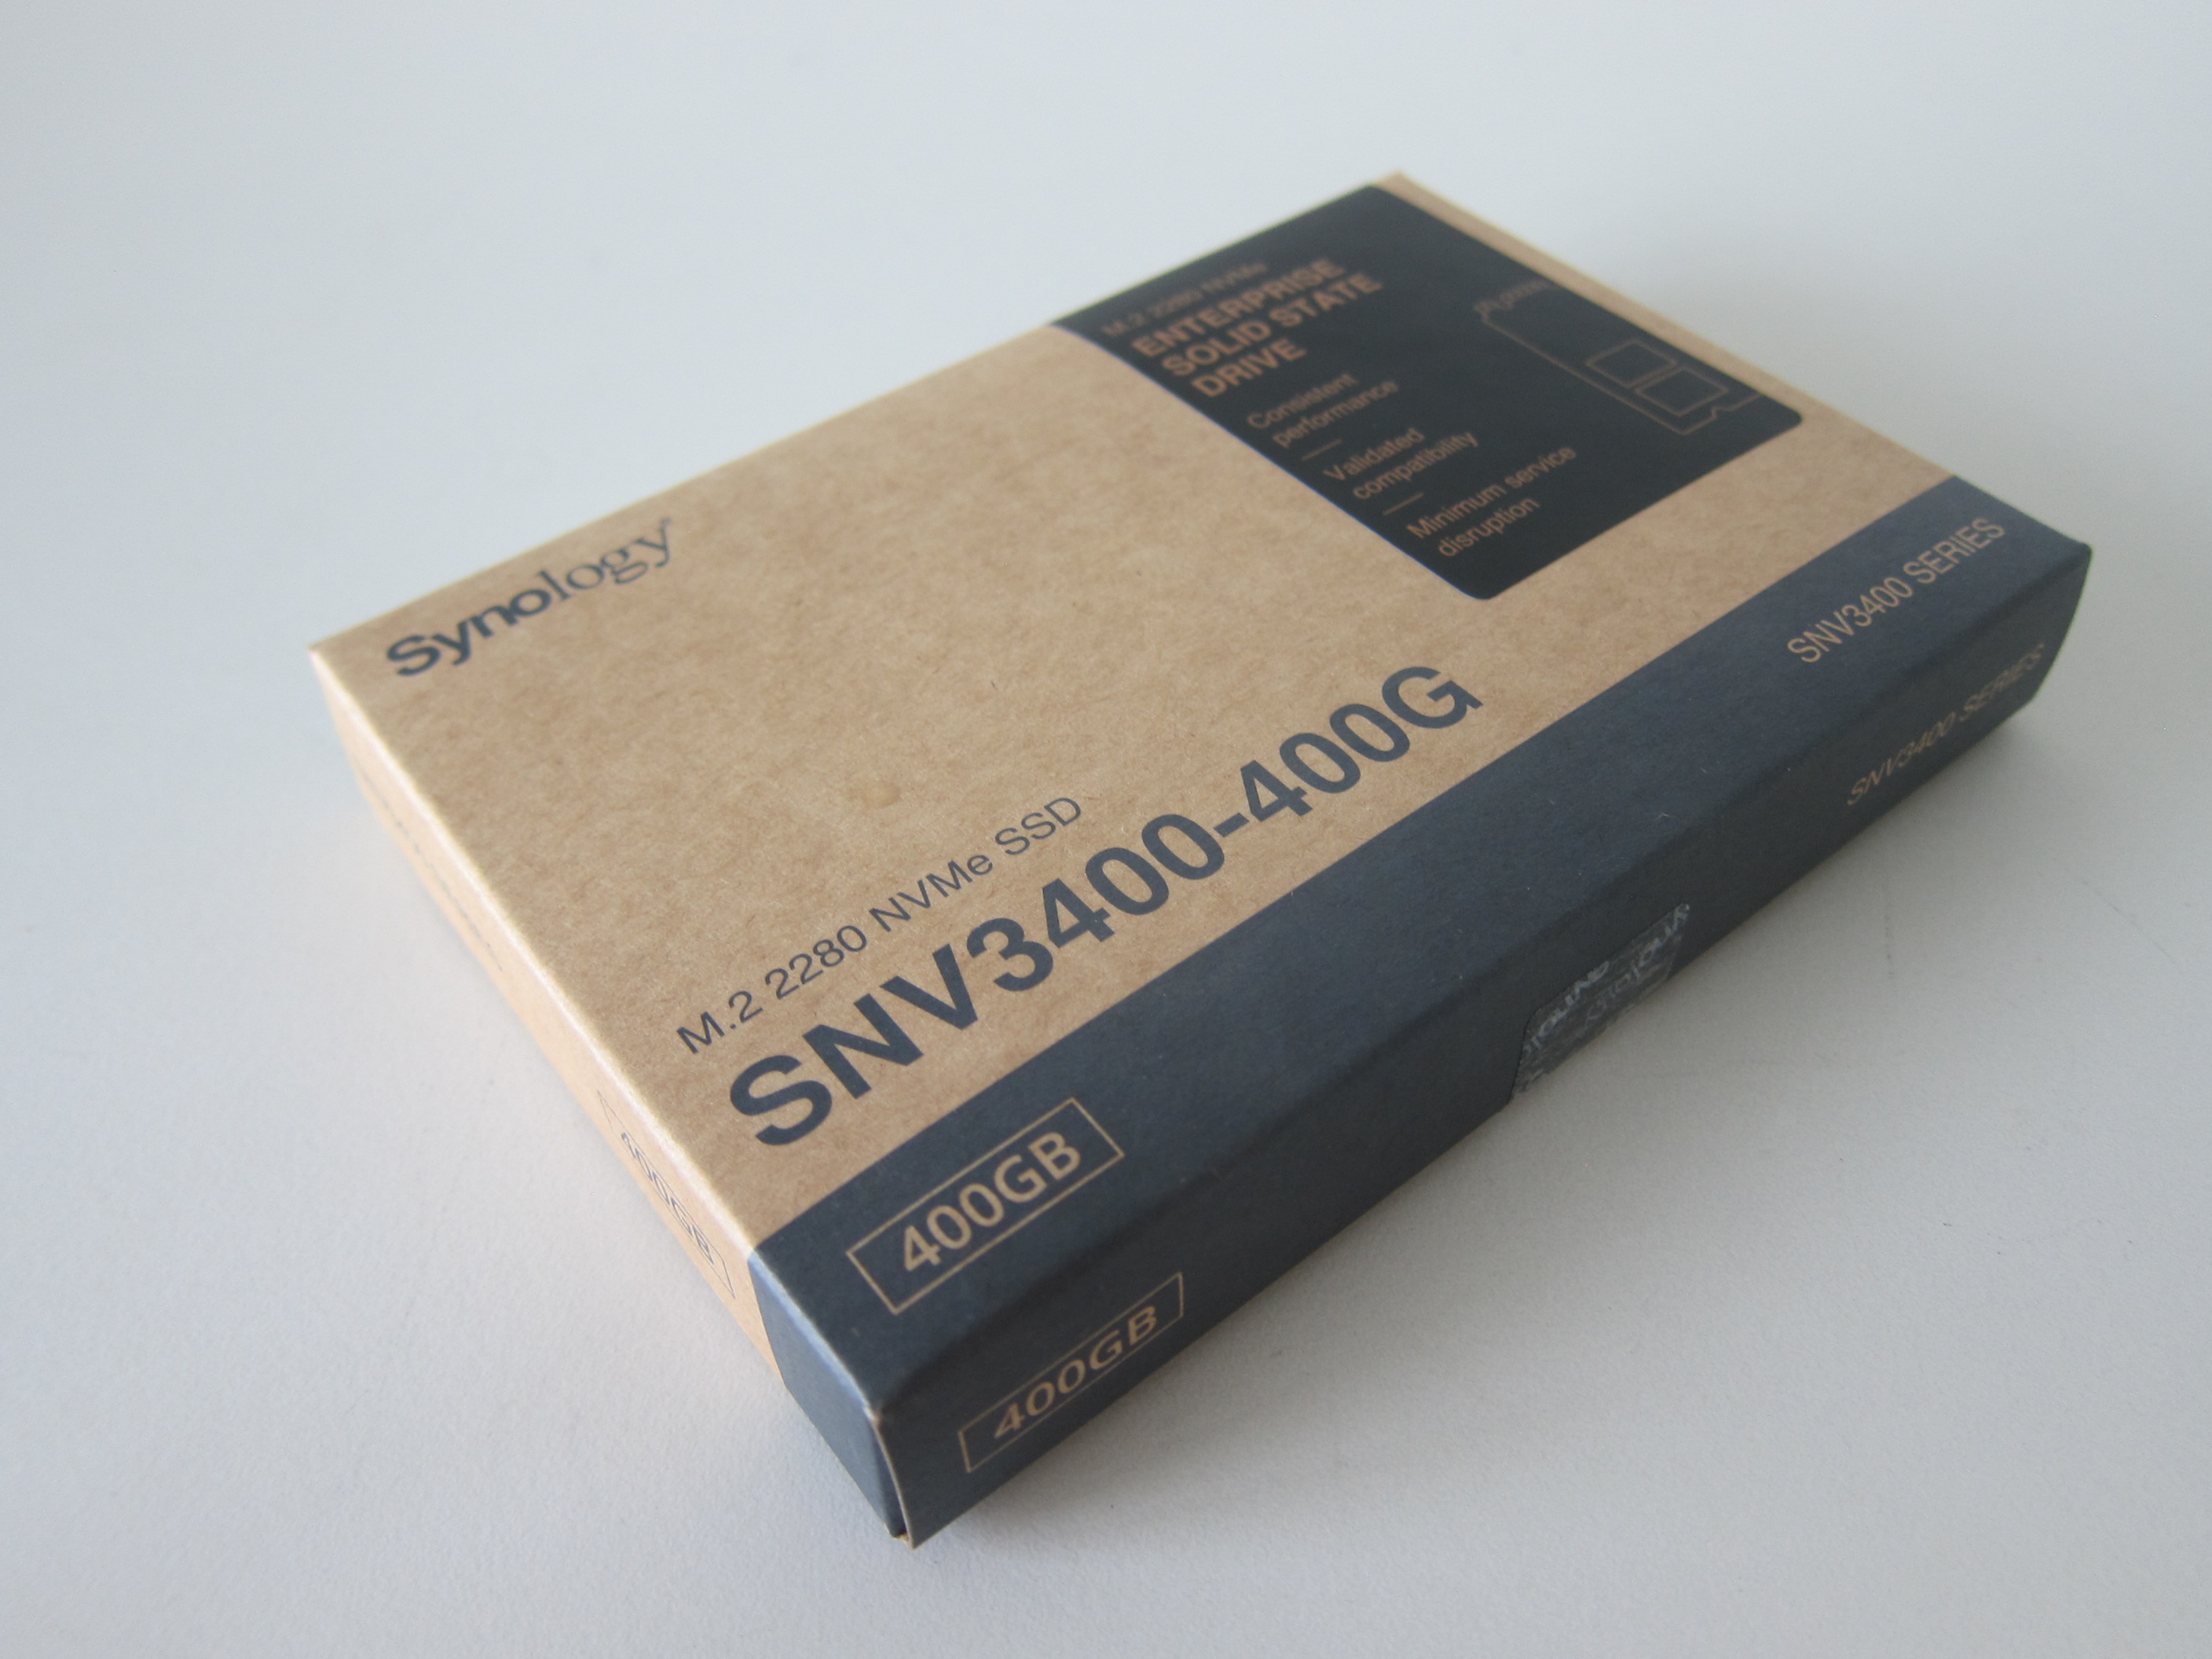
For their NVMe M.2 SSD, they are starting with the SNV3000 Series. There are four models in this series, SNV3400-400G, SNV3400-800G, SNV3500-400G, and SNV3500-800G.
All of them come with a 5-year warranty.
The SNV3400 is an M.2 2280 NVMe SSD meant for regular Synology NAS, while the SNV3500 is an M.2 22110 NVMe SSD meant for Synology rackmount NAS.
The SNV3400 has a sequential read and write speed of 3,100 MB/s and 550 MB/s, respectively, while the SNV3500 has the same read speed but a faster write speed of 1,000 MB/s.
Synology likes to put the capacity in their product names, so 400G means 400GB and 800G means 800GB.
I only manage to find the SNV3400-400G on Storage Studios on Lazada, and it retails for S$218.
I have with me two SNV3400-400G that I am going to use for my Synology DS1621+.


The NVMe M.2 SSD Slot of the Synology DS1621+ is accessible from the front and is located on the NAS’s left side.

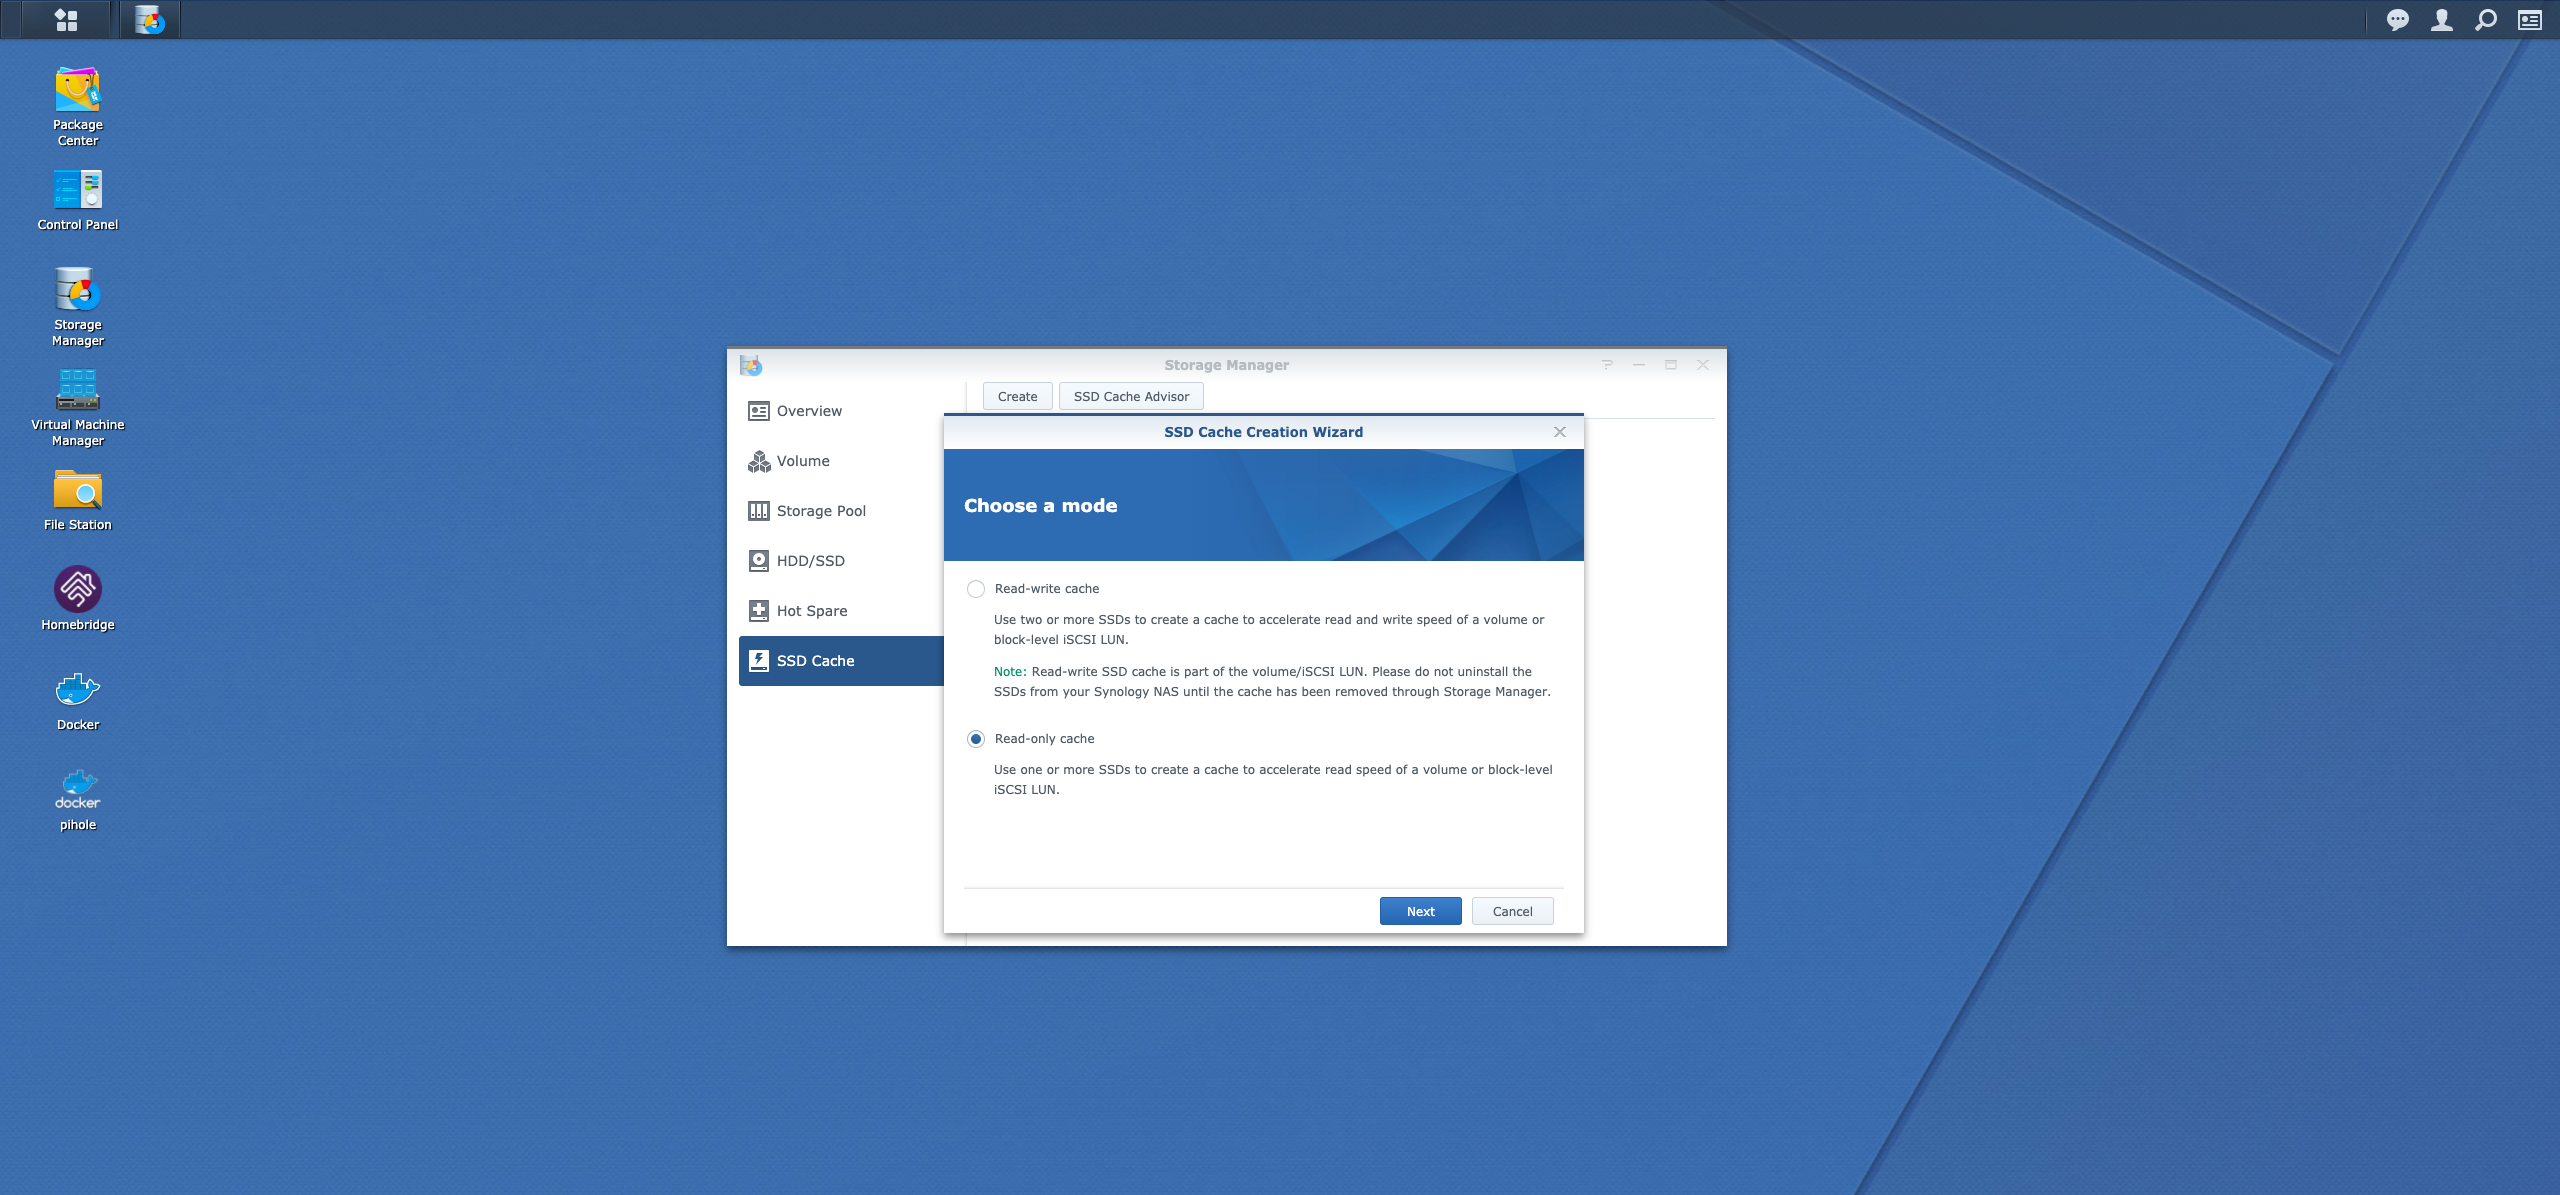
After you have installed your NVMe M.2 SSD, you will need to login to your DiskStation Manager (DSM) to create the SSD cache. It is under Storage Manager > SSD Cache > Create.

For mode, I choose read-only cache. The reason being, if your NVMe M.2 SSD cache fails, it will not cause your whole volume to crash.
Previously, I chose read-write cache and I did not remove the SSD Cache via DSM before physically removing the NVMe M.2 SSD cache. Technically, you can put back the NVMe M.2 SSD cache immediately after removing it, but I went to format it after removing it.
Hence, my whole volume crash, and my data is gone. I contacted Synology, and their support is awesome, but sadly they could not recover it. Thank god I have backups as well, so all is good at the end.
Here, you will want to select both NVMe M.2 SSD.
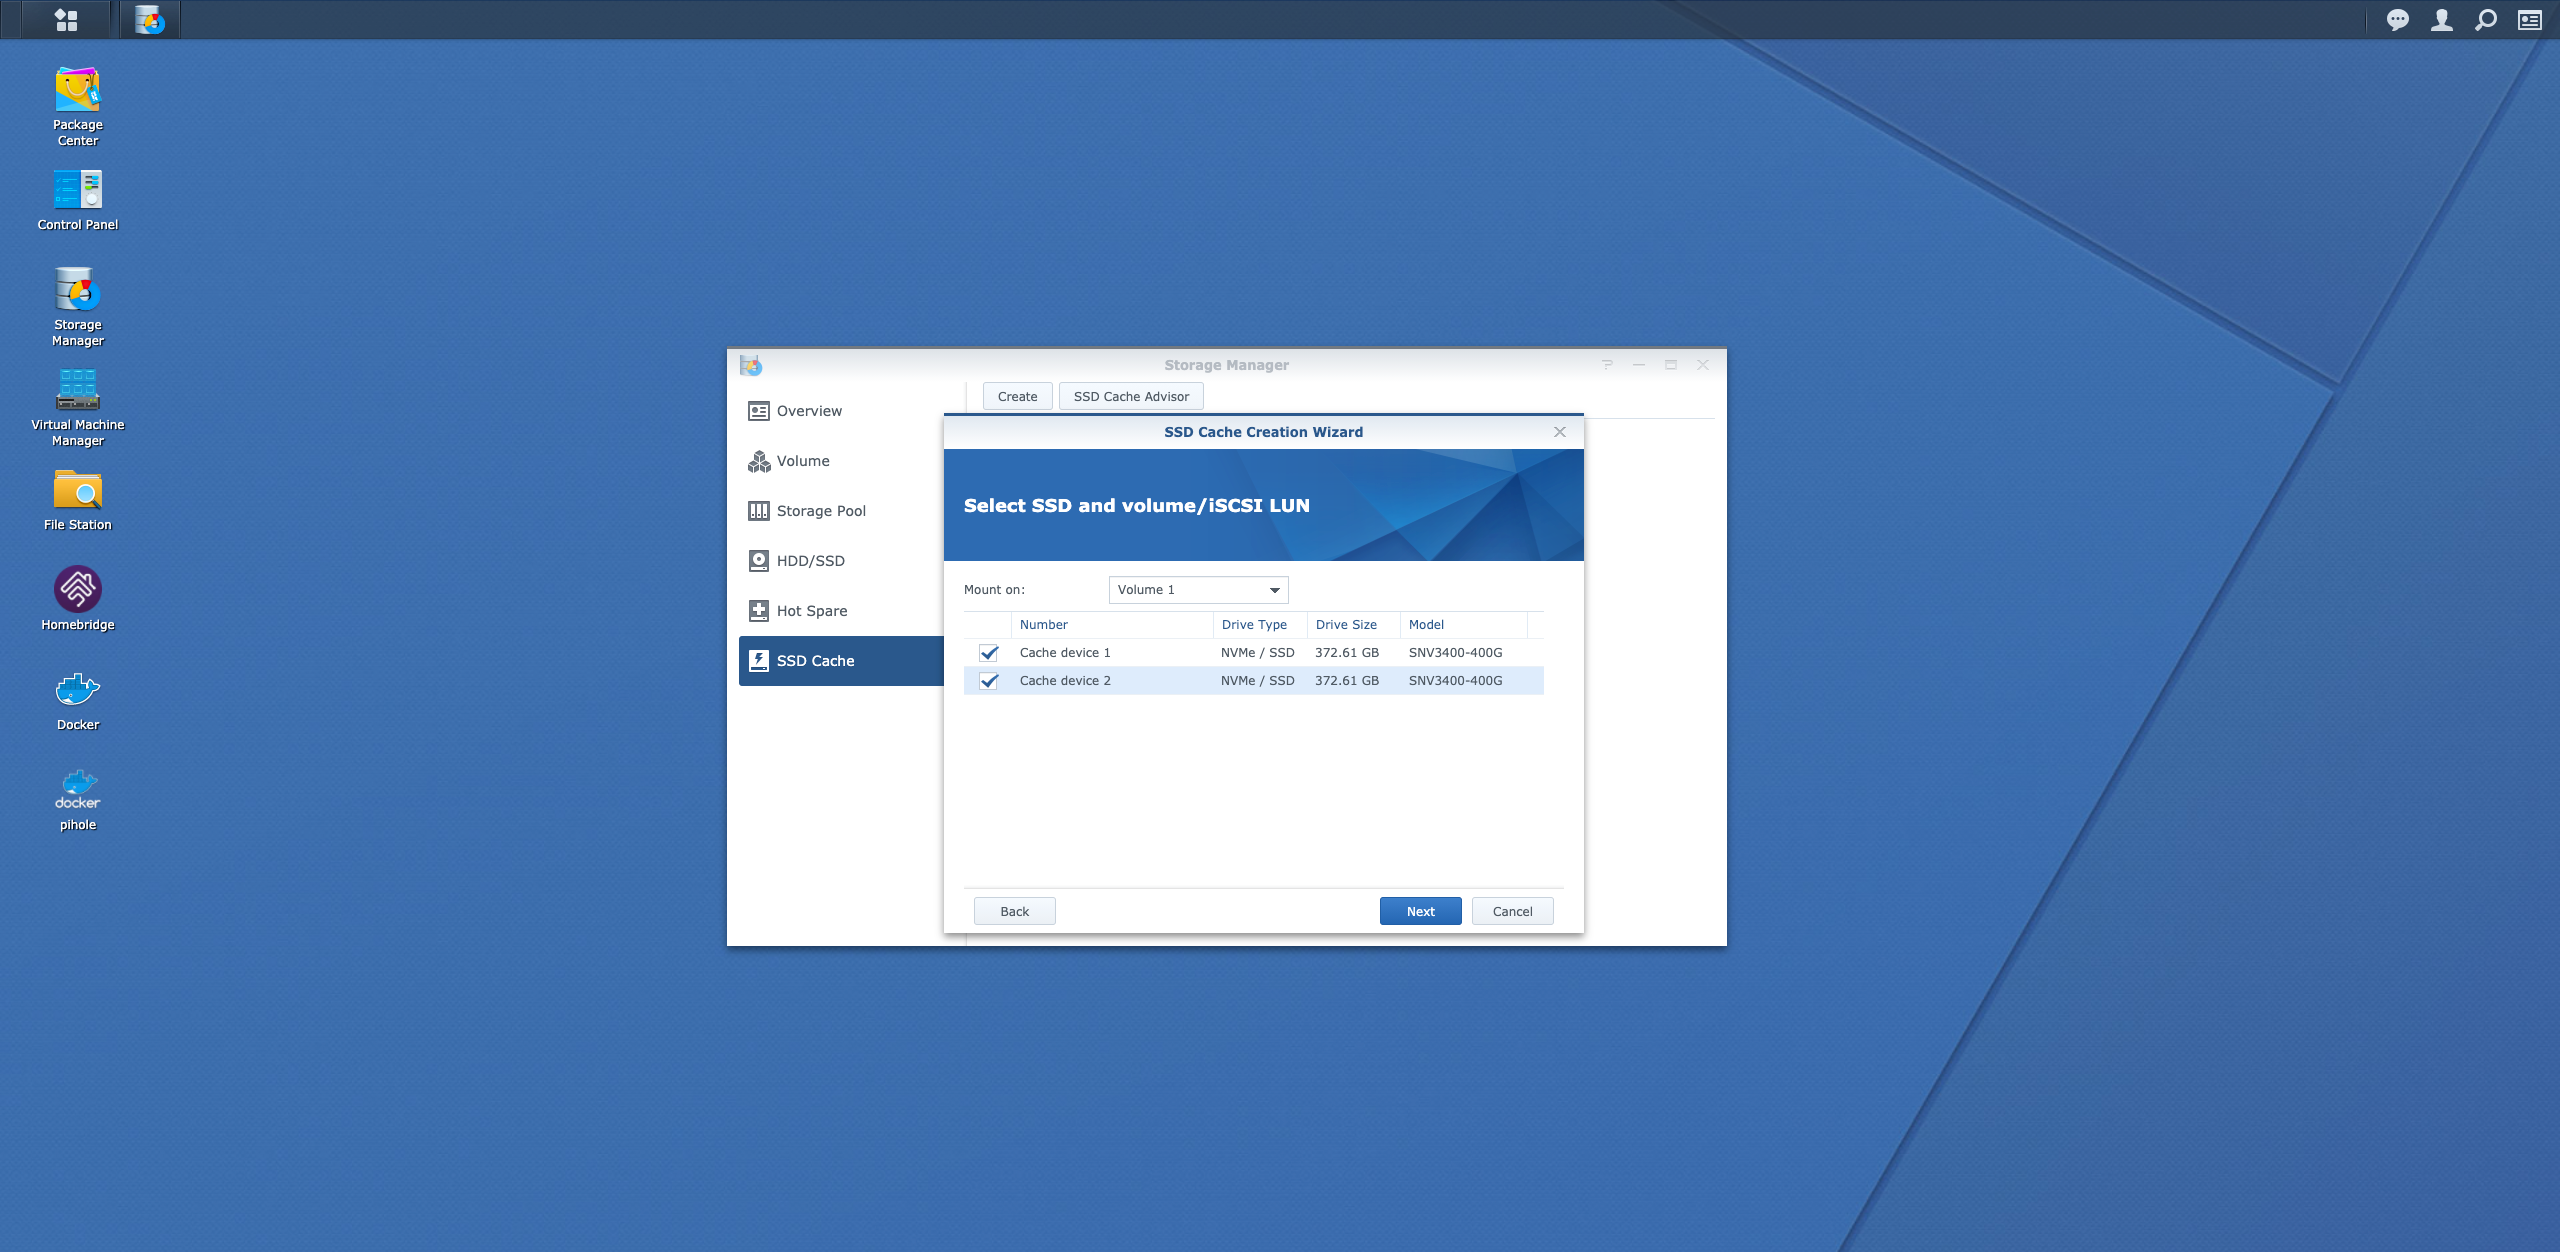
I click on Max to max out the capacity of both NVMe M.2 SSD.

After about a minute, your SSD Cache will be created.
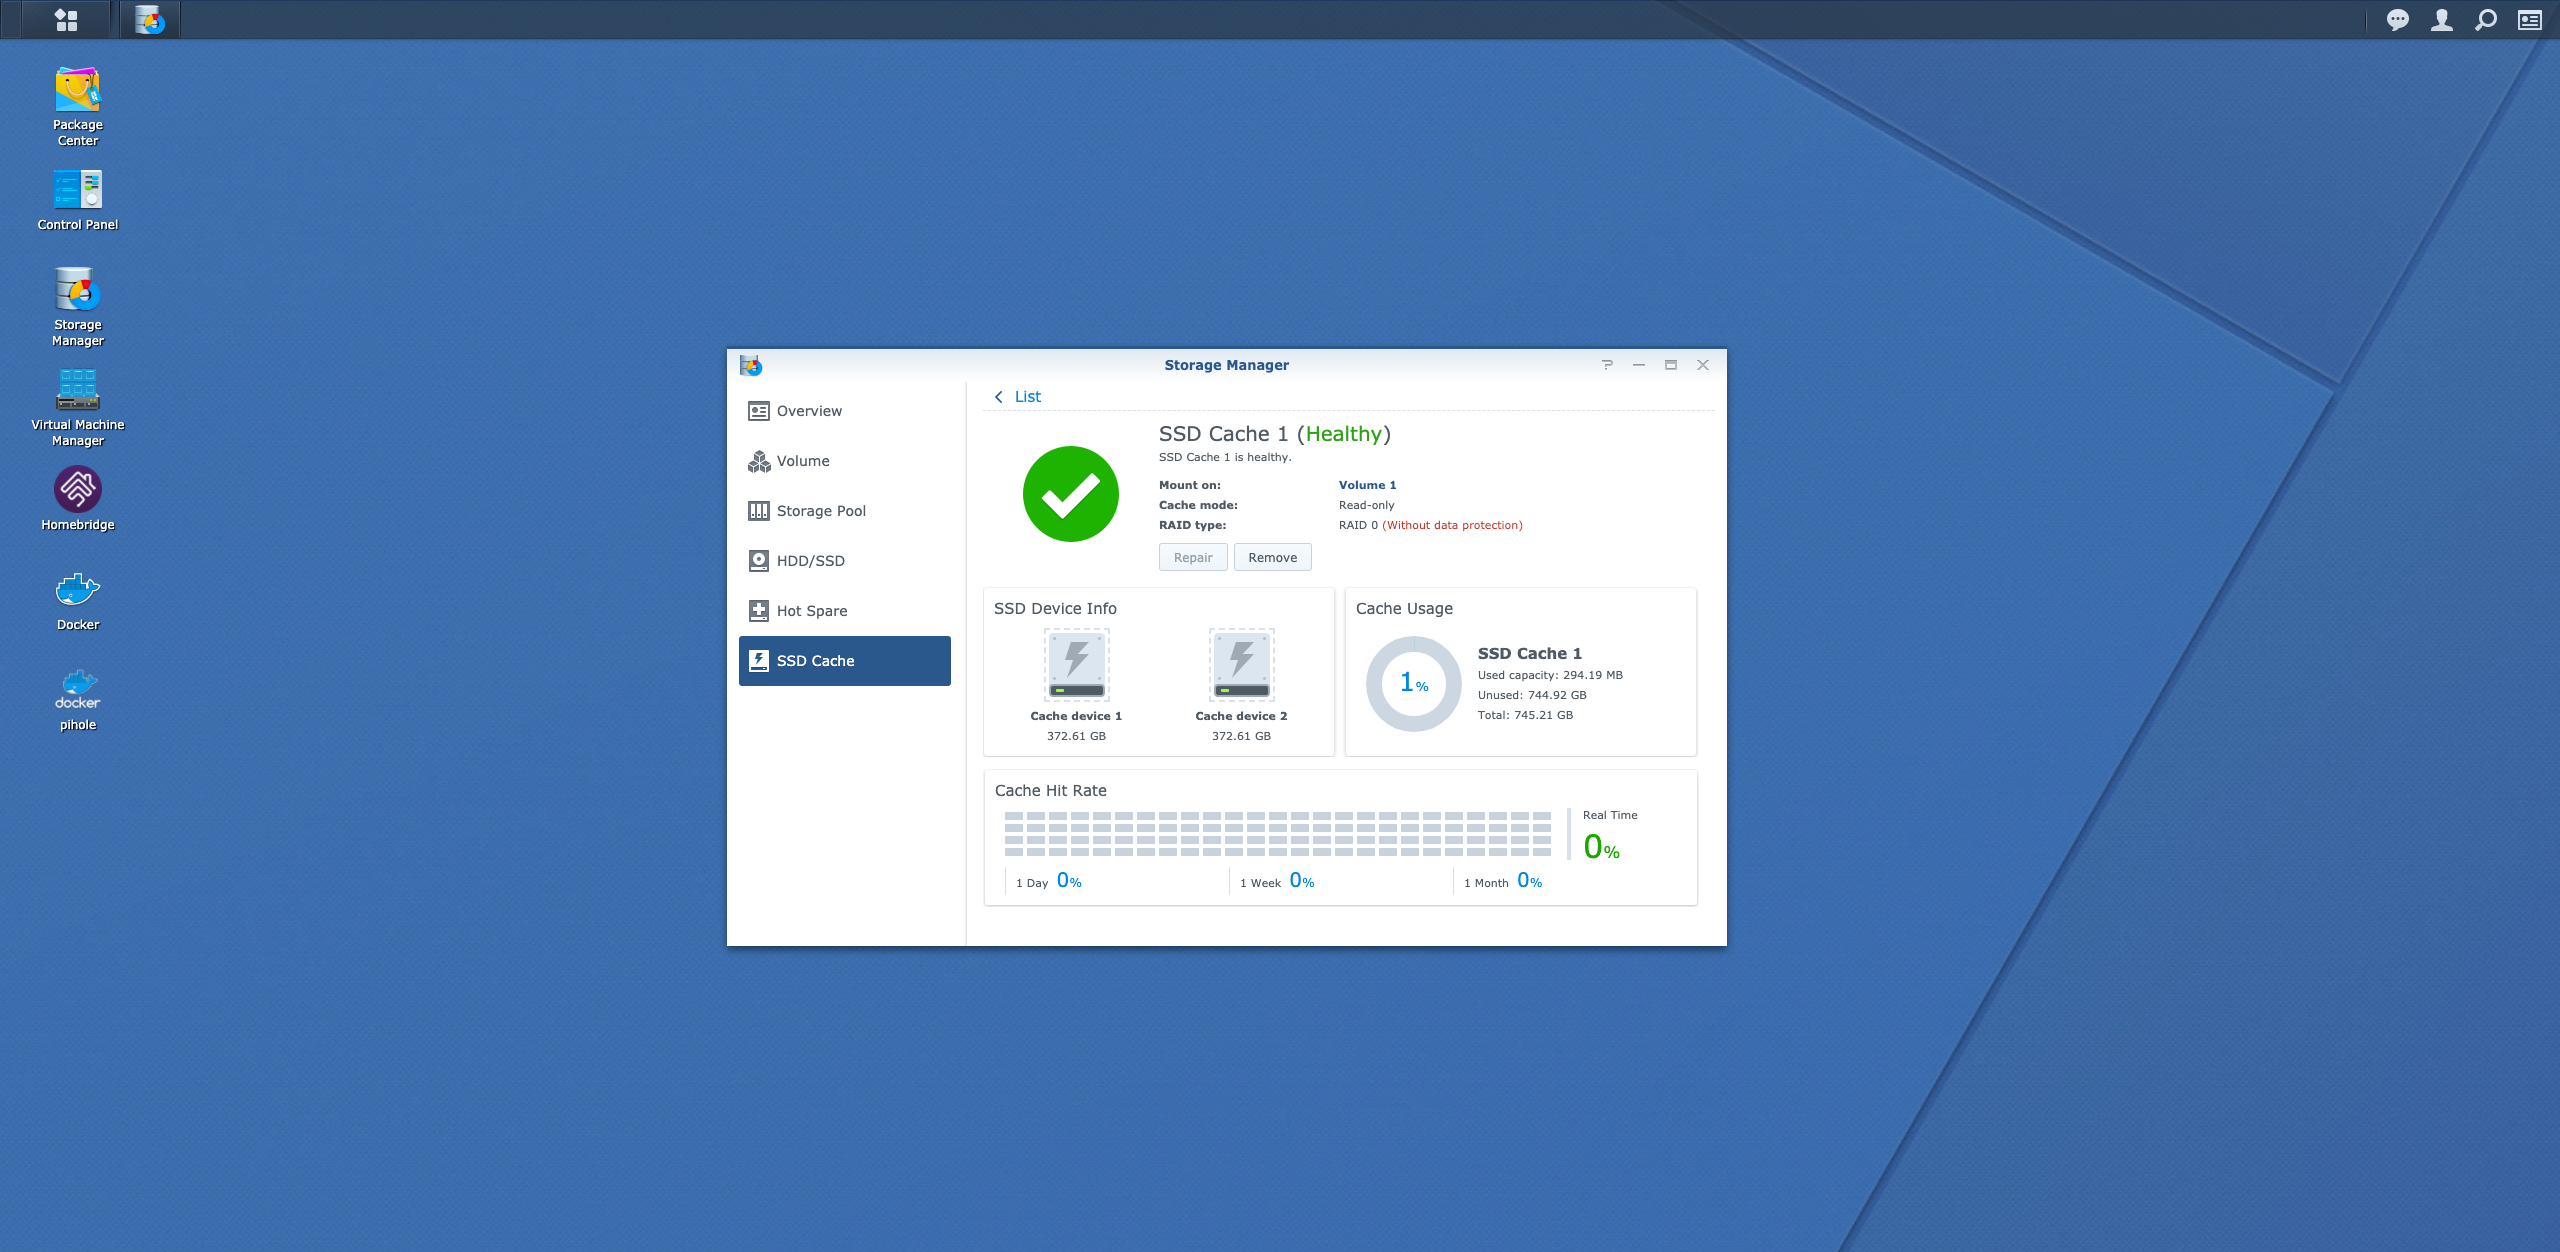
My idea of a cache is that it is temporary, and it should not cause the volume to fail even it is gone. The source of truth should always be on the volume rather than the cache. But I guess it is an assumption on my end on how a cache should work for a NAS. This is a good lesson for me.