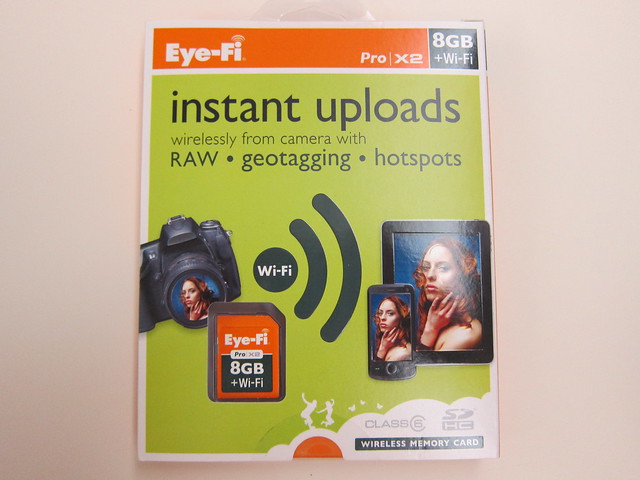
Eye-Fi Pro X2 8GB
Got the Eye-Fi Pro X2 8 GB from Amazon for US$91.49 together with my Cocoon Grid-It. Shipping cost US$21.46 in total.
The Eye-Fi is not officially sold in Singapore so you have to either get it from resellers who bought it overseas or you get it directly from Amazon. The Eye-Fi Pro X2 8 GB cost about S$160 when you get it from resellers in Singapore, it is more expensive, but you do not need to wait 1 to 2 weeks for it as normally they got ready stock. Amazon is cheaper but you have to wait 2 weeks (in my case) for it.
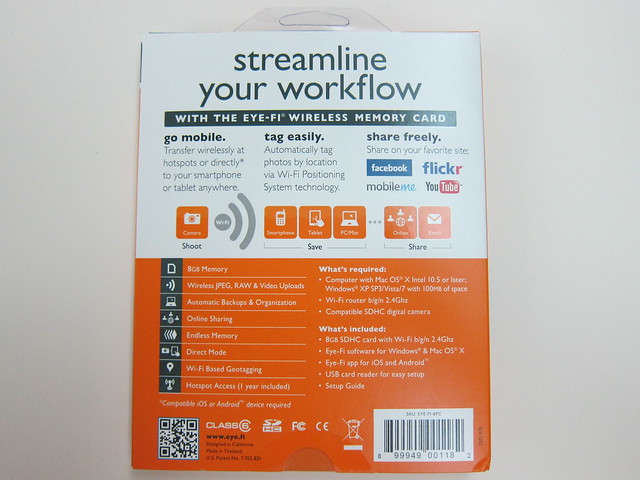
Eye-Fi is essentially a SD Card with wireless capability. Paired with a 3G Modem Router like the Huawei MiFi E585, the card will automatically upload photos to Facebook/Flickr/YouTube immediately after taking each shot wherever you go.
Do note that you need to setup your Eye-Fi card using the software provided to configure your login credentials to those sites as well as album names.

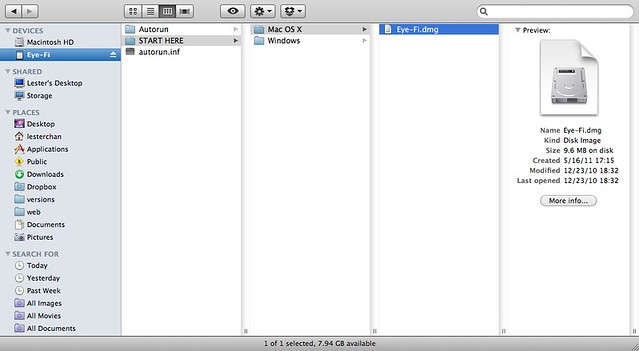
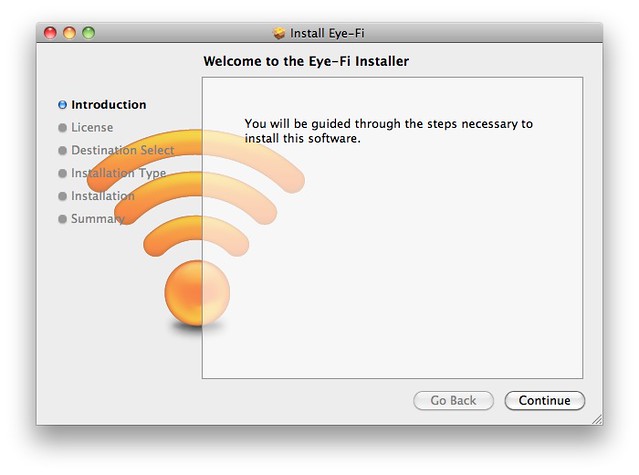
Setting up Eye-Fi on my MacBook Pro is pretty straightforward, insert the Eye-Fi card into the given Eye-Fi USB Card Reader and insert the reader into the MacBook Pro USB port and run the installer.
Once it is done, it will prompt you to update your Eye-Fi Center. Once that is done, Eye-Fi Helper will open and ask you to setup your Eye-Fi Center account.
You can setup all your options including sharing options, wireless options in the Eye-Fi Center.
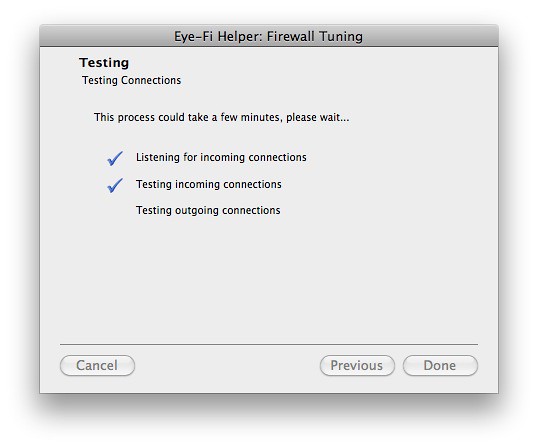
There is a difference between inserting the SD card directly into the MacBook Pro SD Card Slot and via the Eye-Fi USB Card Reader. I recommend the later one as when I insert into the SD Card Slot I can’t get Eye-Fi Helper to pass the network outgoing connections test (in order to create the account) and when I launch Eye-Fi Center it keeps hanging.
The Eye-Fi Center is written in Adobe AIR and when I launch the Eye-Fi center without plugging in my Eye-Fi card, my Eye-Fi Center will just hang and my Mac will show the spinning beach ball.

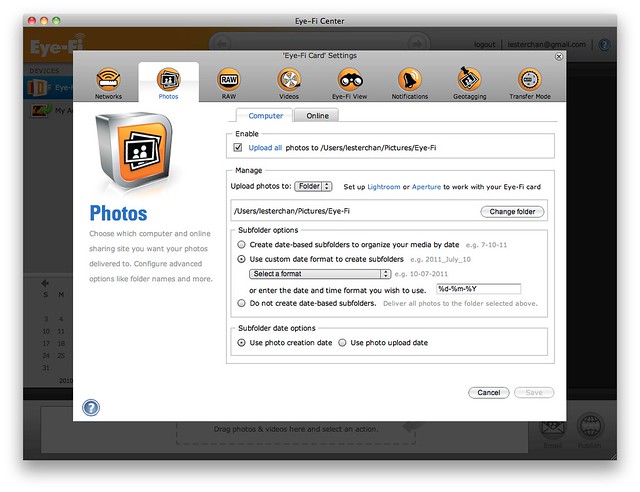
Do check out the extensive screenshots I taken on the Eye-Fi Center in the gallery below.
")


