Before we start the installation of Ubuntu Server to Synology NAS, you will need to download the Ubuntu Server ISO image from Ubuntu.com. As of the time of writing, the version of Ubuntu Server stands at 20.10, and the file size is almost 1GB.

Once the download started, you can log in to your Synology NAS’s DiskStation Manager (DSM) to install the Virtual Machine Manager from Package Center.


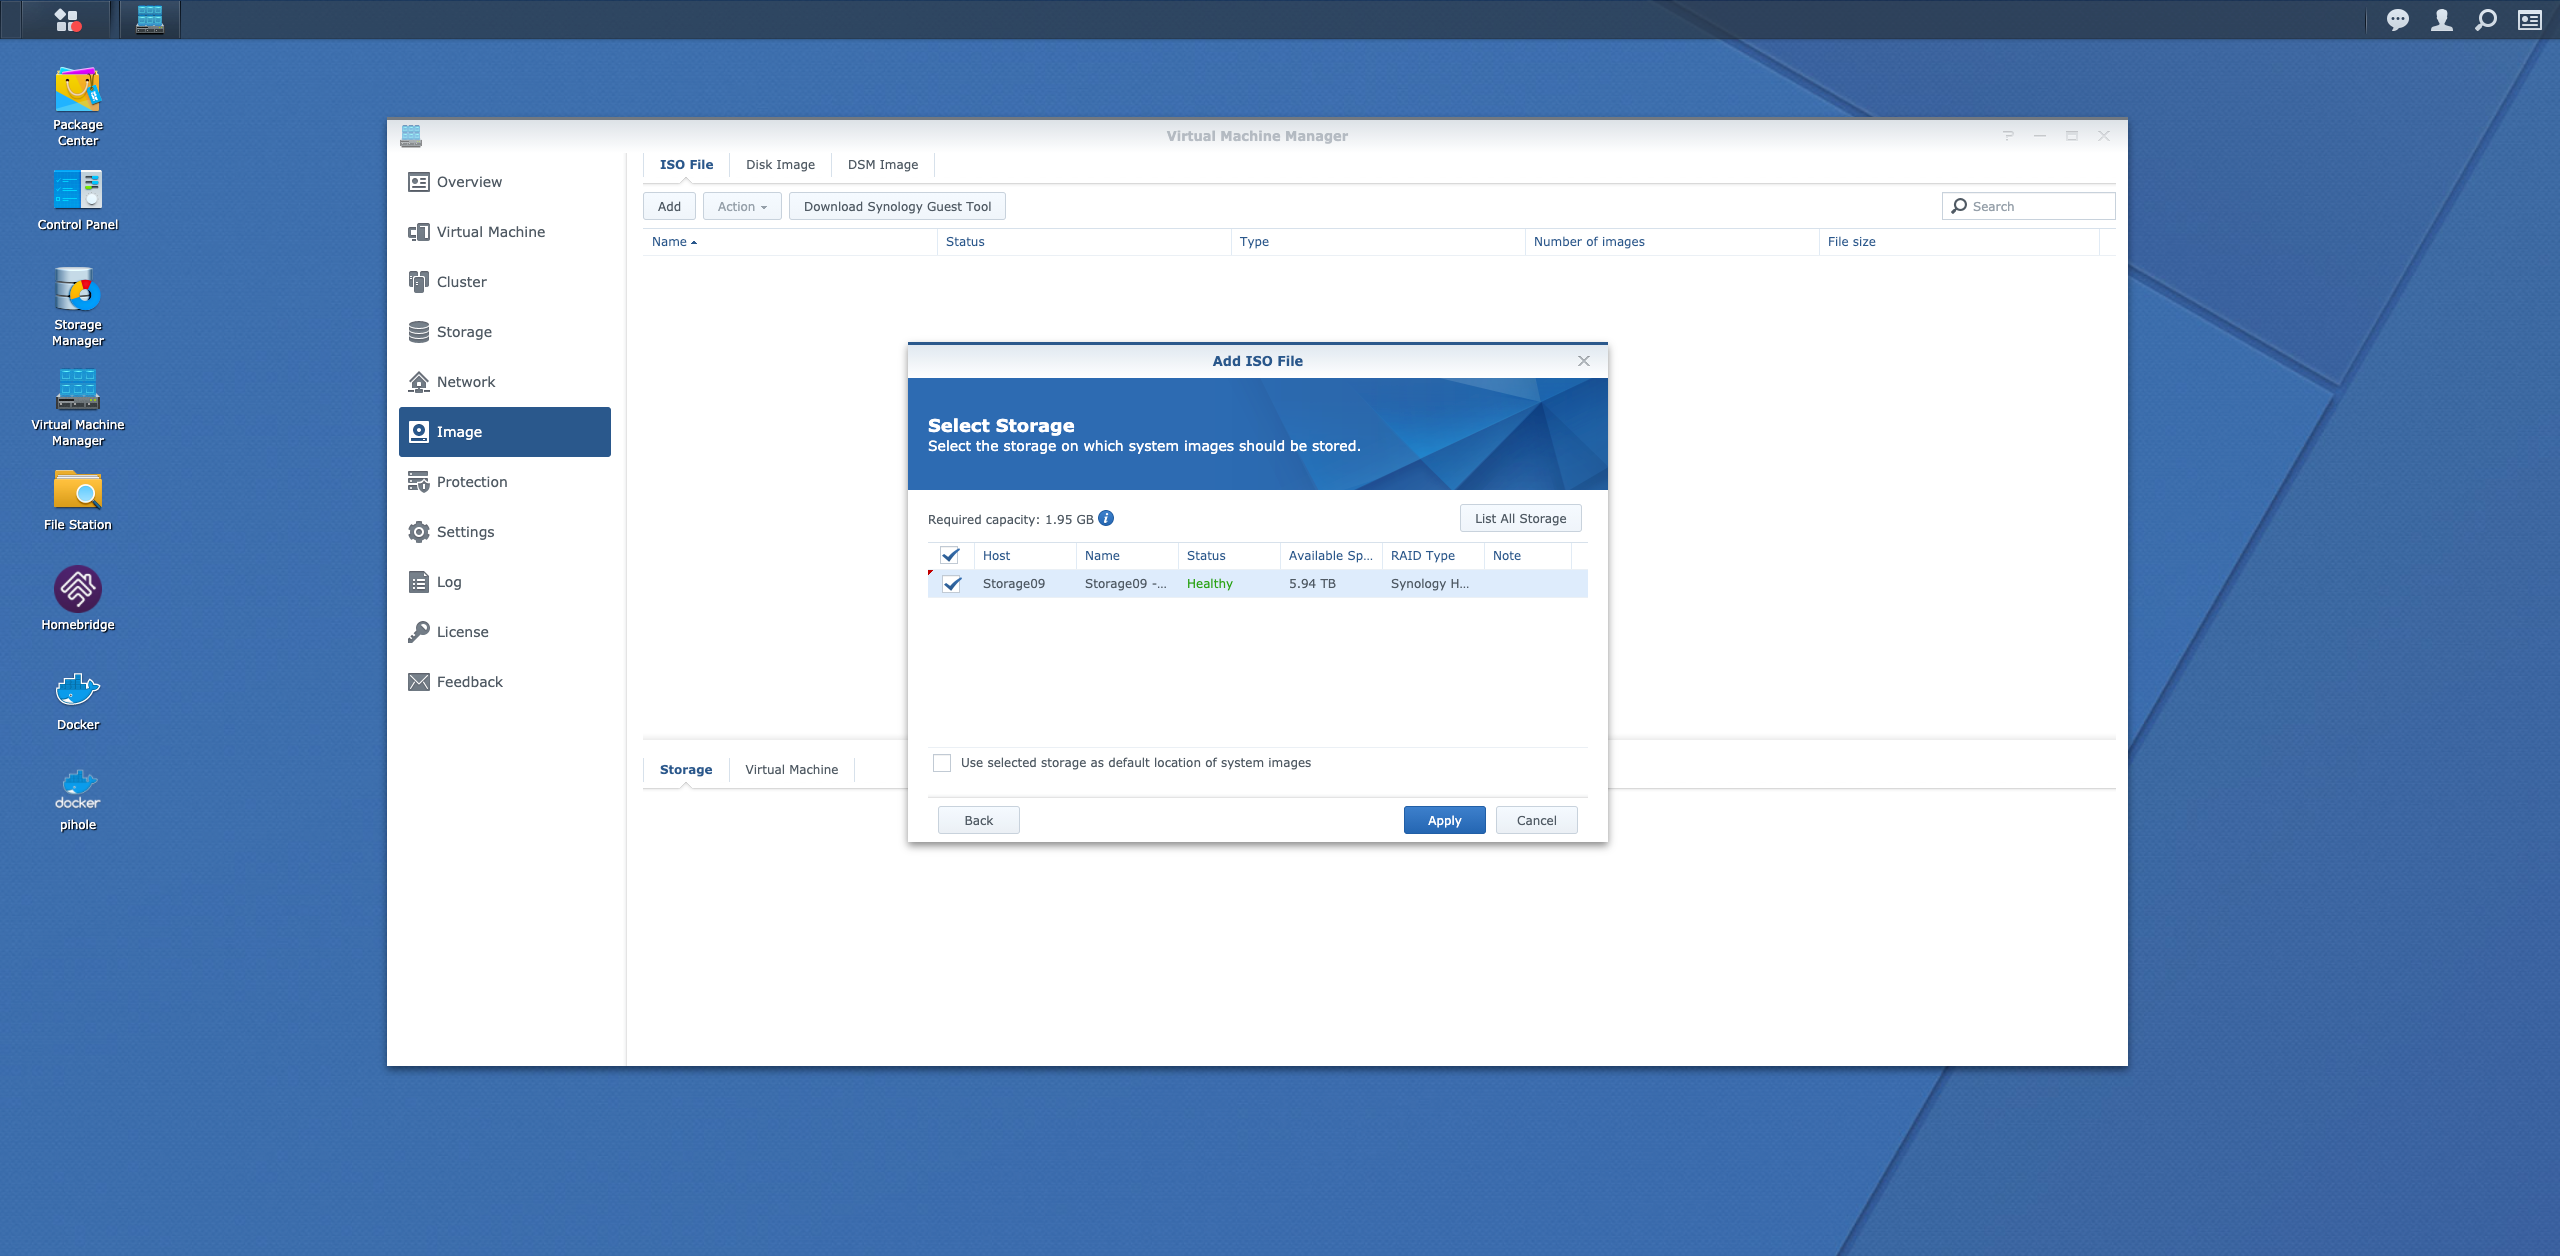
After the Ubuntu Server ISO image has been downloaded, you can create an image from the ISO file under Image in Virtual Machine Manager. It is a two-step process and takes about 5 minutes.


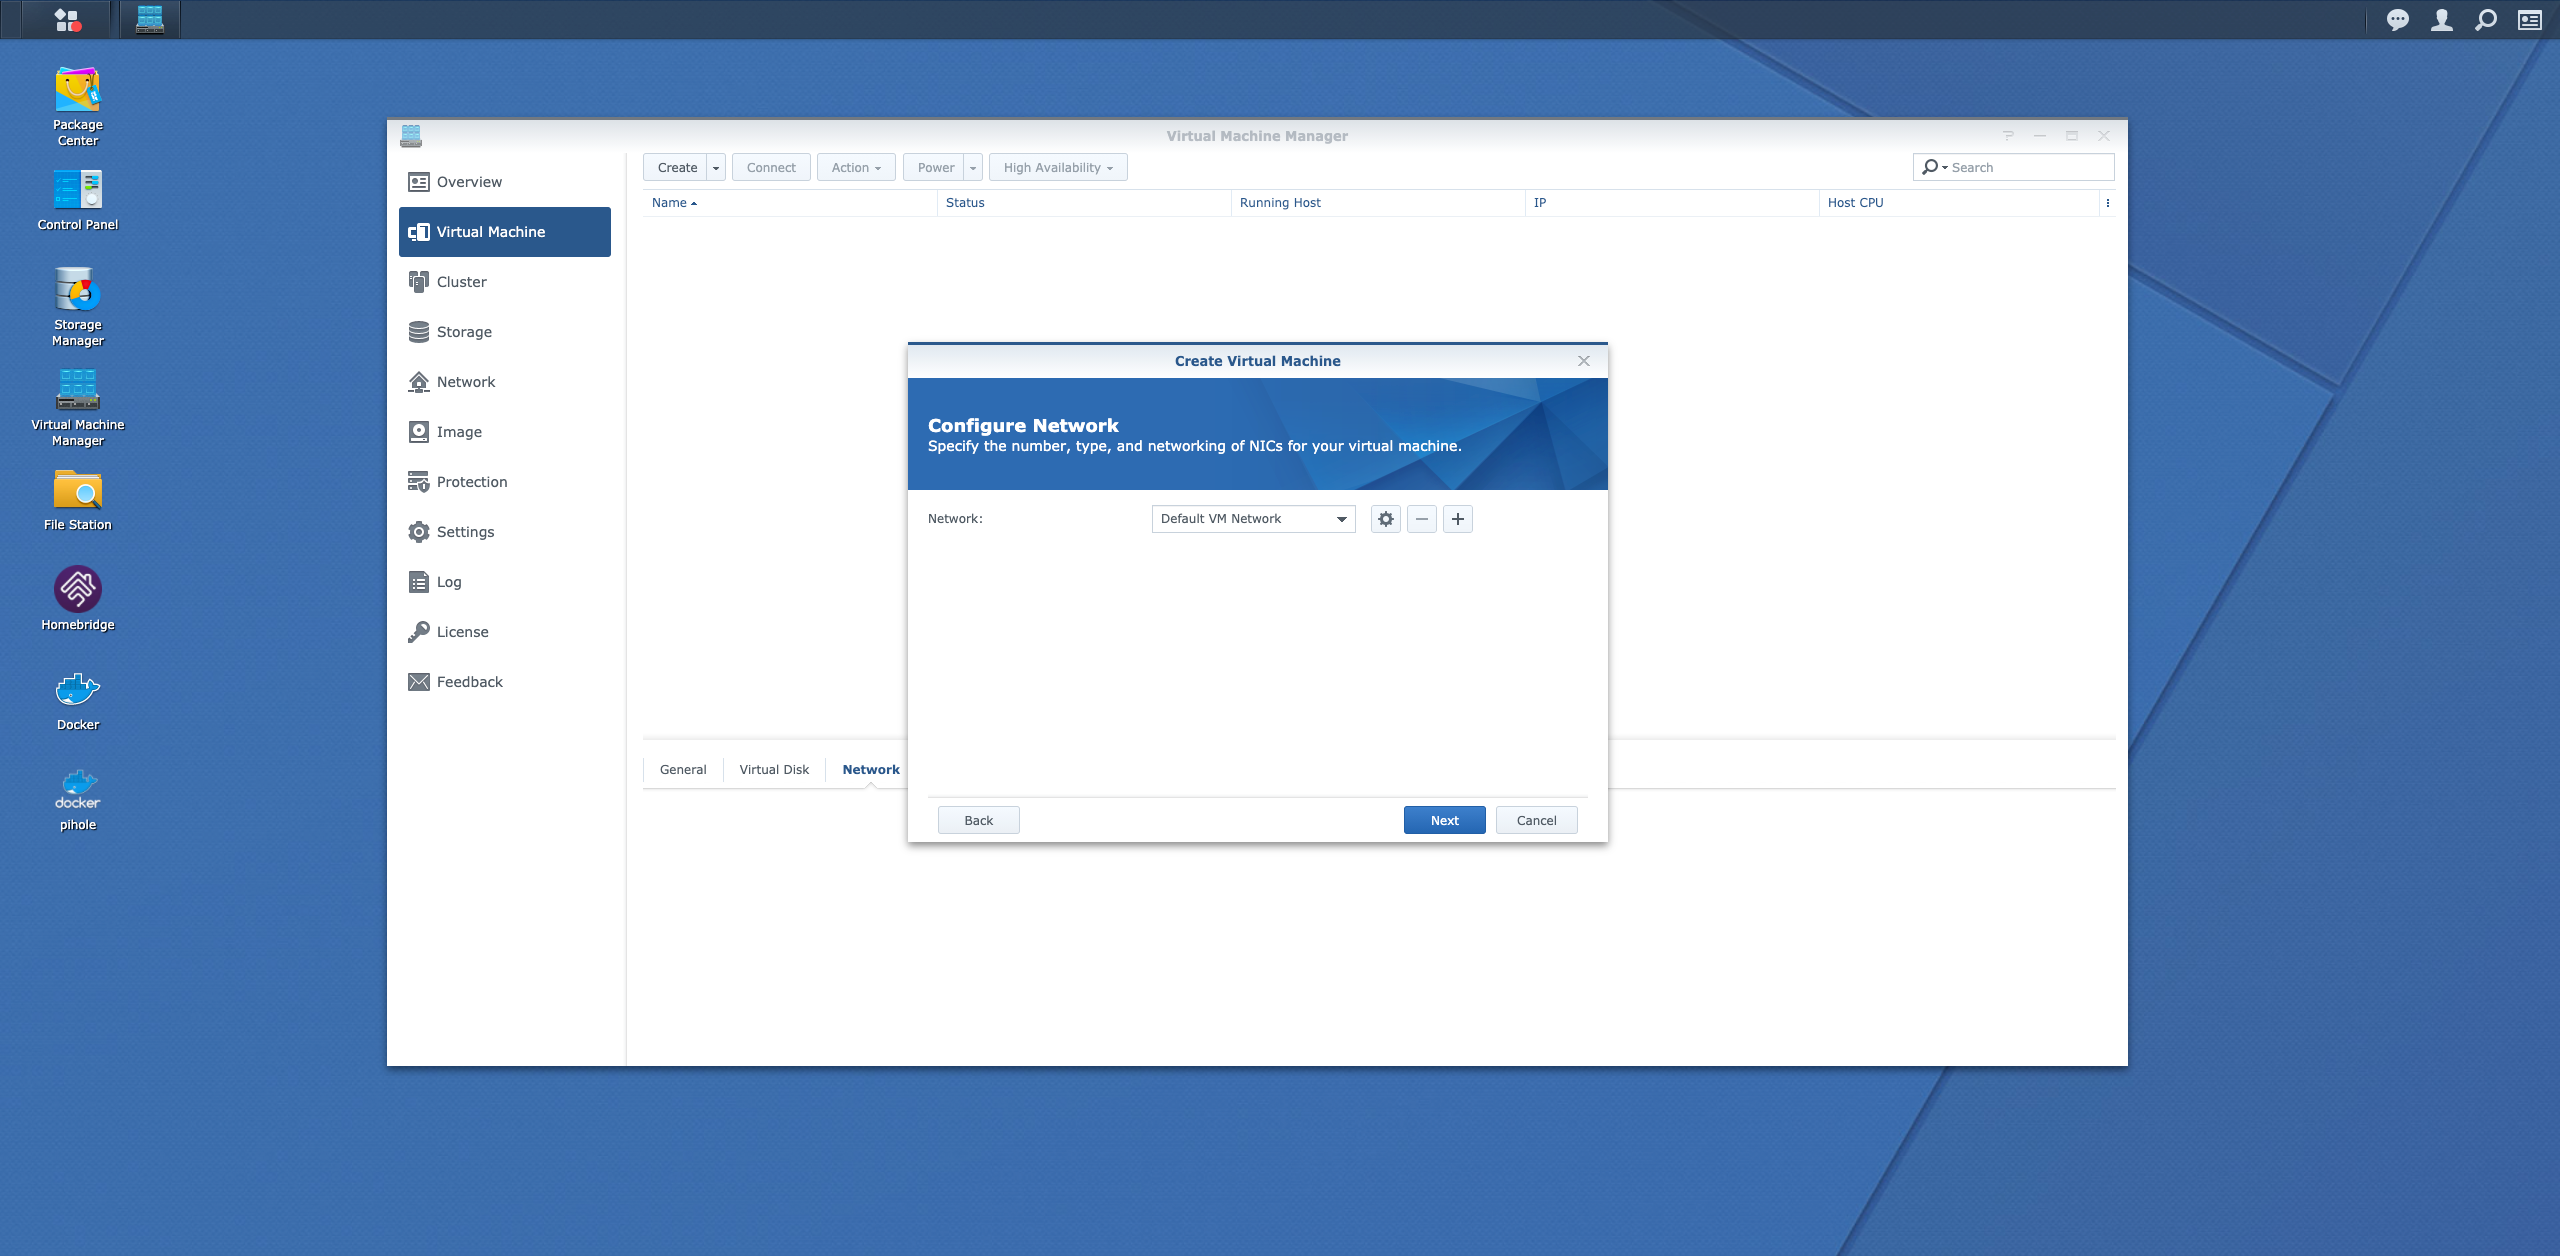
Next, you can proceed to create the Virtual Machine (VM). It is an eight-step process and also takes about 5 minutes.
Choose Linux as we are creating an Ubuntu Server VM.


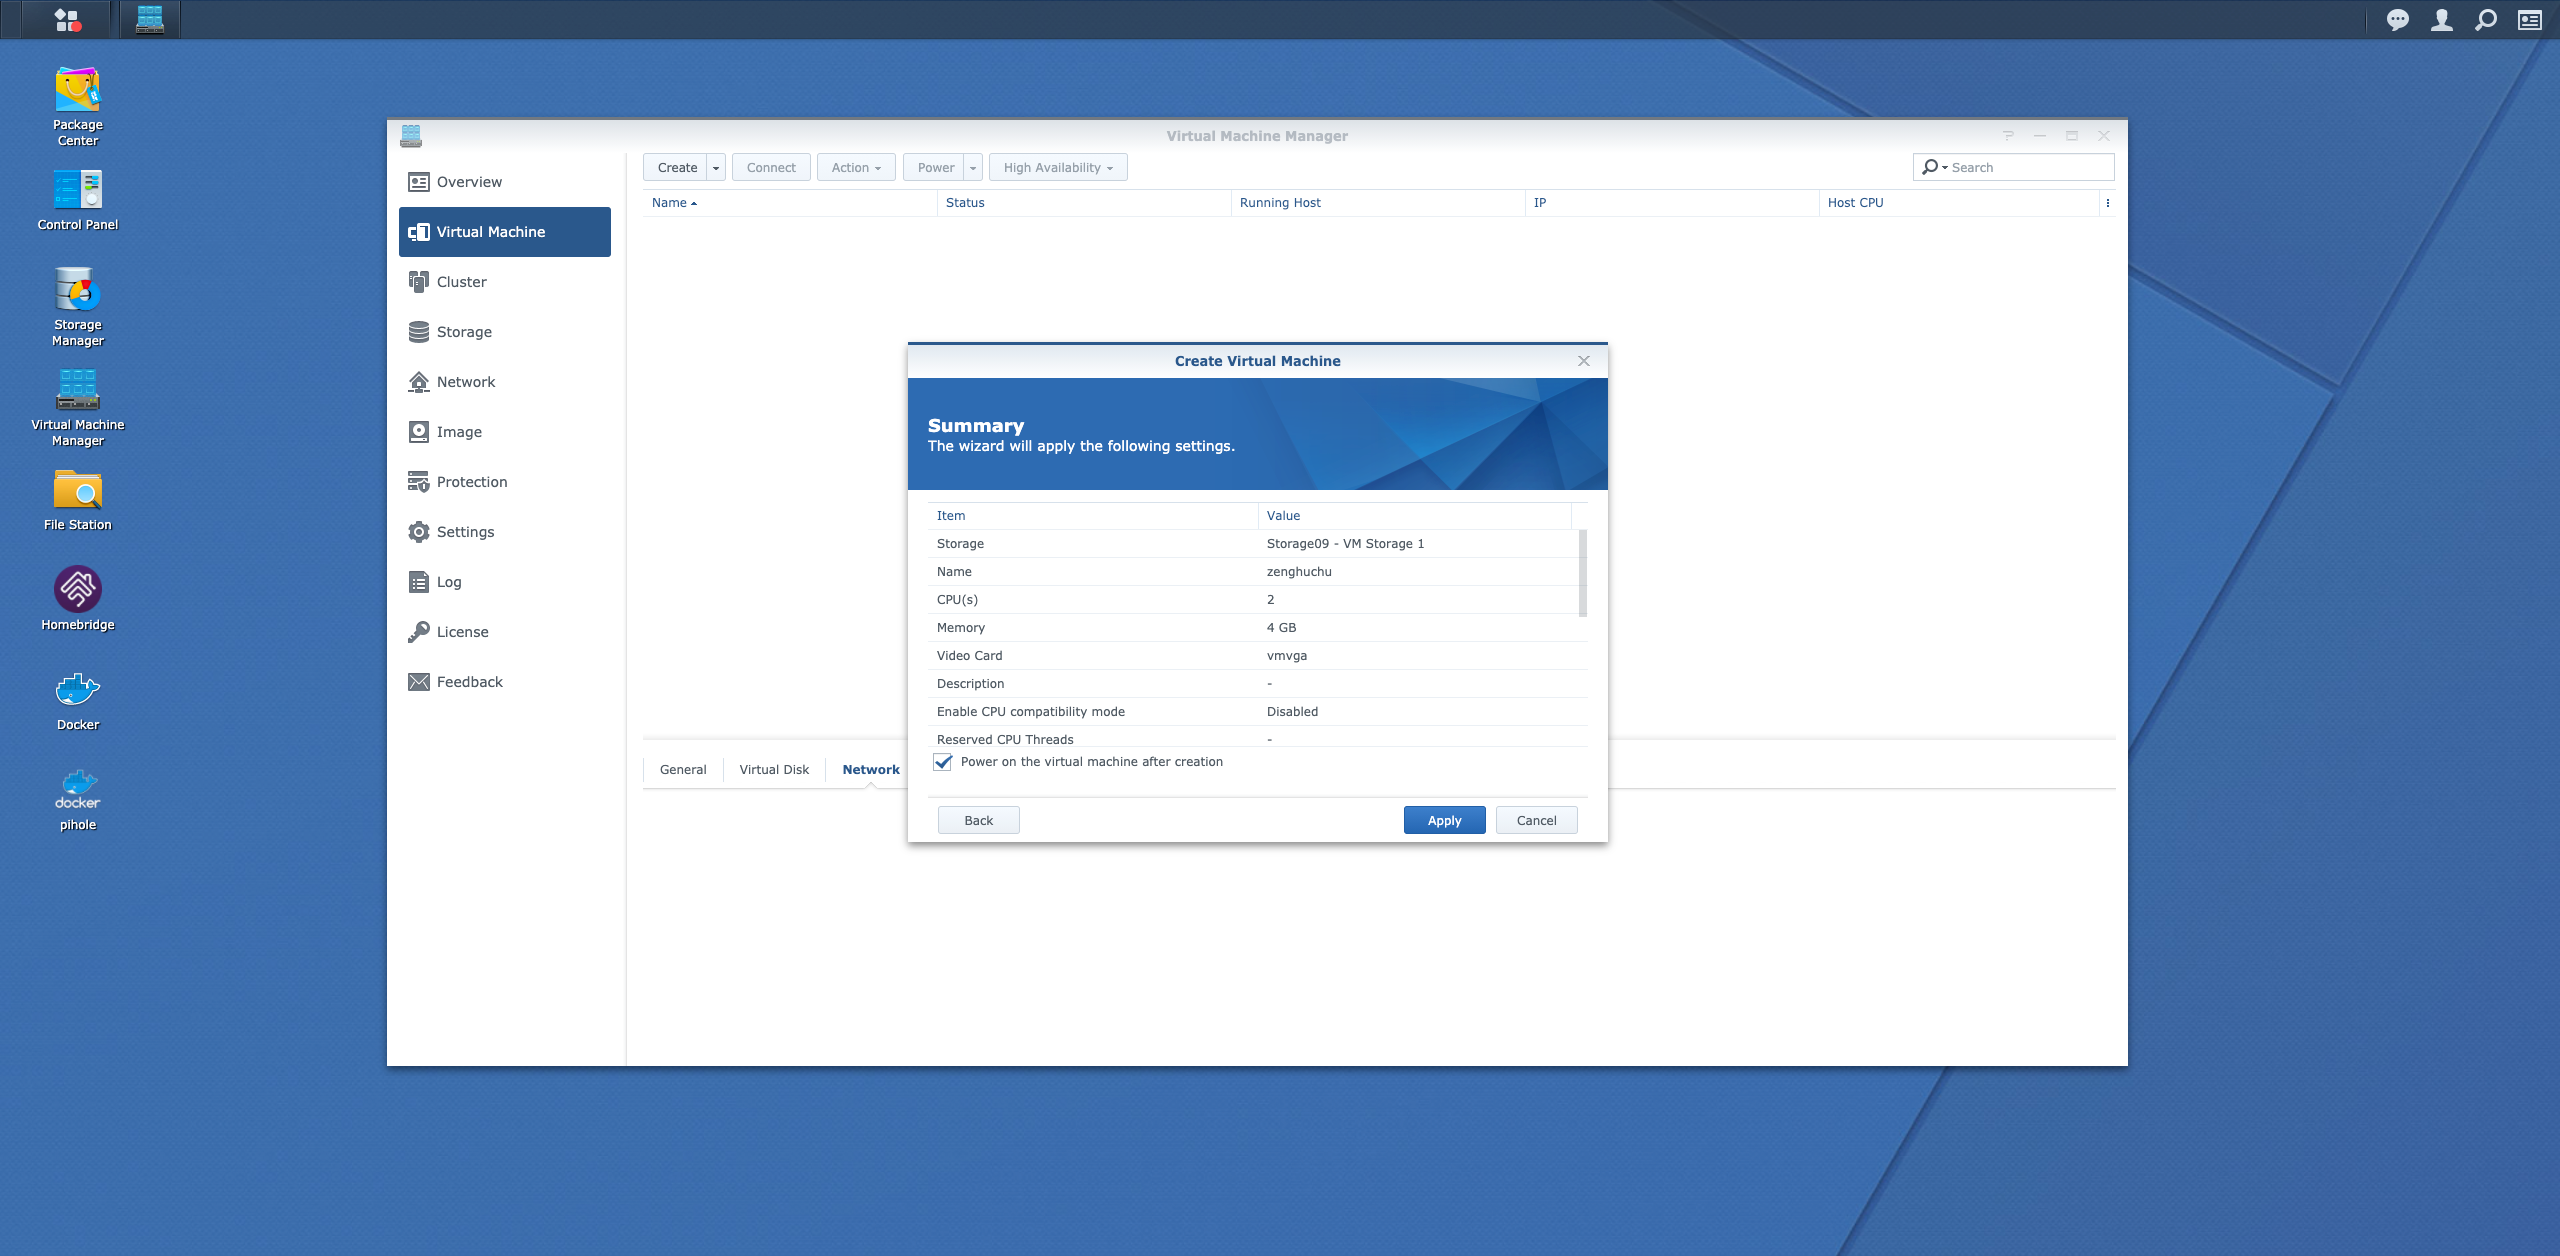
I would recommend at least 2 CPUs and 2GB of memory. In the screenshot below, I have chosen 2 CPUs and 4GB of memory.

Storage is really up to you what you are going to use the VM for. For me, 40GB is more than enough.

For the “ISO file for bootup,” choose the image which you have created earlier. For the other fields, you can leave it as the default.

This is also up to you who you want to give permission to power cycle your VM. I would choose just my username as my admin account is deactivated.

Remember to check the box “Power on the virtual machine after creation” so that the VM will boot up automatically after you created it.
As you can see from the IP column, it is a dash, so you will not know your VM’s IP. You can click on the Connect button at the top and then do an ifconfig to see the IP it is getting from your router.
If you need a local static IP for your VM, you can copy the Mac Address as shown in the bottom network tab and add it to your router’s DHCP reservations.

The installation is successful when you can connect to your VM via the Connect button. A new tab will be opened, allowing you to control your VM via the new tab.

Once you complete the Ubuntu Server installation, you can use Terminal to SSH into the instance directly.


unfortunately I get done but my Ubuntu VM can’t get DNS resolution
Should specify this is installing Ubuntu ***IN A VM*** not installing Ubuntu on a Synology NAS.