Synology DiskStation DS413j Review – Video, Audio & Photo Station
In my first part review of the Synology DiskStation DS413j, I talked about the Unboxing and Setup, in the second part review, I talked about the Performance, Backup & CloudStation and for this last review, I will talk about the multimedia features of the DS413j and that includes Video Station, Audio Station and Photo Station as well as their mobile apps, DS Video, DS Audio and DS Photo+ respectively.
There are a lot of features in the Video/Audio/Photo Station, and hence for this review, I will focus on my personal use case; I want to access/stream my music/video/photos stored in my Synology NAS wherever I am on my iPhone or Android.
If you need access to your photo, video and audio files outside of your own home, you will need to do port forwarding at your router, or alternatively you can use Synology QuickConnect which I covered previously.
For Video Station/DS Video & Audio Station/DS Audio, the port being used are 5000 (HTTP) and 5001 (HTTPS). In case you are wondering, port 5000 and 5001 are the same port being used to access your Synology DSM.
For Photo Station/DS Photo+, it uses the default http/https port 80 (HTTP) and 443 (HTTPS). I wish Synology would keep it consistant and use 5000 and 5001 instead.
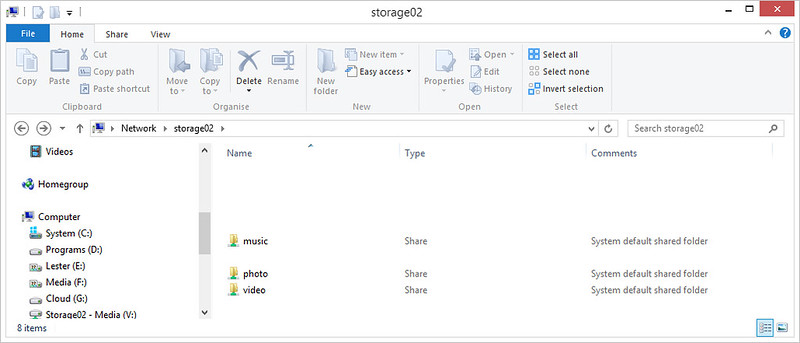
Once you have installed the respective packages under the Package Center in Synology DSM, for Photo/Audio station, it will create a shared folder called photo and music respectively, for video you will have the option of choosing a different name, but for convention sake, I named it as video.
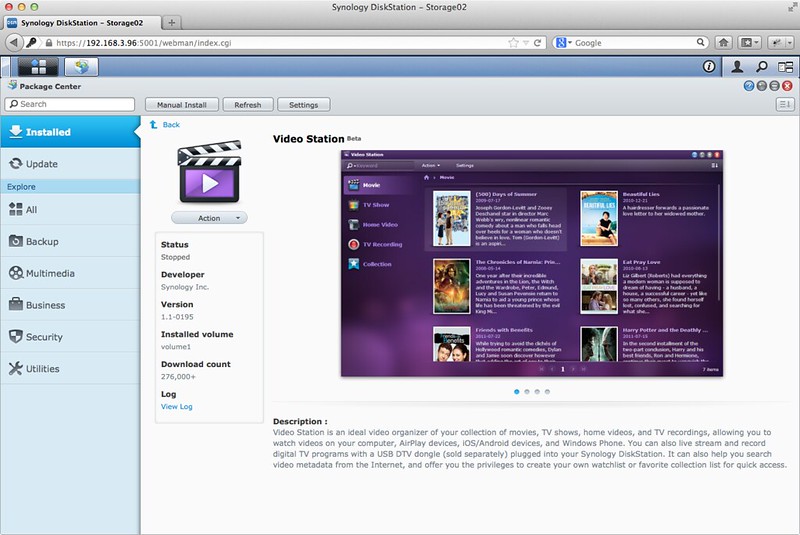
Video Station
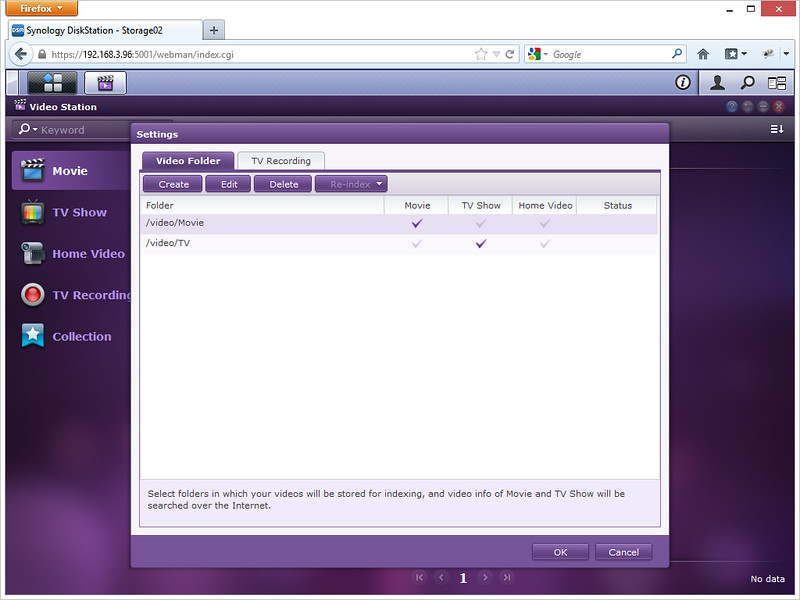
Under my video folder, I created 2 more folders, 1 called movie and another called TV to store movies and TV shows respectively.
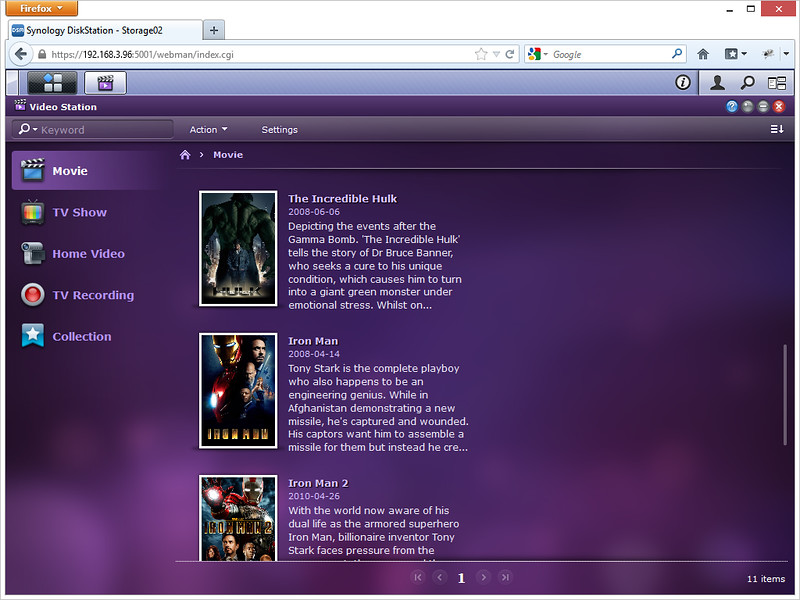
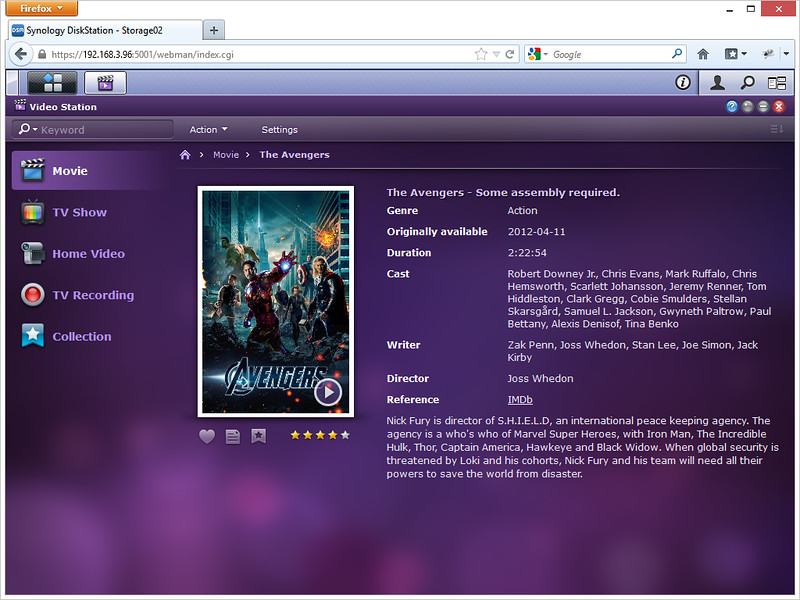
Once you have placed your video files into the respective sub folders, it will appear under your Video Station. To Access your Video Station, login to your Synology DSM, click on the top left button (Main Menu button) and choose Video Station. You can also drag out the Video Station icon to your Synology DSM desktop for quick access.
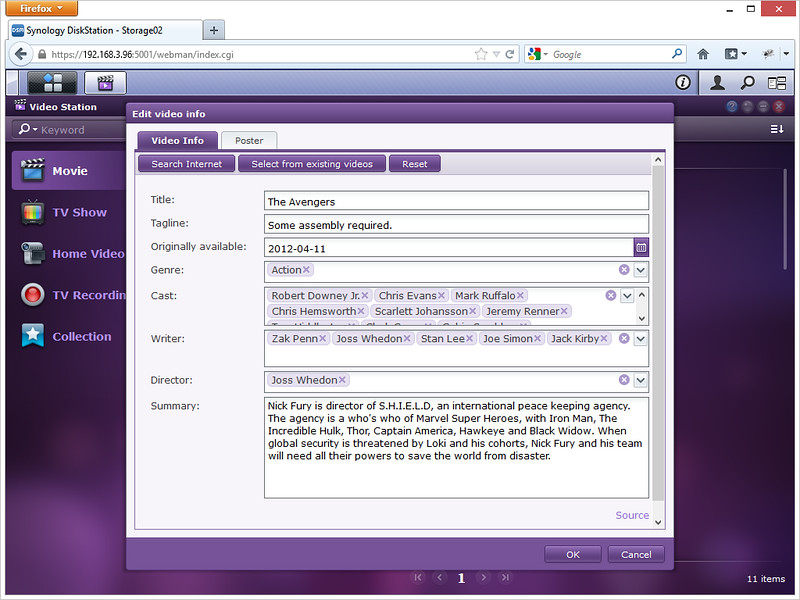
Video Station will try to determine the meta data of the movie, like the poster, official title of the movie, launch date as well as description. It gets the data from @movies, themoviedb.org, freebase, thetvdb.com and allocine.com
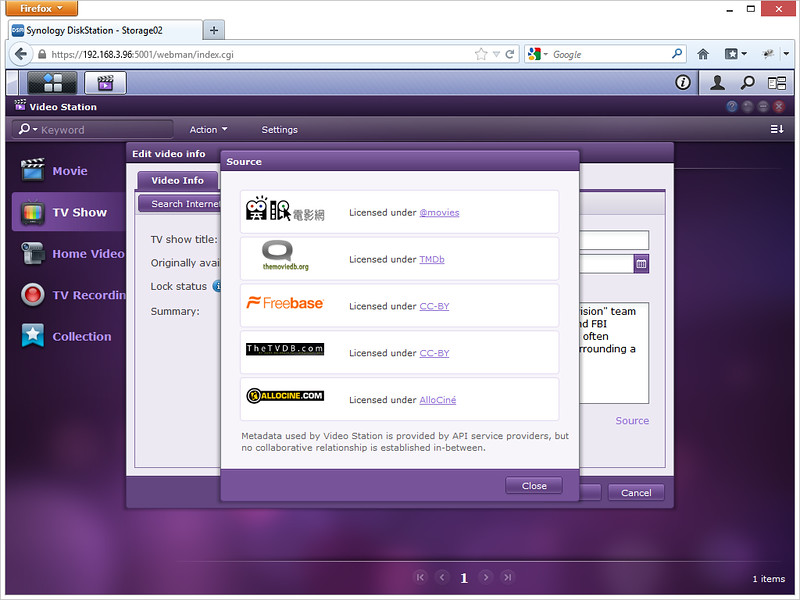
If the information is wrong or missing, you can edit the video info and correct it.
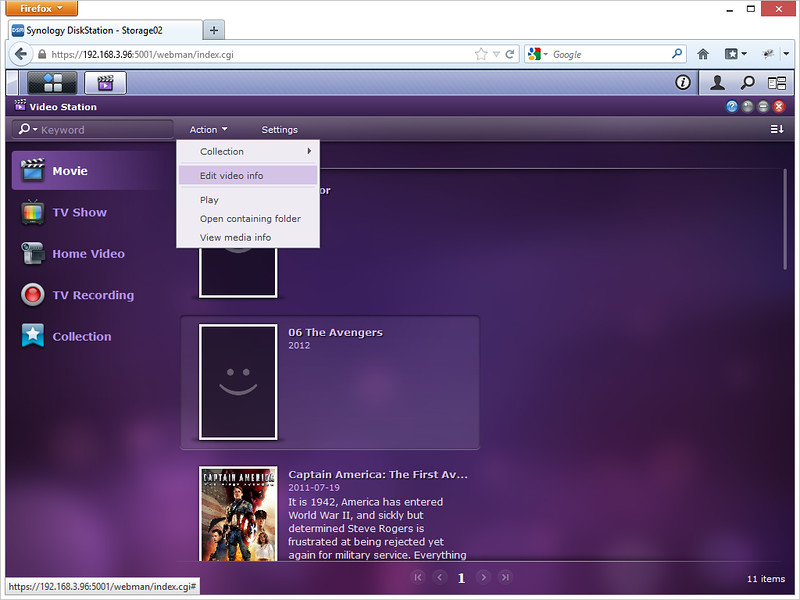
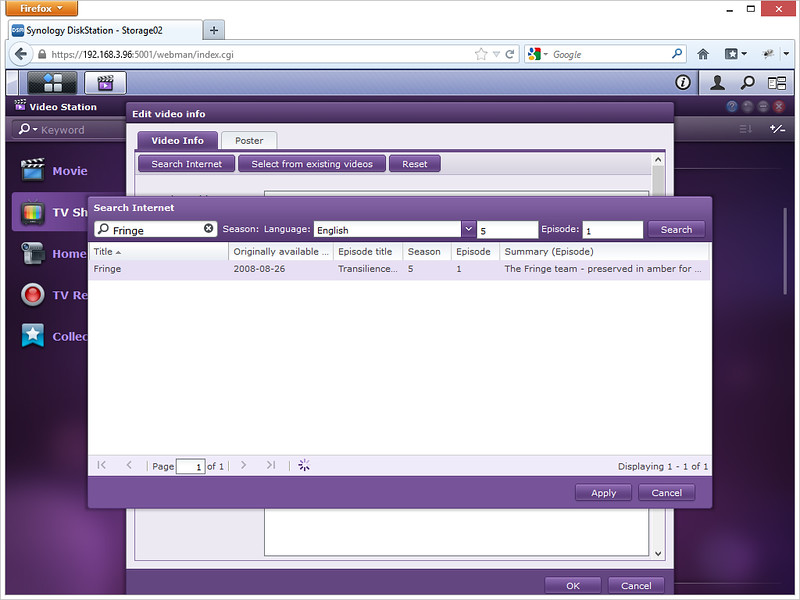
What amazes me is that you can search for the video meta data by just clicking the “Search Internet” button and type in your movie title, it will take roughly about 1 minute before the data is returned.
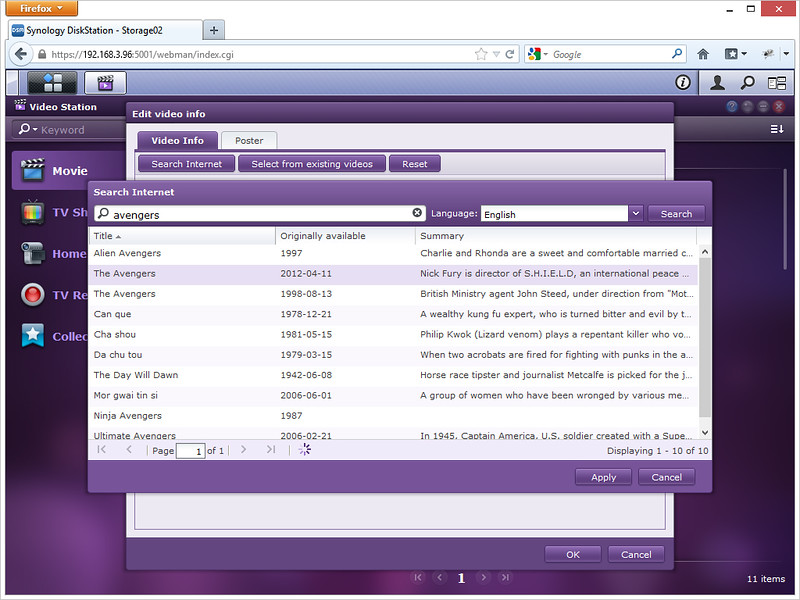
After choosing the correct meta data for your video, click “Apply” and there you go!
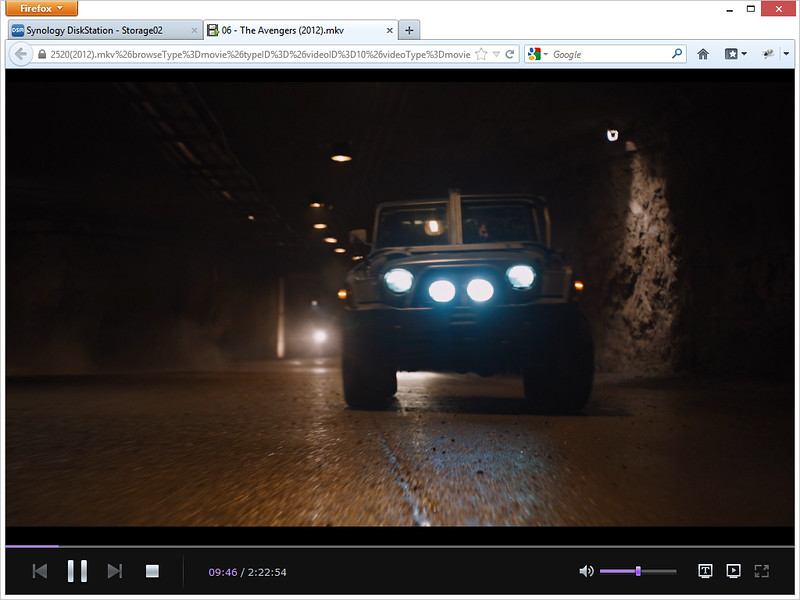
Video Station supports video streaming right in your browser. If you are playing a HD video (.mkv), the buffering takes very long (30 seconds) and the sound produced from the video playback is muffled as I am guessing they are transcoding the video to keep the data stream small. I don’t think I will be using this feature for movies.
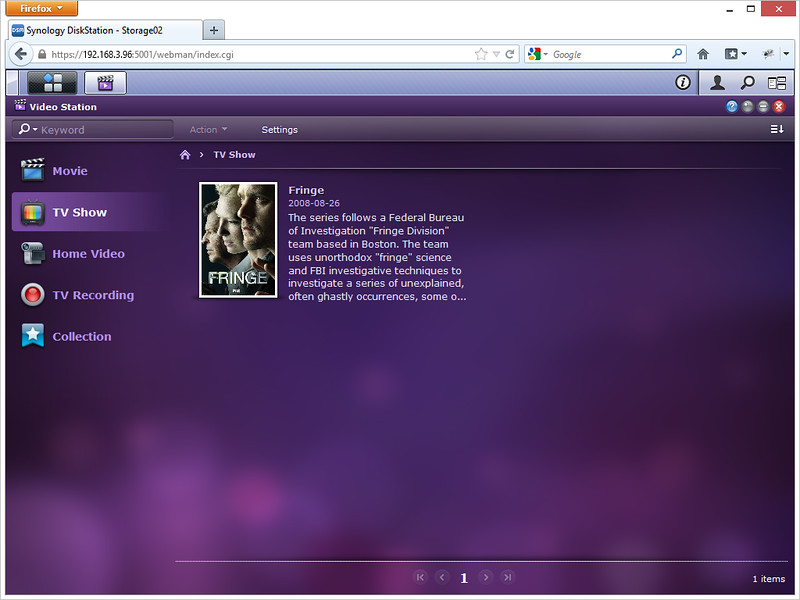
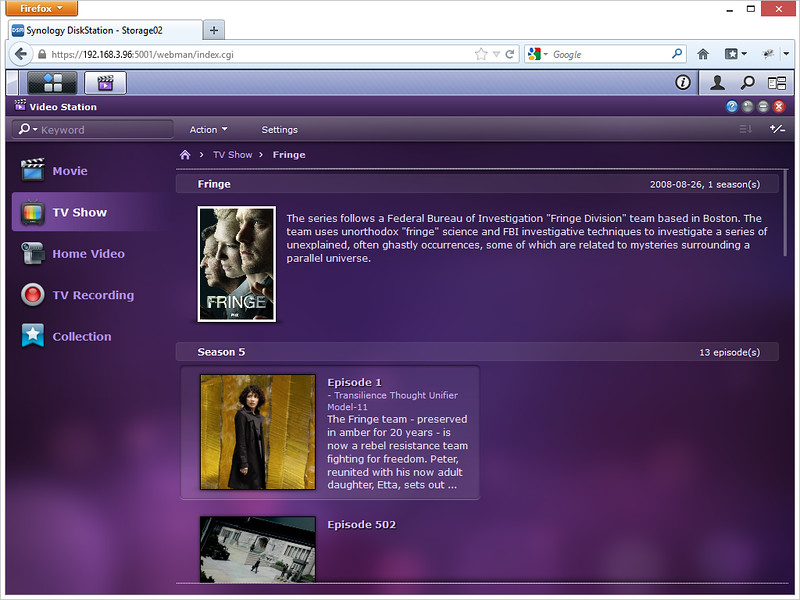
However if you are watching TV Shows, they normally come in .mp4 format and the file size is normally small and hence the streaming it is pretty smooth.
DS Video
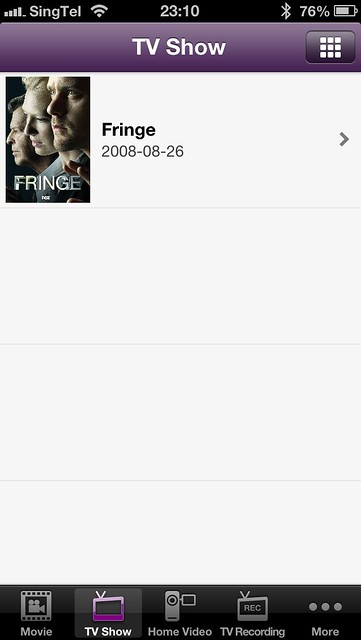
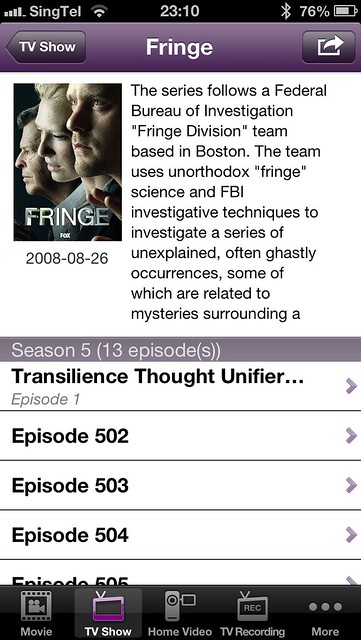
DS Video is the app to access your Video Station’s video collection. You can stream videos and watch live TV programs (requires a DTV dongle). For streaming videos, if the file format is not supported by your iOS devices. Video Station will do real-time transcoding so that the videos can be played on your iOS devices. You can also assign video playback quality to ensure smooth streaming based on your Internet connection.
DS Video Download Link: iOS (Universal) | Android | Windows Phone
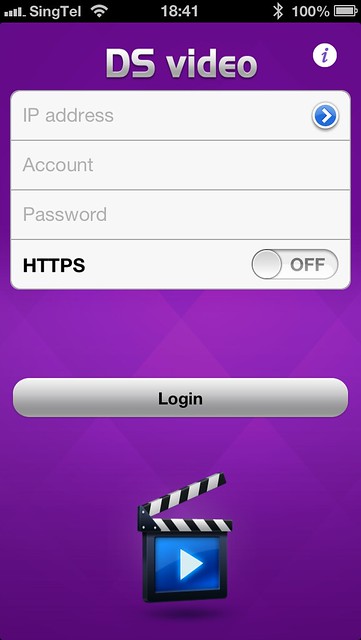
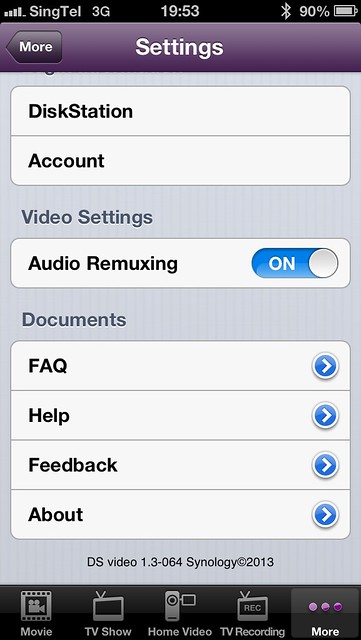
If your video format is in .mp4, .m4v, or .mpv, it will play on iOS devices just fine and no transcoding is needed. On LTE, the streaming works smoothly though I get request time out at times when trying to stream the movie.
However, if your movie is in HD (.mkv) format, transcoding is needed and it faces the same issue as streaming the movie in your browser from your Video Station. The buffering is long and audio is muffled.
One cool feature of the Video Station is it supports resume, if you are streaming your tv show on your browser and need to attend to something, you can carry on where you left off on your DS Video app on the go.
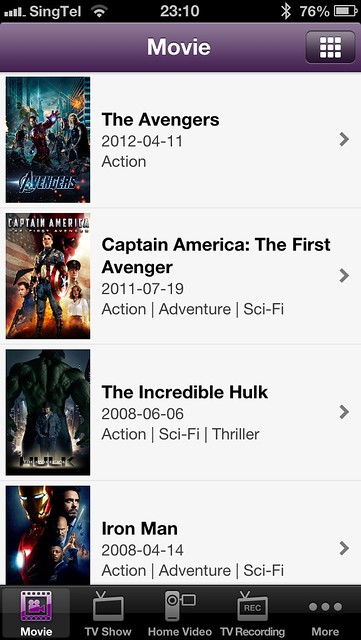

It supports subtitles as well.

Audio Station
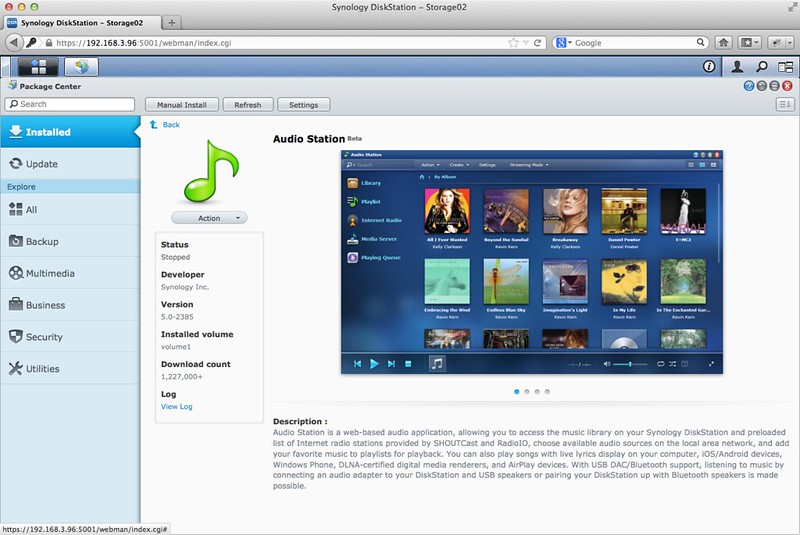
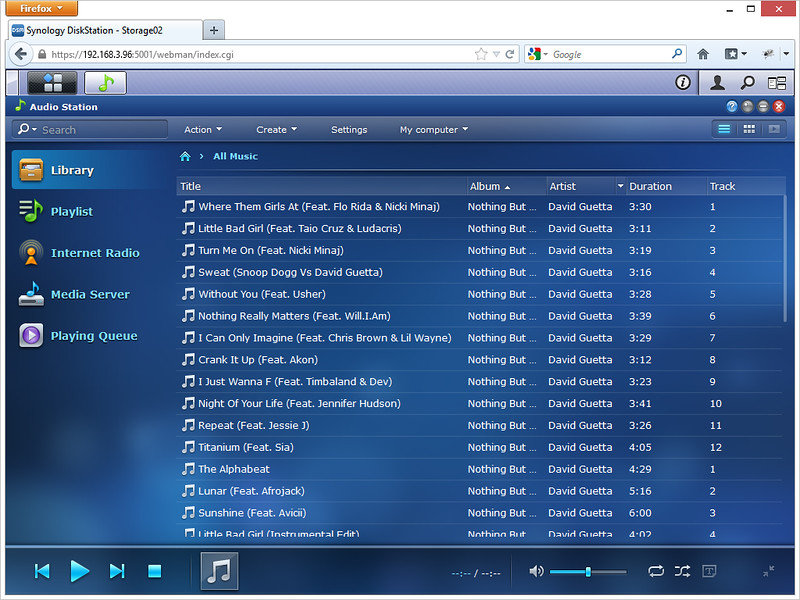
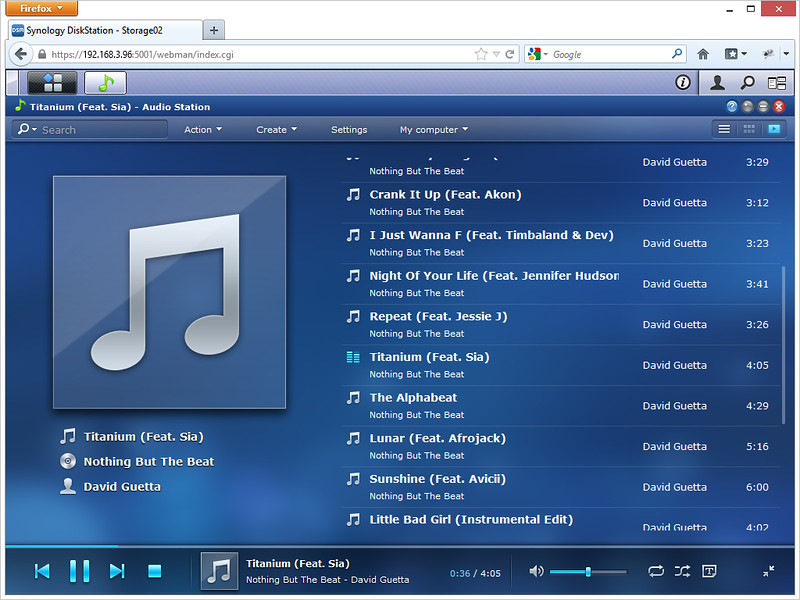
Similar to Video Station, to put music into Audio Station, simply copy your music files over to the music shared folder that has been created for you when you installed the Audio Station package. It will take about 15 seconds before it shows up in the Audio Station -> All Music.
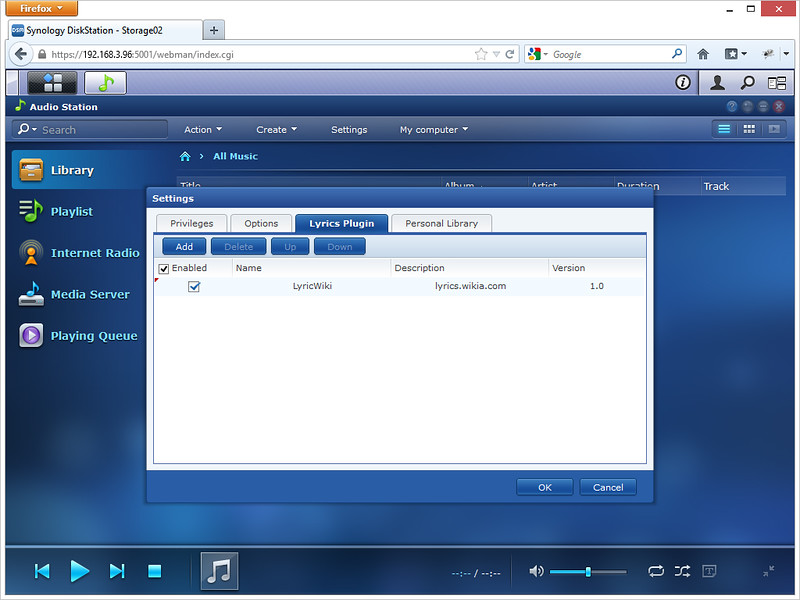
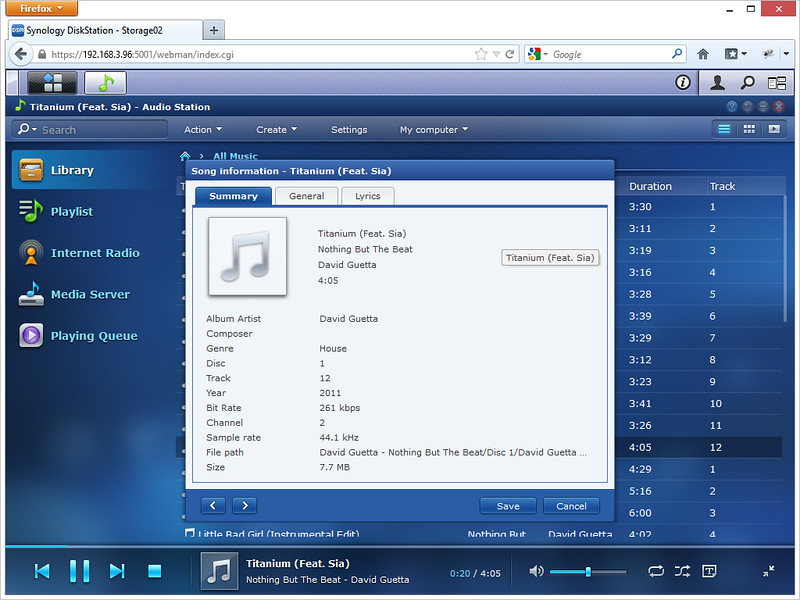
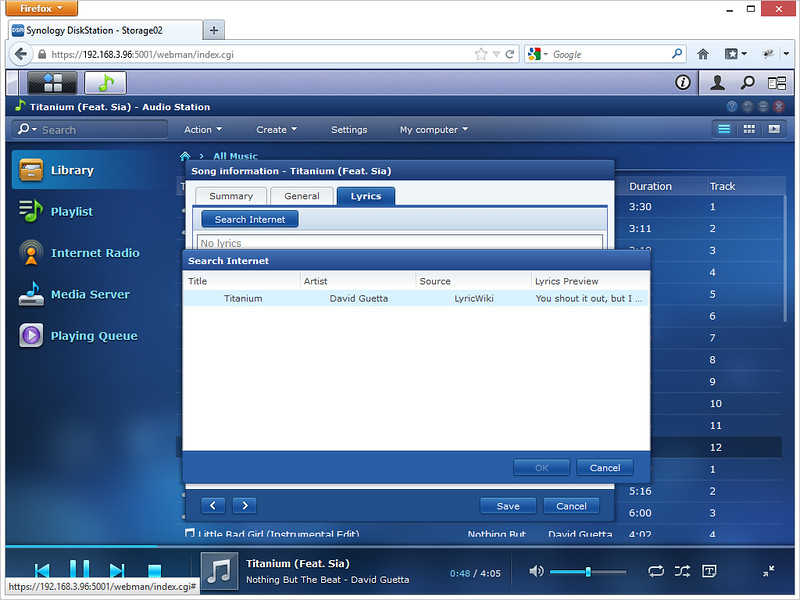
My impression of Audio Station is it is pretty straight forward to use, it lacks one feature, that is the ability to automatically find Album Cover Art for your song. It does that for lyrics but for some reason the lyrics are truncated after a certain character count for the default Lyrics source, lyrics.wikia.com.

DS Audio
DS Audio is the app to access your Audio Station’s music collection. You can stream music, listen to music in offline mode and it even supports AirPlay (iOS only).
Streamed the songs from my Audio Station via LTE and the audio streaming was smooth, audio was clear. No complains here. After you played a song, it will be cached automatically for offline mode. You can set the maximum number of songs to be cached in the app settings.
DS Audio Download Link: iOS (Universal) | Android | Windows Phone
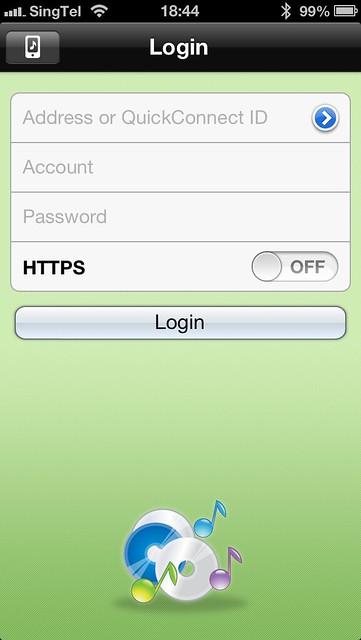
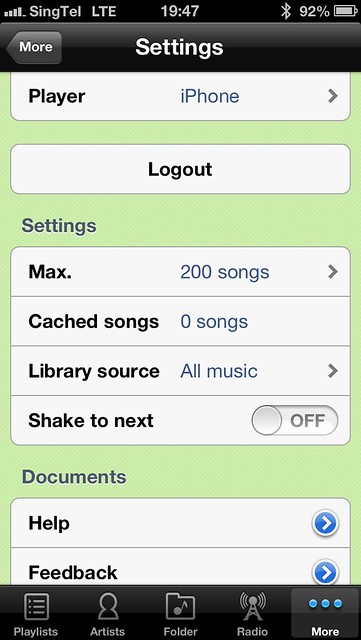
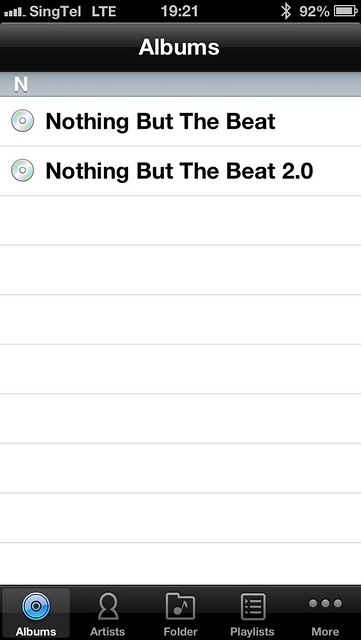

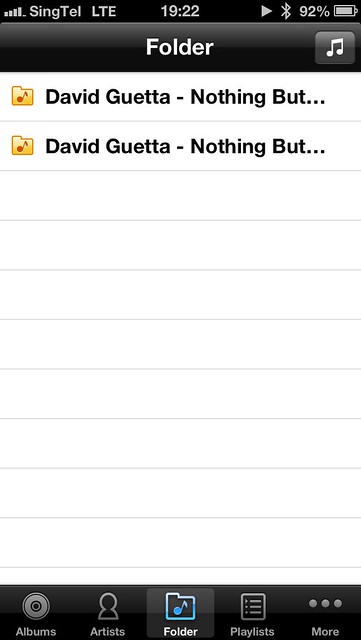


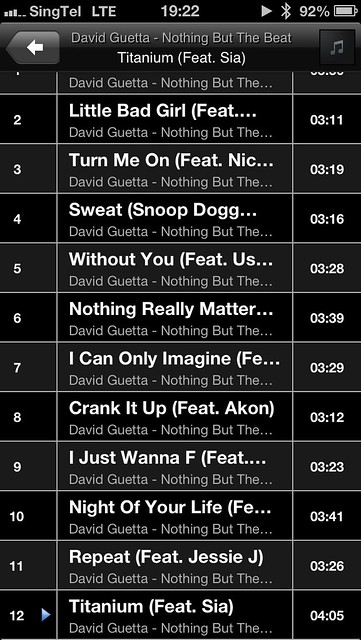
Photo Station
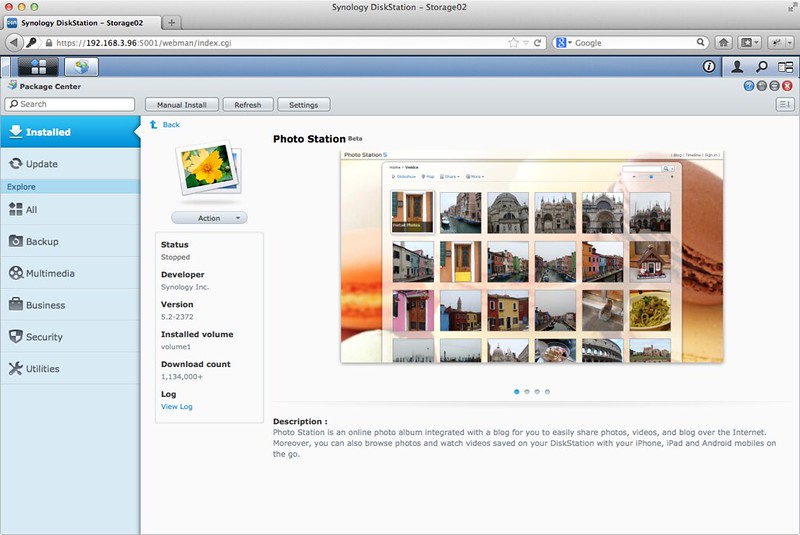
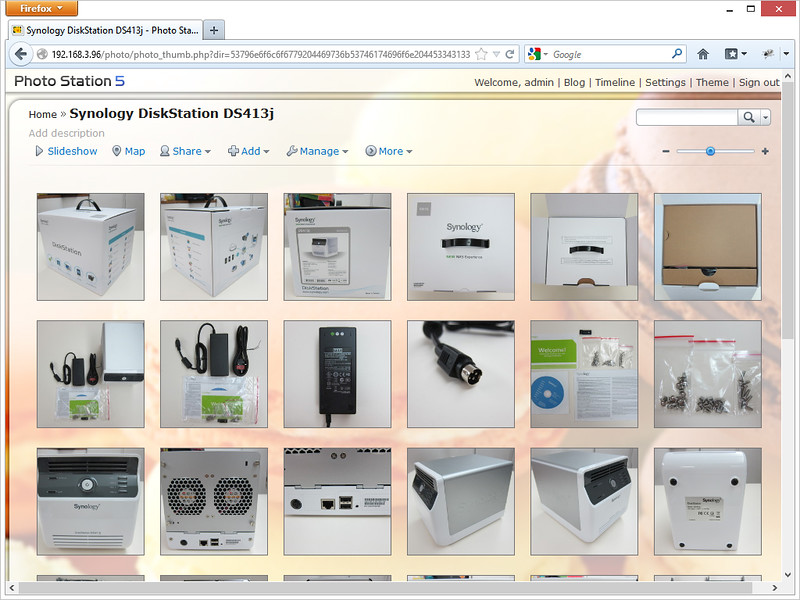
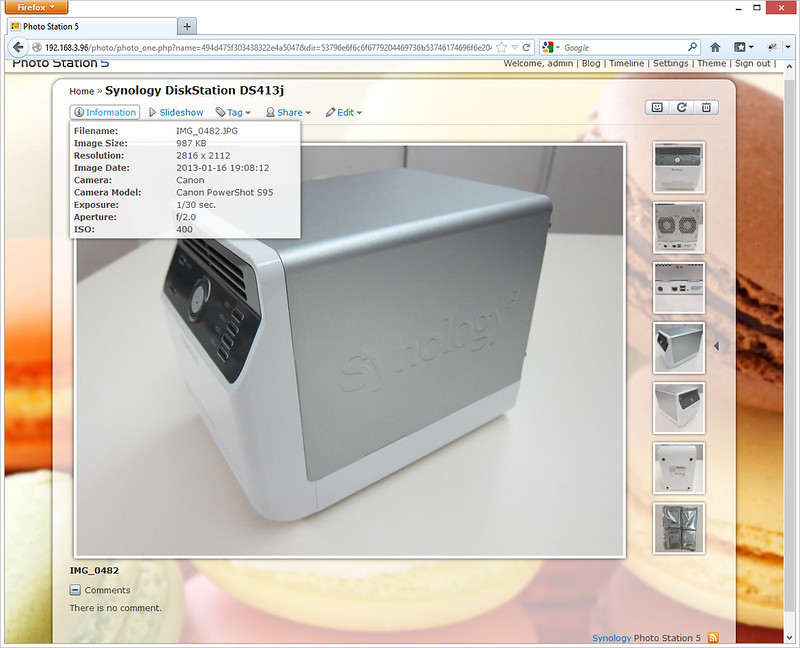
Similar to how copy files over to the folder in Video and Audio Station, for Photo Station, you copied your photos to the photo folder. Photo Station is a pretty comprehensive photo gallery for the web. If you are viewing photos at home, you would normally just use Finder (Mac) or Windows Explorer (Windows) and browse the shared photo folder. My guess is that Photo Station will be useful when you are at a friend’s house and want to show them photos that you have taken at a recent trip and do not want to share them on Facebook.
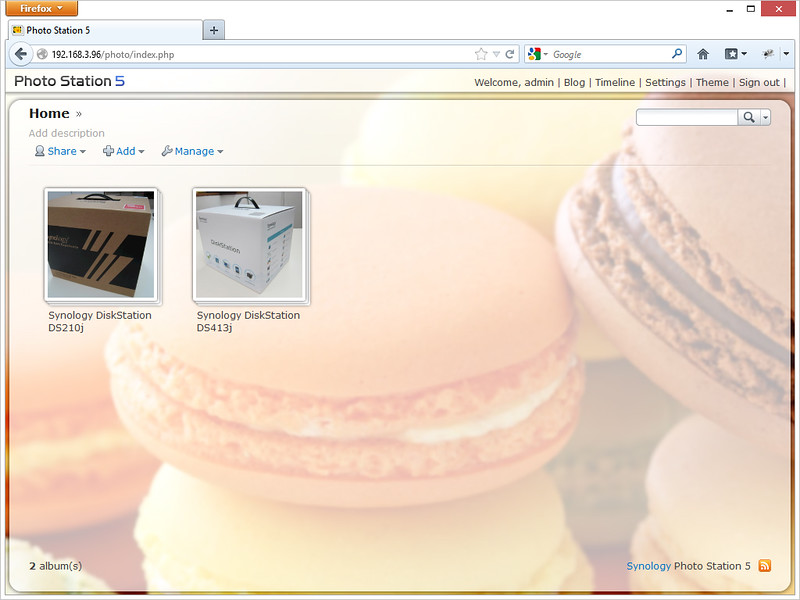
By default, all photos that you copied to the shared photo folder are set to private and hence you need to login to Photo Station using the same credentials as Synology DSM to view them.
Some interesting features in Photo Station includes Face Recognition which is still experimental as well as a photo blog with commenting functionality. With regards to social integration (Facebook, Twitter, Plurk, Google+, Weibo and QQ) you can share photos stored in your Photo Station.
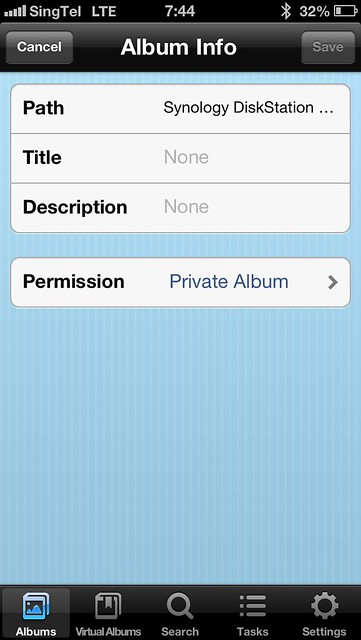
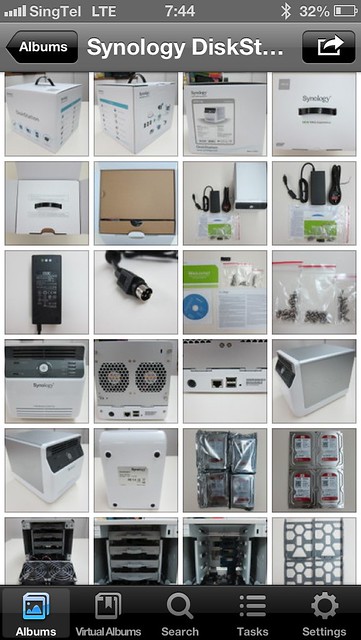
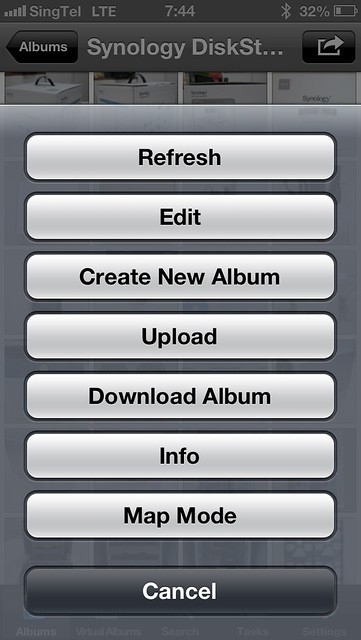
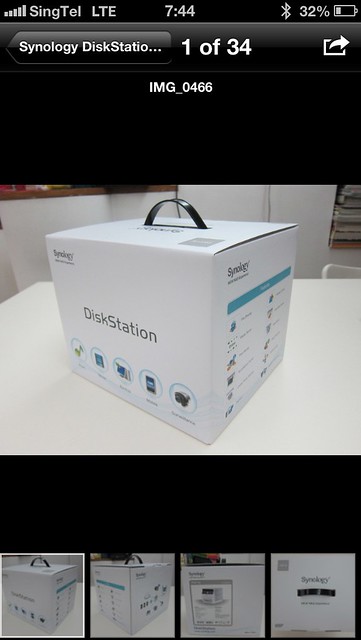
DS Photo+
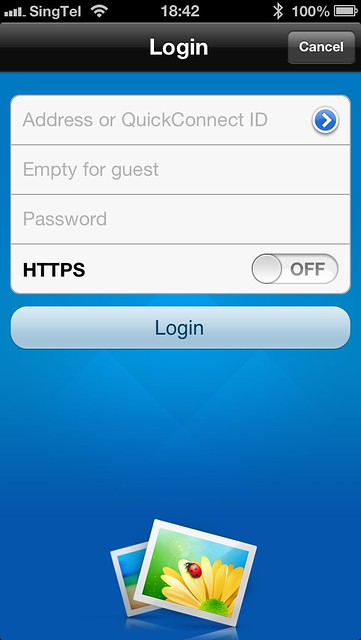
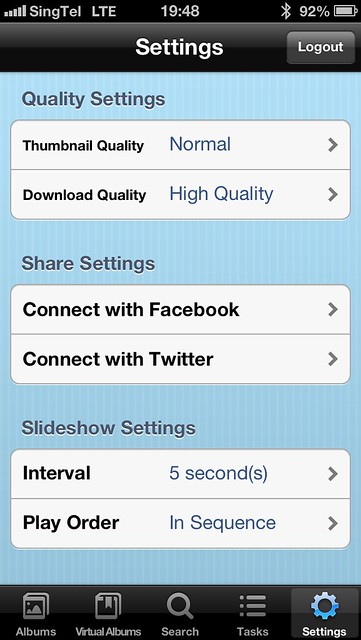
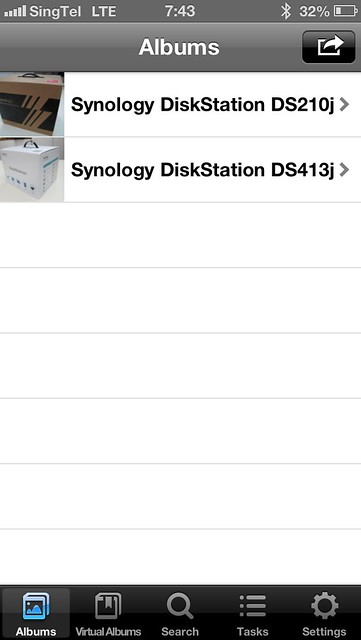
DS Photo+ is the app to access your Photo Station’s photos. I am not too sure why is there a + behind the name “DS Photo”. There is an app called DS Photo before DS Photo+ but it could only view photos and not upload them from your mobile device.
With DS Photo+, you can view all your photos stored in Photo Station, you can also upload your mobile device’s camera photos to Photo Station. If you connect your printer to DS413j, you can print those photos via AirPrint (iOS only).
DS Photo+ Download Link: iOS (Universal) | Android | Windows Phone


Summary – Video/Audio/Photo Station + DS Video/Audio/Photo+
Video/Audio/Photo Station is a very well done web companion packed with features to view and organise your multimedia content. But for most people who use them only at home, it may not be as useful as it is faster to use native viewer (Finder/Windows Explorer) to navigate through and view/play the content.
Having said that, the mobile companion apps like the DS Video/Audio/Photo+ are more useful, because you will have access to all your multimedia contents right in your mobile phone wherever you are regardless whether you are using an iOS, Android or Windows Phone.
Summary
The Synology DiskStation DS413j is expensive for some people, because after adding in the HDD cost, it can easily cost up to S$1,600. But to justify the cost, the Synology DSM is the best NAS web UI I have ever seen, it packs tons of features and it is easy to use.
A NAS is meant to be on for 24/7 which means you can use Cloud Station for it and depending on the size of your HDD and your RAID type, you can easily get 2TB of storage. In comparison, a 1TB Dropbox for Team plan for 5 users/year will cost you US$795 (S$982).
Once you have use a Synology NAS, you will never look back. I have been through that path of using D-Link, Iomega and Buffalo NAS.
If you are having a budget constraint, I would recommend you the Synology DiskStation DS212J (2-Bays NAS) instead. The unit itself cost S$380 and getting 2x WD Red 2TB will cost you S$190 each, setting you back a total of S$760.
Pros:
- Synology DSM is packed with awesome features
- Used with WD Red, the HDDs are almost slient
- Good mobile support (DSM Mobile, iOS & Android native apps)
- Cloud Station is a very good alternative to a private Dropbox
Cons:
- Might be expensive to some
- QuickConnect is useful for non tech-savy users but it is pretty slow to connect
Recap
- Synology DiskStation DS413j Review #1: Unboxing and Setup
- Synology DiskStation DS413j Review #2: Performance, Backup & CloudStation
- Synology DiskStation DS413j Review #3: Video, Audio & Photo Station (this post)
