The D-Link DAP-1860 AC Wi-Fi Range Extender was launched in Singapore last month and is retailing for S$189.
The D-Link DAP-1860 operates on both the 2.4GHz and 5GHz wireless bands using concurrent dual-band technology with four MIMO external antennas. It supports MU-MIMO.
It uses wireless 802.11ac Wave II technology and hence it can provide speeds of up to 2,532Mbps (1732Mbps Wireless AC + 800Mbps Wireless N).
Specifications
- Wireless: IEEE 802.11 ac/n/g/b/a wireless LAN
- Wireless Security: Wi-Fi Protected Access (WPA/WPA2), WPS (PBC)
- 2.4GHz Band: 2400 – 2483 MHz ISM Band (11 Channels for USA, 13 Channels for European Countries)
- 5.0GHz Band: 5180 – 5850 MHz USA, 5150 – 5175 MHz European Countries ( 5 GHz Band:36 – 165 USA, 36 – 140 European Countries)
- Wired: 10/100/1000 Gigabit Ethernet Port
- Antenna: Four Adjustable External Antennas (4×4 MIMO Configuration)
- Buttons/Switches: Power Switch, WPS Button, Reset Button
- LED Lights: Status/WPS, 3 Segment Wi-Fi Signal Strength Indicator
- Dimensions: 158.5 x 69.8 x 51 mm
- Weight: 403g


Setup
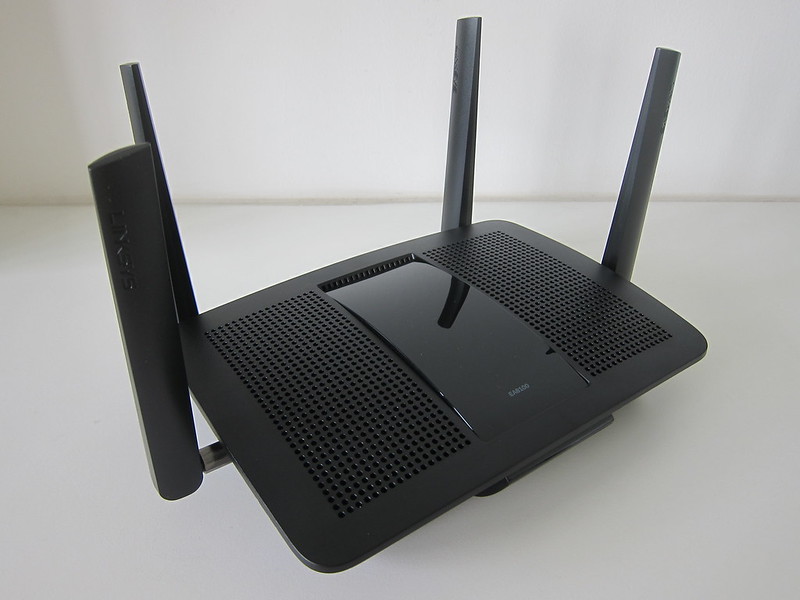
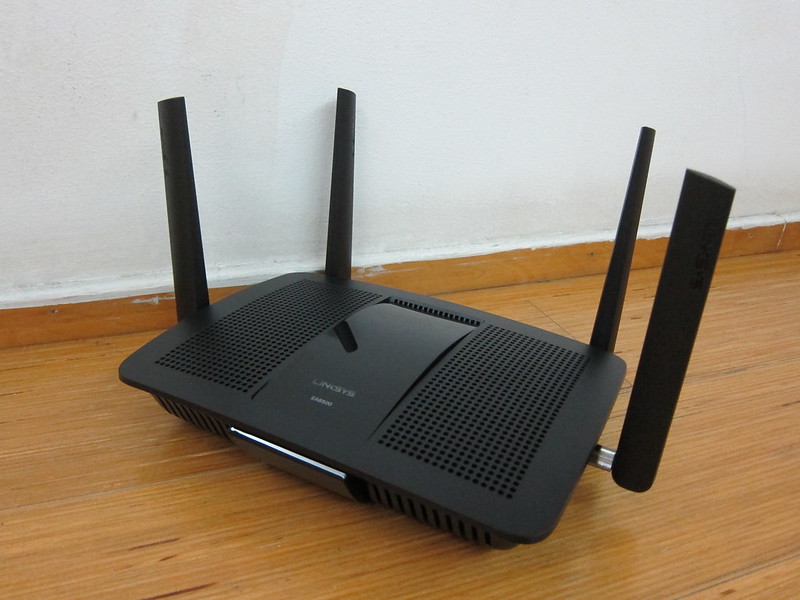
I am using the D-Link DAP-1860 with my ASUS RT-AC88U Router at my new place.
I was using the D-Link DIR-890L AC3200 Wireless Tri-Band Gigabit Cloud Router previously when I am still staying with my parents.
Setting up the DAP-1860 is very straight forward if you are using Wi-Fi Protected Setup (WPS). Just press the WPS button on the DAP-1860 followed by the WPS button on your router and you are good to go.


Unfortunately, I don’t use WPS and I have to set it up manually (which is more fun for me).
Setting up manually isn’t as complicated as I thought. I am setting it up as a Wi-Fi repeater mode rather than a hotspot mode via the built-in Ethernet port.
After plugging in the DAP-1860, just go to the admin URL which is indicated in your D-Link Wi-Fi Configuration Card. For me, mine is http://dlinkapDD7C.local which points to 192.168.0.50. The default username is “Admin” and password can be left blank.
Once inside the admin panel, just go to Network -> Extender and you can configure the DAP-1860 easily. Check out the screenshots below:


Nah, just 1 part, is not meant to be detailed. LOL not time to do a in-dept one these days! I would still recommend going to mesh rather than repeater