Synology DiskStation DS920+ is the highest end 4-bay NAS of the new Synology 2020 Plus series. Other models in the series include the DS420+ (4-bay), DS720+ (2-bay), and DS220+ (2-bay).
DS920+ has an Intel Celeron J4125 with 4GB of DDR4 ram. Intel J4125 is a 4-core 2.0 GHz (burstable to 2.7 GHz) processor.
You can expand the RAM on the DS920+ to 8GB by adding in another 4GB stick.
Ports wise, it has 2x USB 3.0 port, 1x eSATA port, and 2x 1GbE port.
It comes with a three-year warranty, which I think is just nice.
Fun fact, Synology refreshes its NAS every two years. The predecessor of the DS920+ is the DS918+. The last two digits of the model number represent the year it was launched.
The suffix “+” represents it belongs to the Plus series (higher-end). The suffix “play” or if there is no suffix, belongs to the Value series (mid-range). The suffix “J” or “slim” belongs to the J series, which is for entry-level NAS.
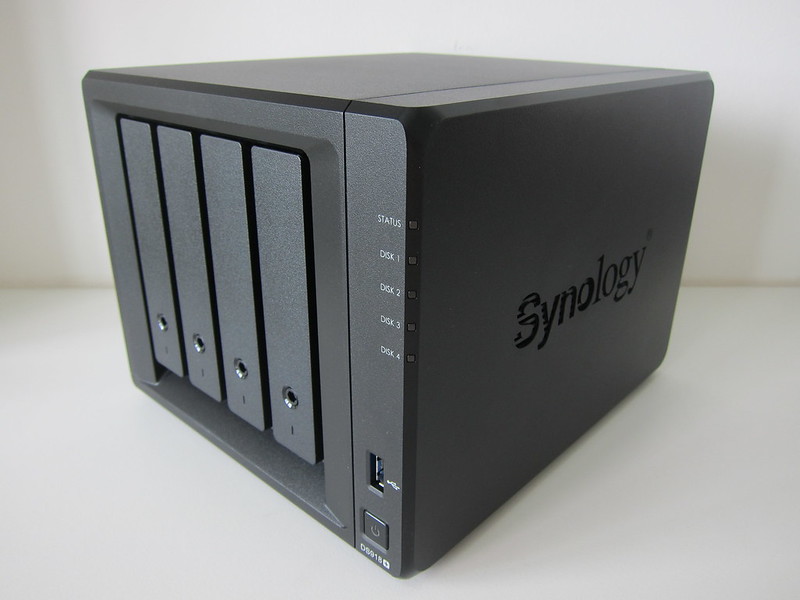
I will be upgrading my Synology DiskStation DS418play to the Synology DiskStation DS920+.
Unboxing

Two RJ45 (LAN) cables are included in the package. Those are Cat5e RJ45 cables. I wish they included Cat6 cables instead.


Design
The matte black design of the DS920+ is identical to my current DS918+ and my previous DS418play.
It doesn’t attract fingerprints and doesn’t leave behind watermarks after cleaning it with a damp cloth.
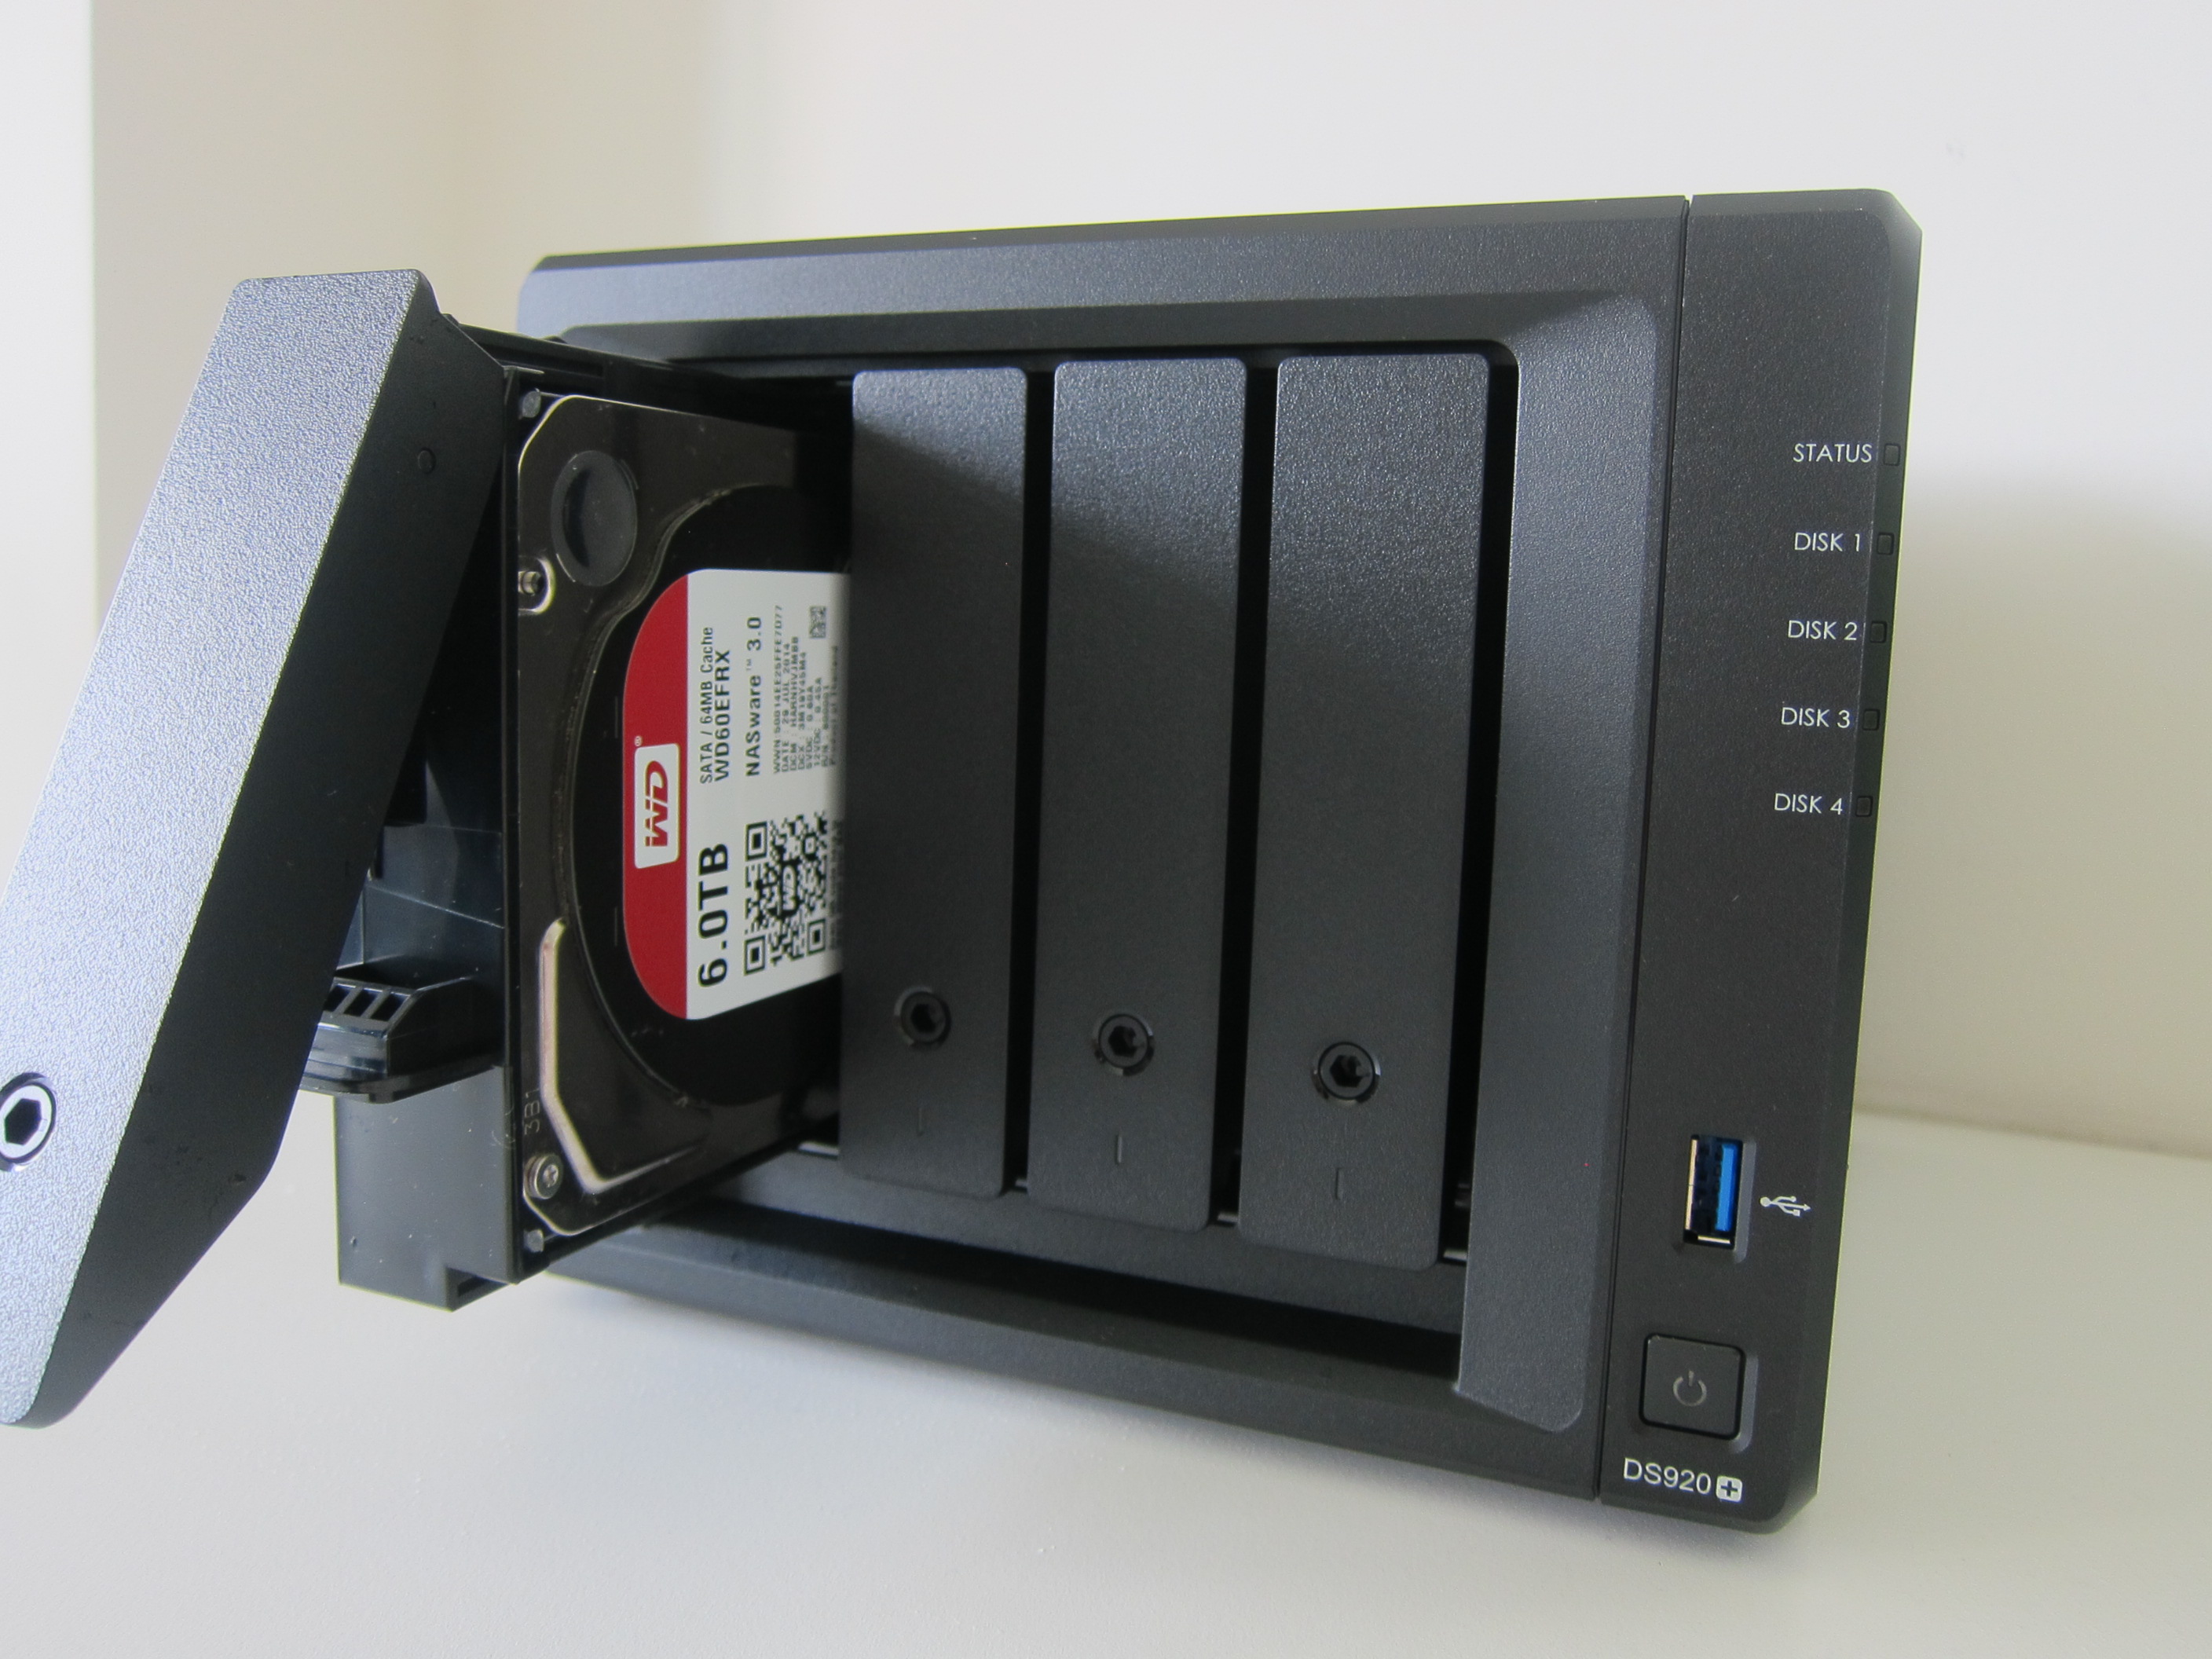
Five indicator LEDs are in front, one for each hard drive and one for the overall status.
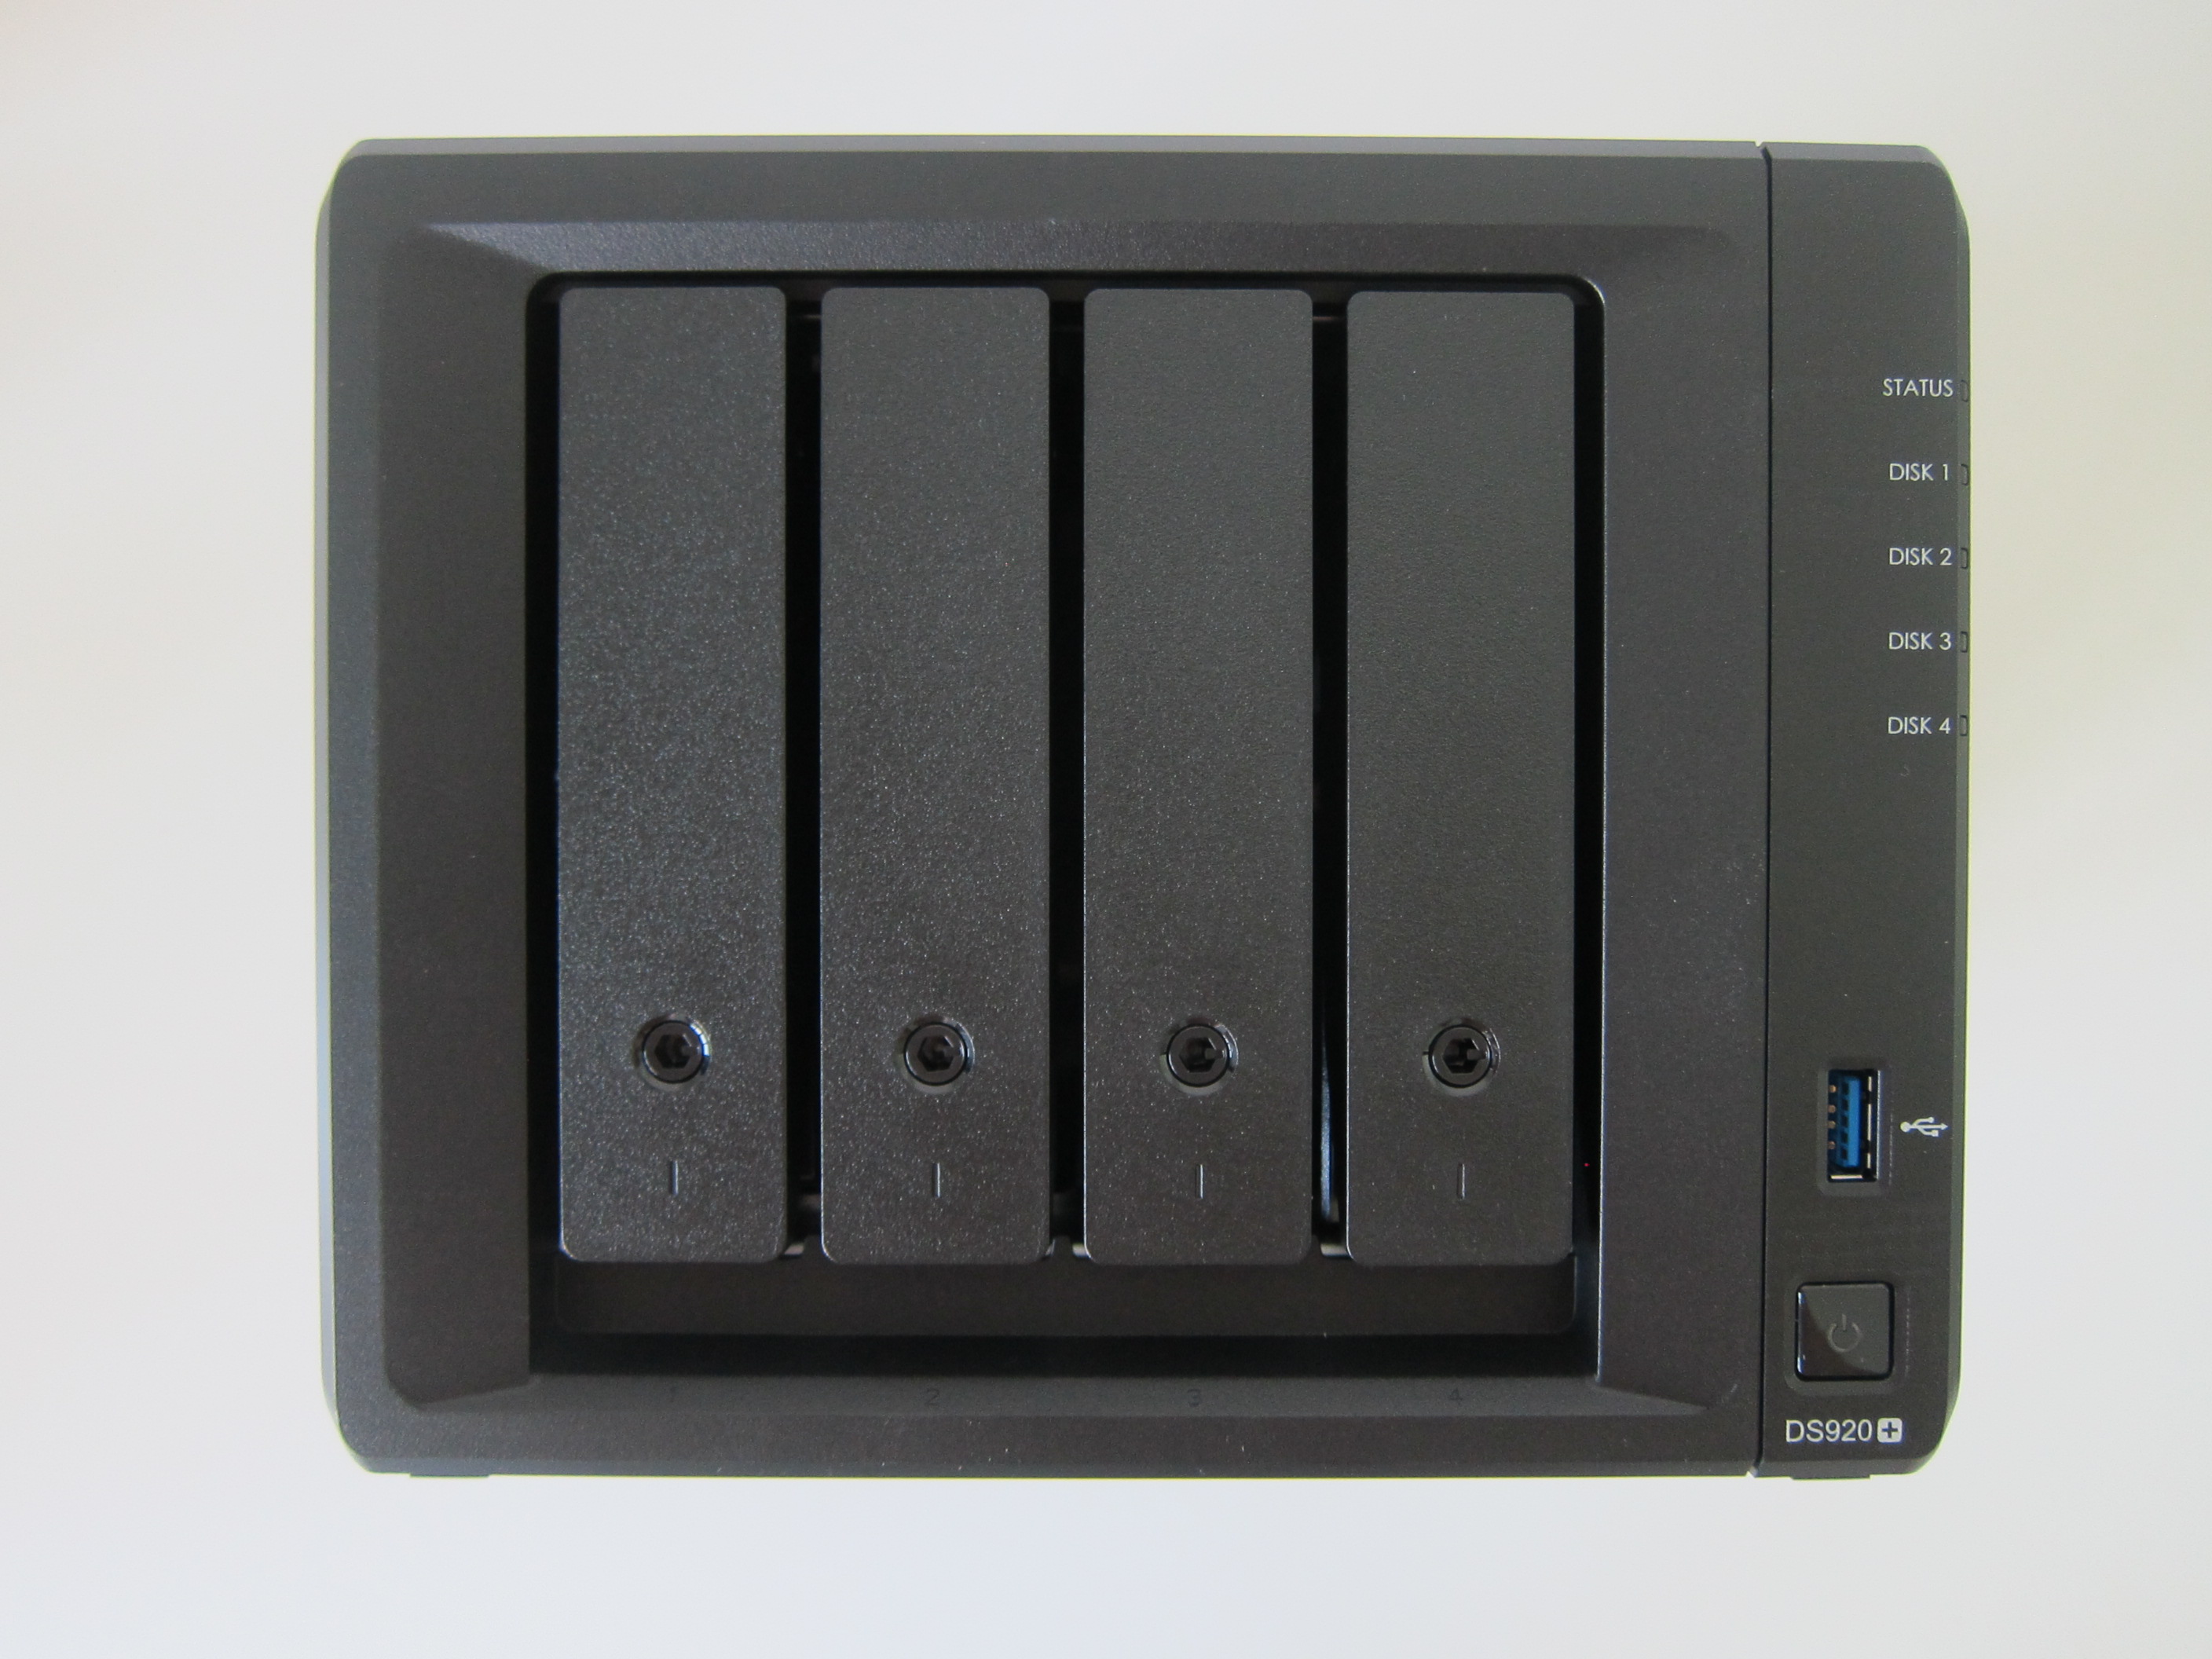
I wished the USB 3.0 port in front was a USB-C port.
At the back, there is the dual 1GbE port, one eSATA port, another USB 3.0 port.

For the advanced users, the dual 1GbE port supports Link Aggregation and network failover. I don’t use both of the features.
I read a few reviews hoping that the Synology 2020 Plus series will include dual 2.5GbE ports instead of dual 1GbE. To me, it doesn’t matter as all my home equipment is only up to 1Gbps.
If my network chokes, I might consider using Link Aggregation.
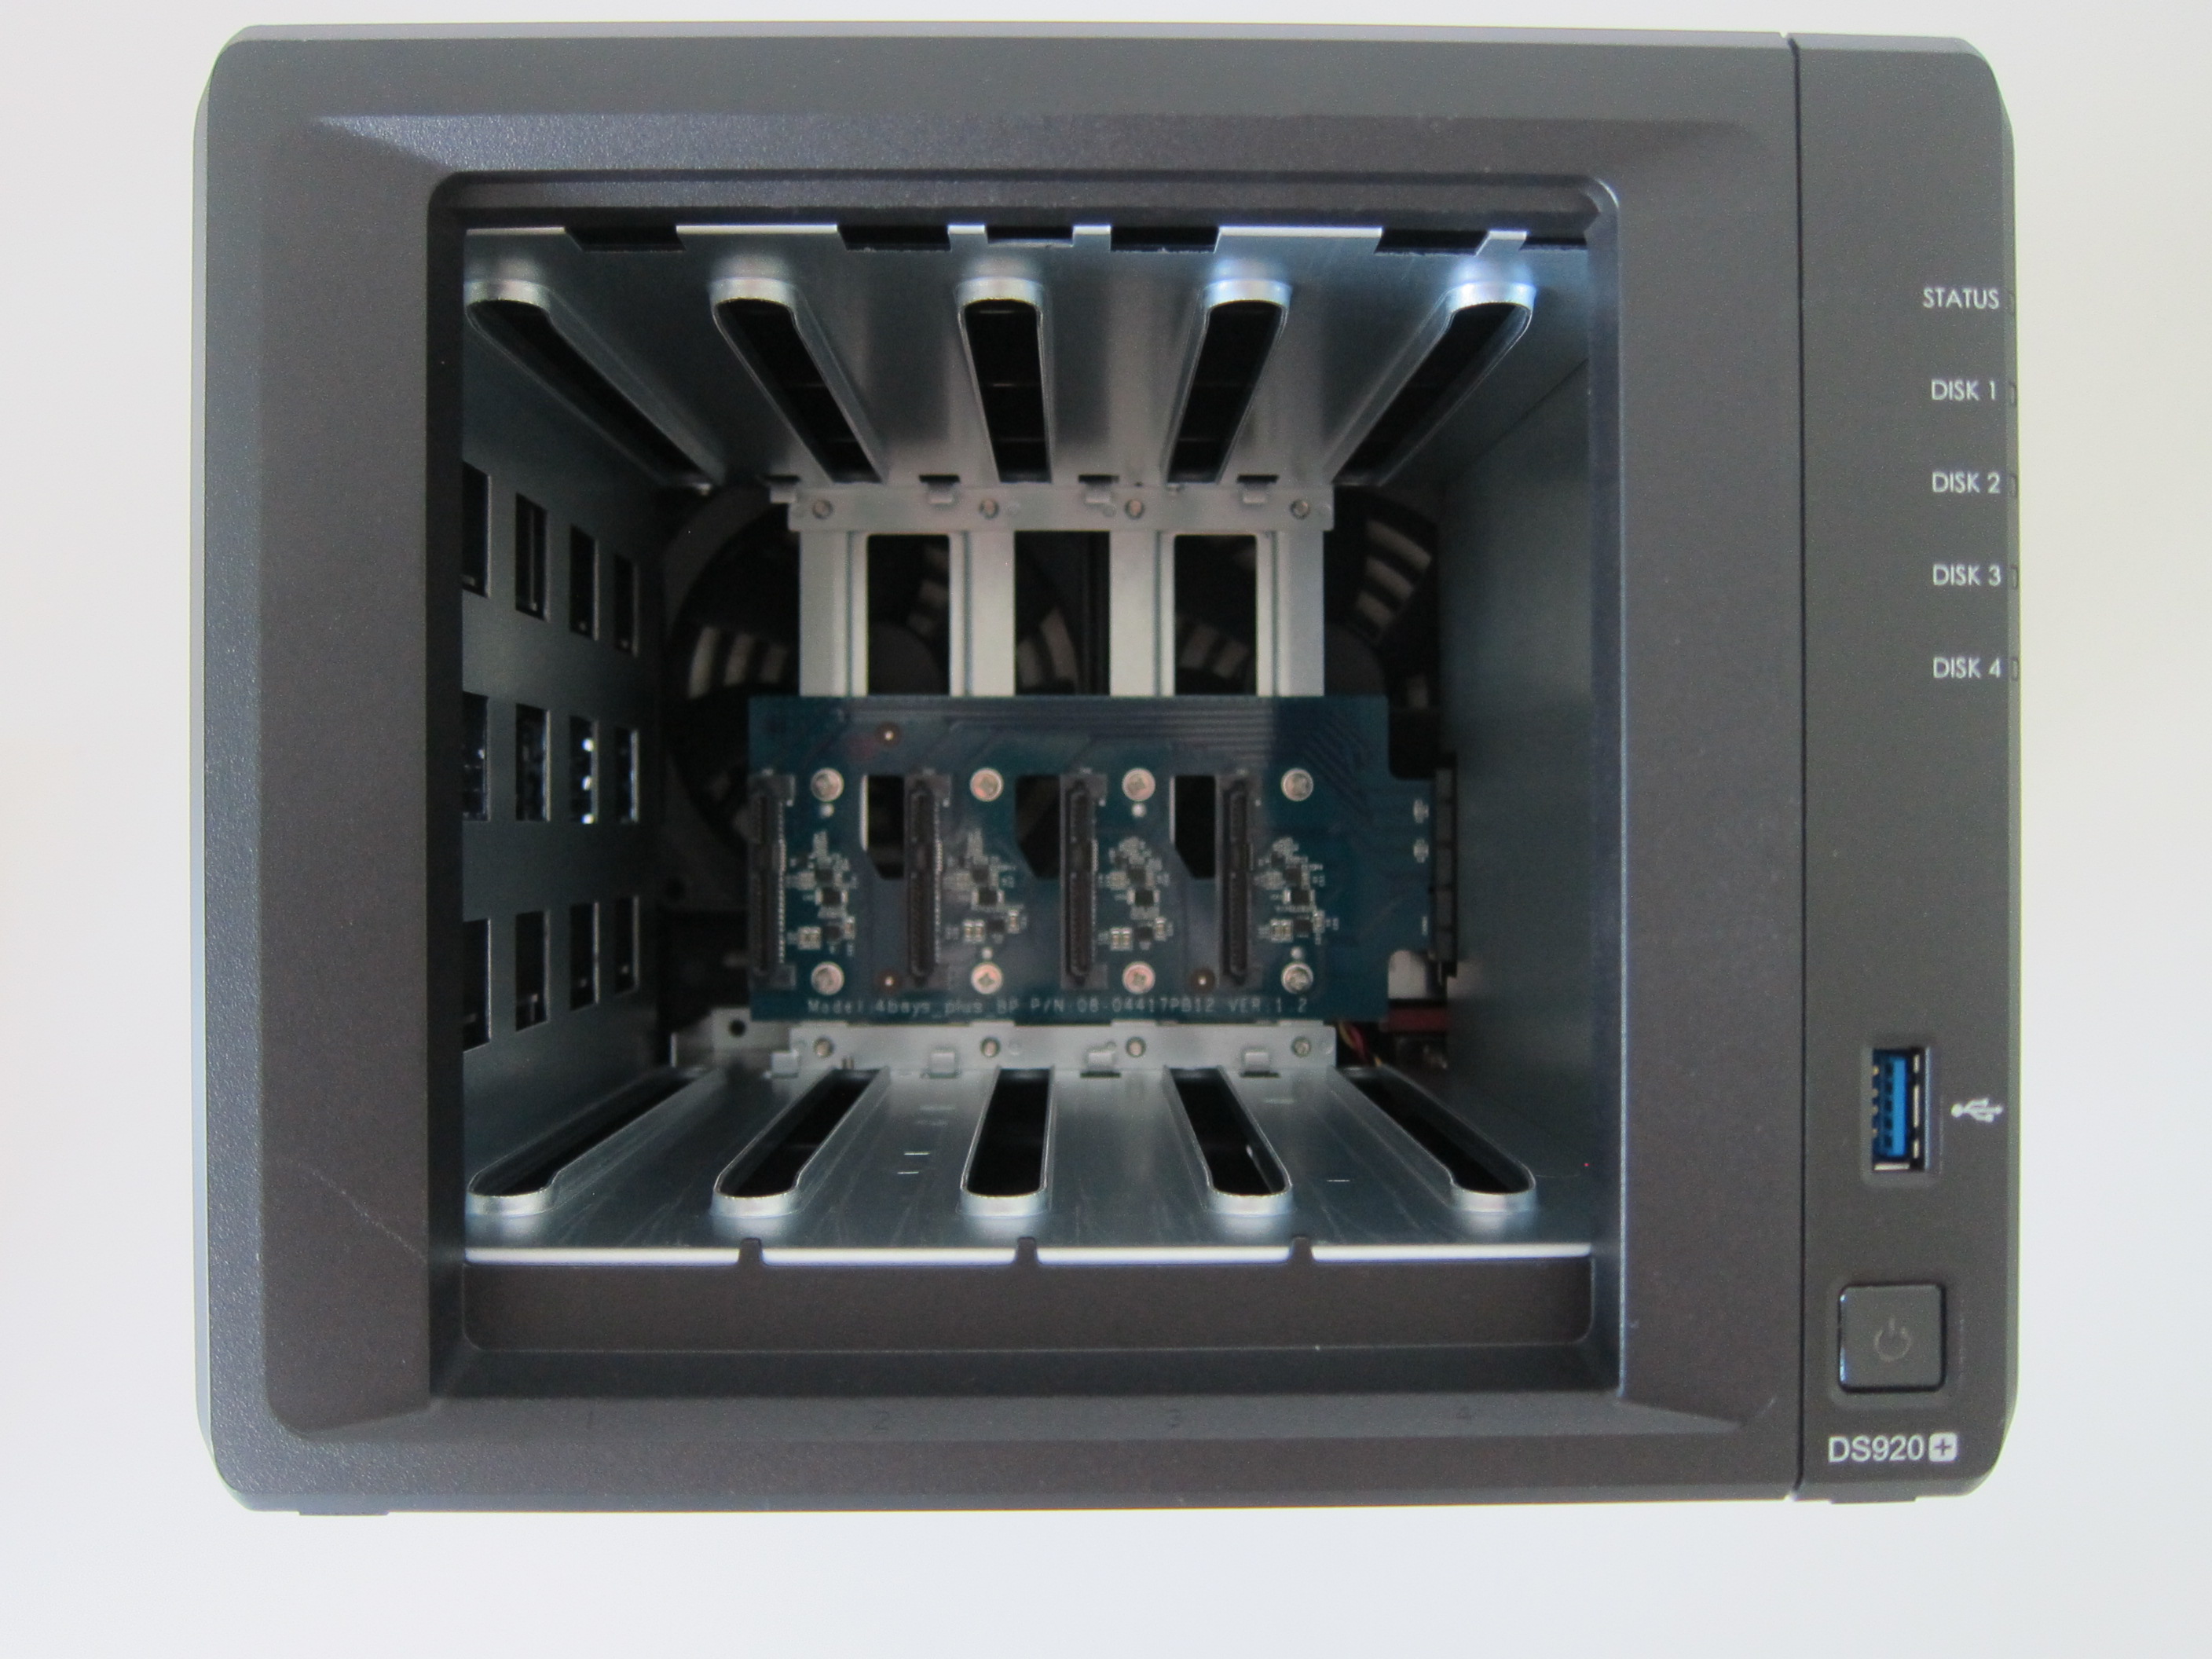
To cool your DS920+, there are two 92mm fans at the back. You can choose from three levels of fan speed from the DiskStation Manager (DSM).


Installing Extra Ram
DS920+ comes with 4GB of RAM, and you can expand to 8GB by adding in another 4GB of RAM.
Synology always recommends you get the RAM from them. You can choose to ignore the recommendation and get a third-party RAM. But if things go wrong, your warranty might be voided.
The RAM slot is located inside and on the right of the NAS. You will need to remove at least two drives to get enough clearance to install the RAM.


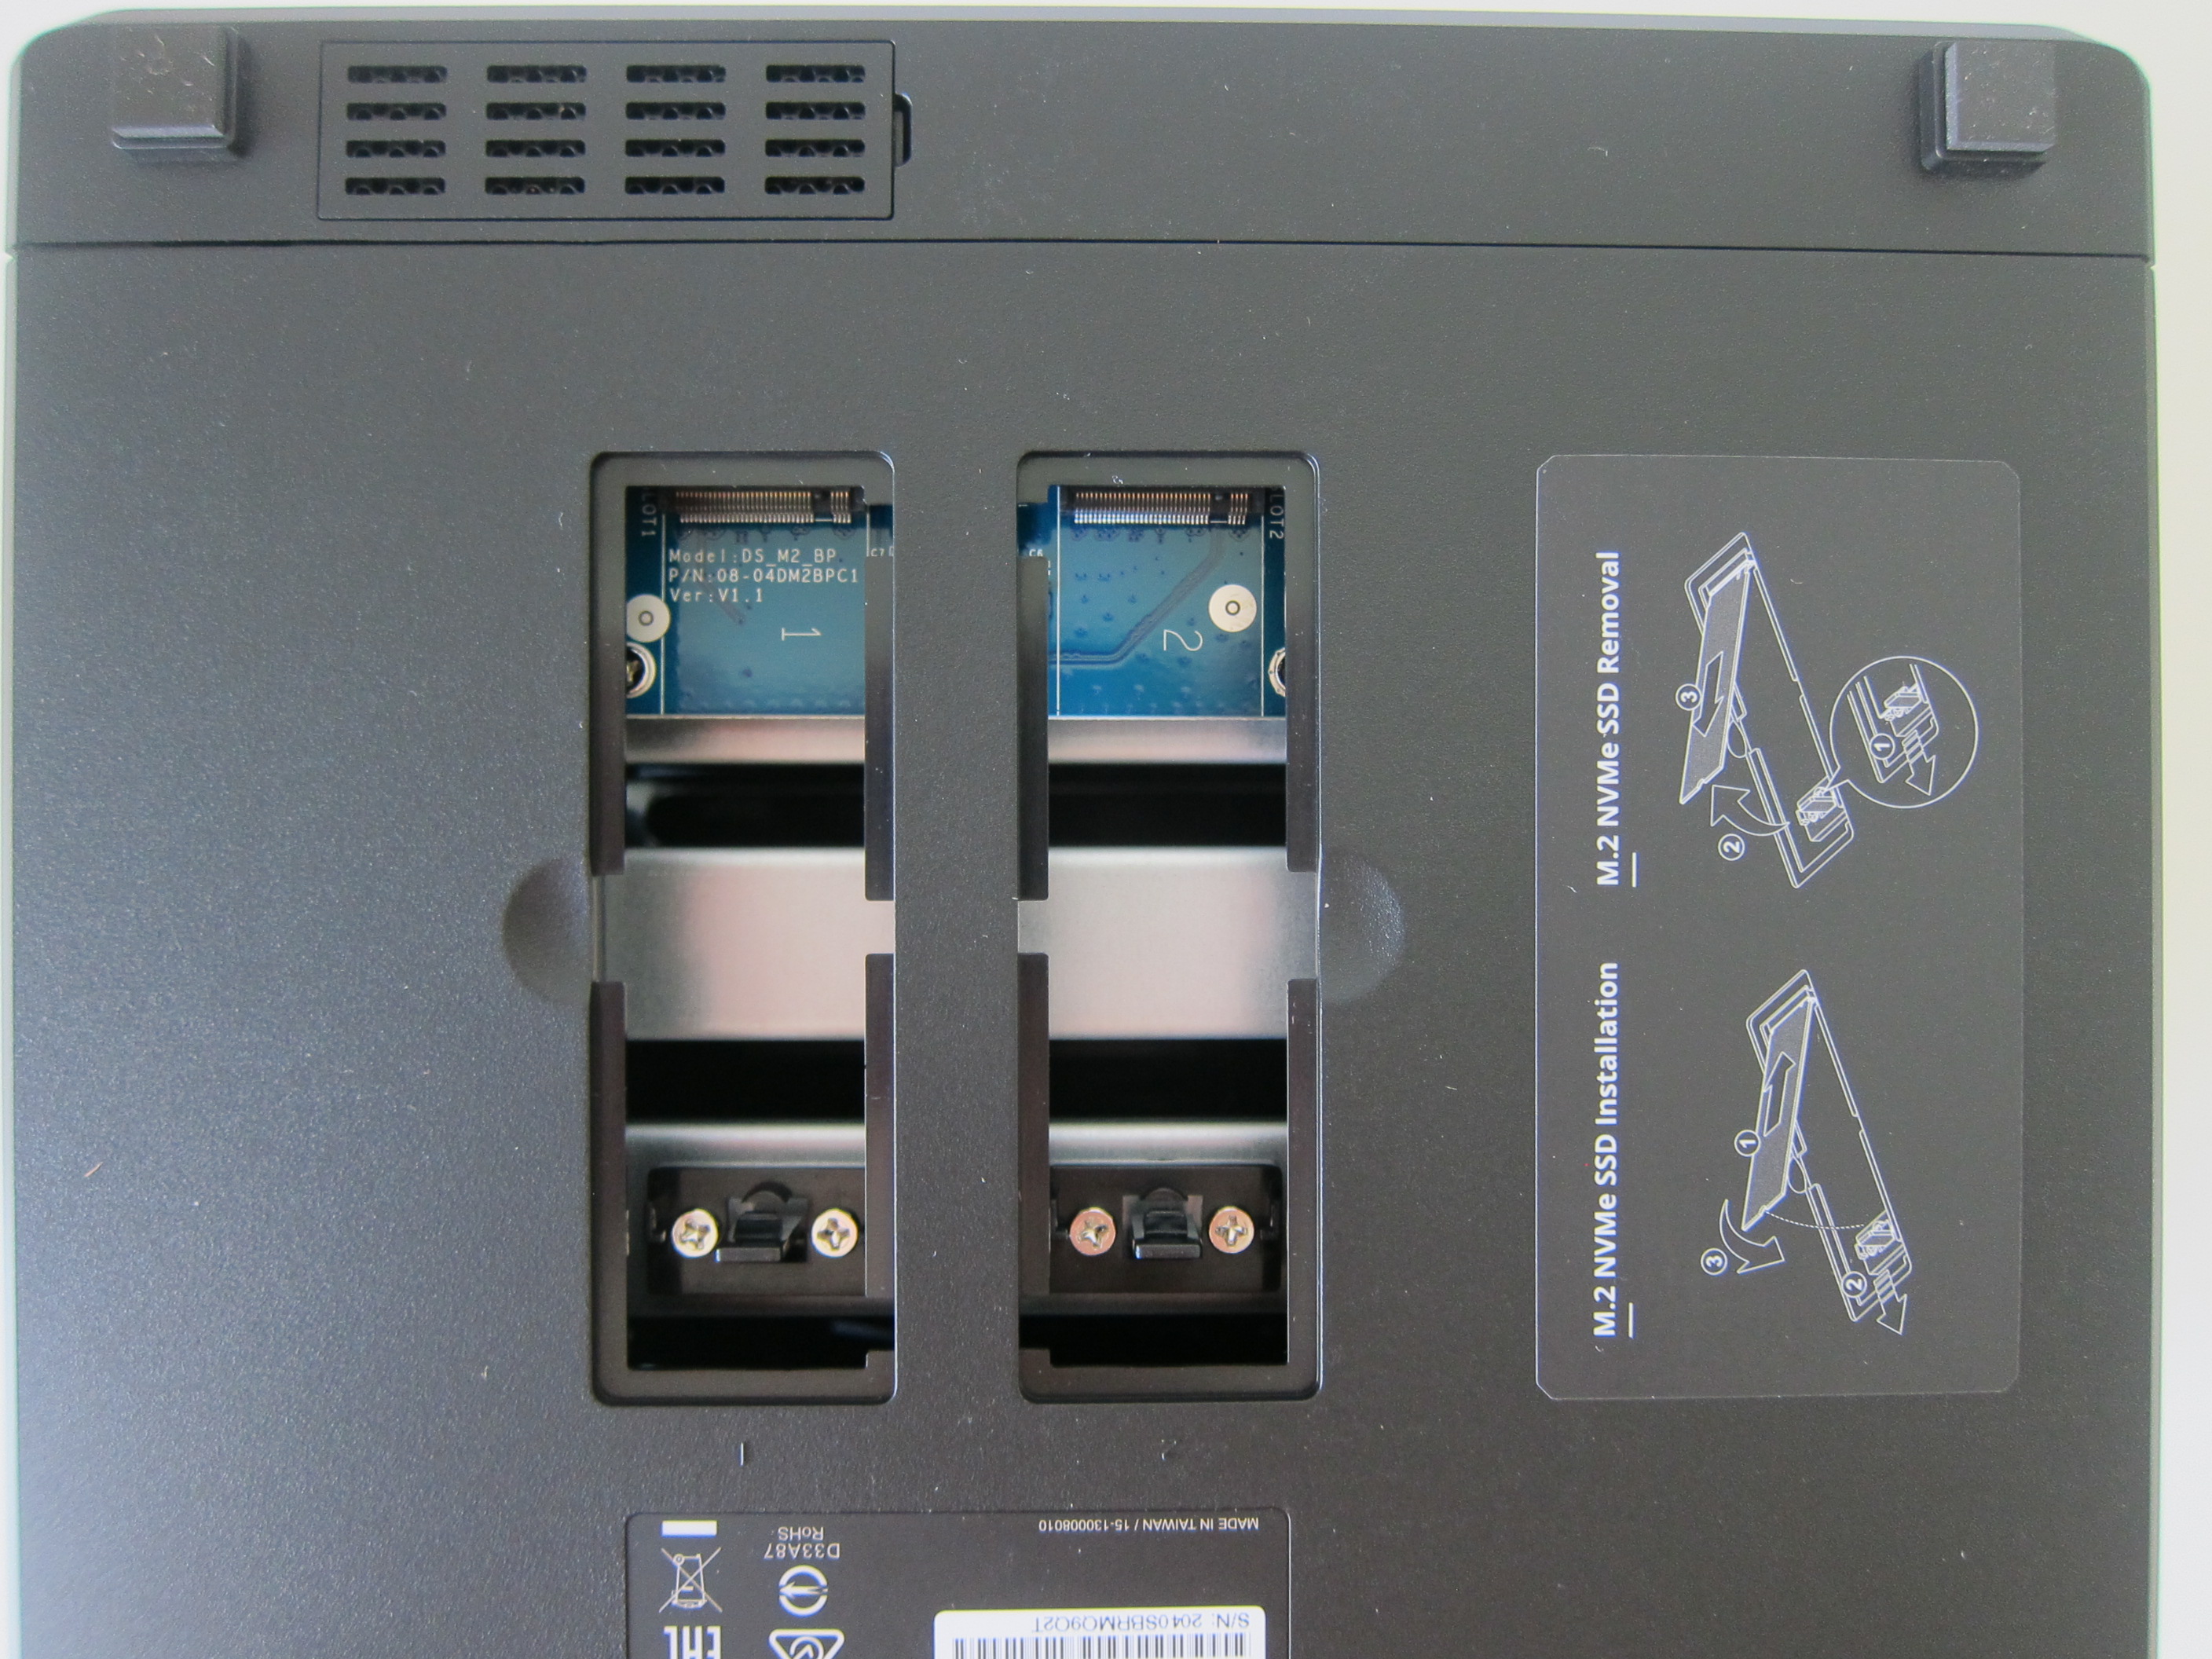
Installing SSD Cache
Like the DS918+, the DS920+ also comes with two M.2 NVMse SSD slots to improve the performance of your NAS via SSD caching.
I bought two Crucial P1 500GB NVMe M.2 SSD to be used for SSD caching.
NVMe M.2 SSD can be expensive, but since you will be using it for SSD caching and not storage, you can get the cheapest one.

Migration
Migration is incredibly straight forward, and the whole process takes less than 10 minutes.

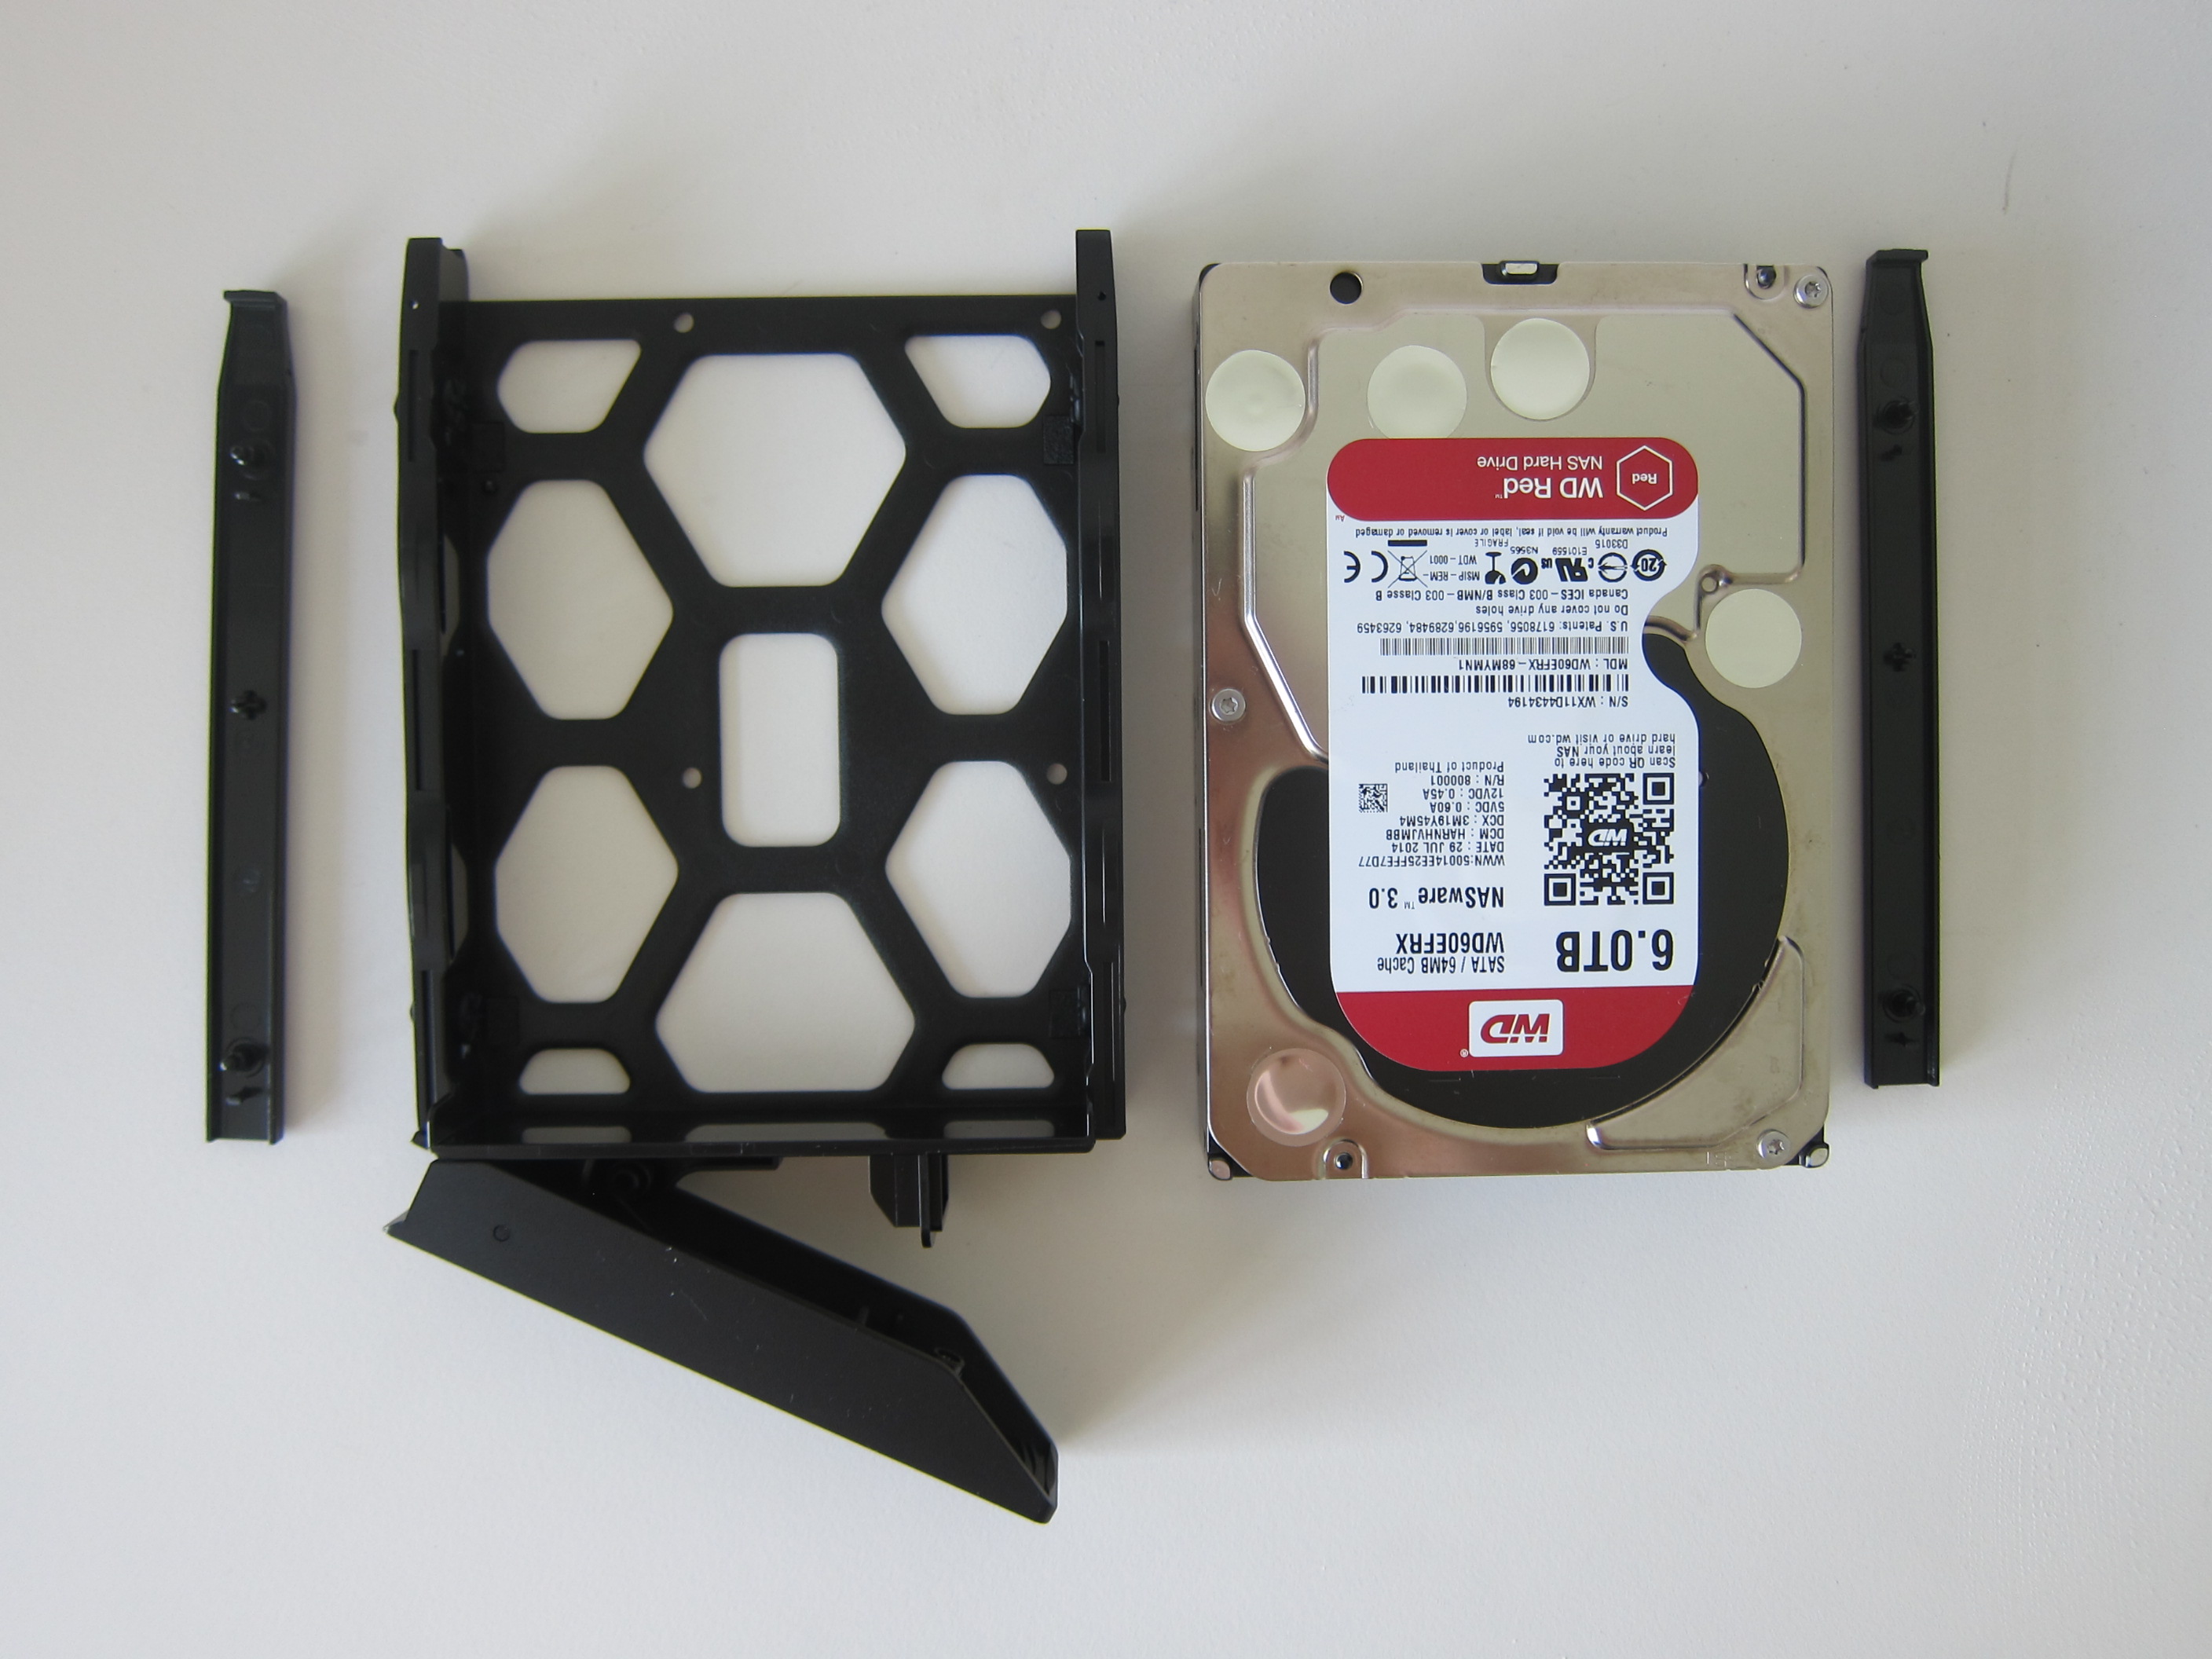
The most important thing to note is when removing your hard drives from your previous NAS and adding it to your new NAS; the hard drives have to be in the same order.


With the front of the NAS facing you, Bay 1 starts from the left.
I recommend removing one by one. After removing Bay 1 from your previous NAS, immediately add Bay 1 to your new NAS. Then proceed on to Bay 2 and repeat the same steps till you are done.

Once everything is in order, plugged the LAN cable, and power cable. Press the power button to power up the NAS. For the first boot, it will take about a minute, and the light will be flashing blue. Once you heard a loud beep sound and the blue light stop flashing, your NAS is booted.

Using your browser, go to find.synology.com. It should be able to detect your NAS there with the status Migratable.


There are two installation types when migrating, Migration and Reinstallation. Migration keeps your data and DSM settings while Reinstallation keeps your data and wipes your DSM settings. If you have to spend a lot of time configuring your DSM, I would recommend just Migration.


Follow the onscreen instructions, and after about 7 minutes, you are done.


Post Migration
There are a few post-migration things that I did, which may or may not apply to you. The first is to change the hostname of my NAS. Every time I upgrade my NAS, I increment the digit by one.
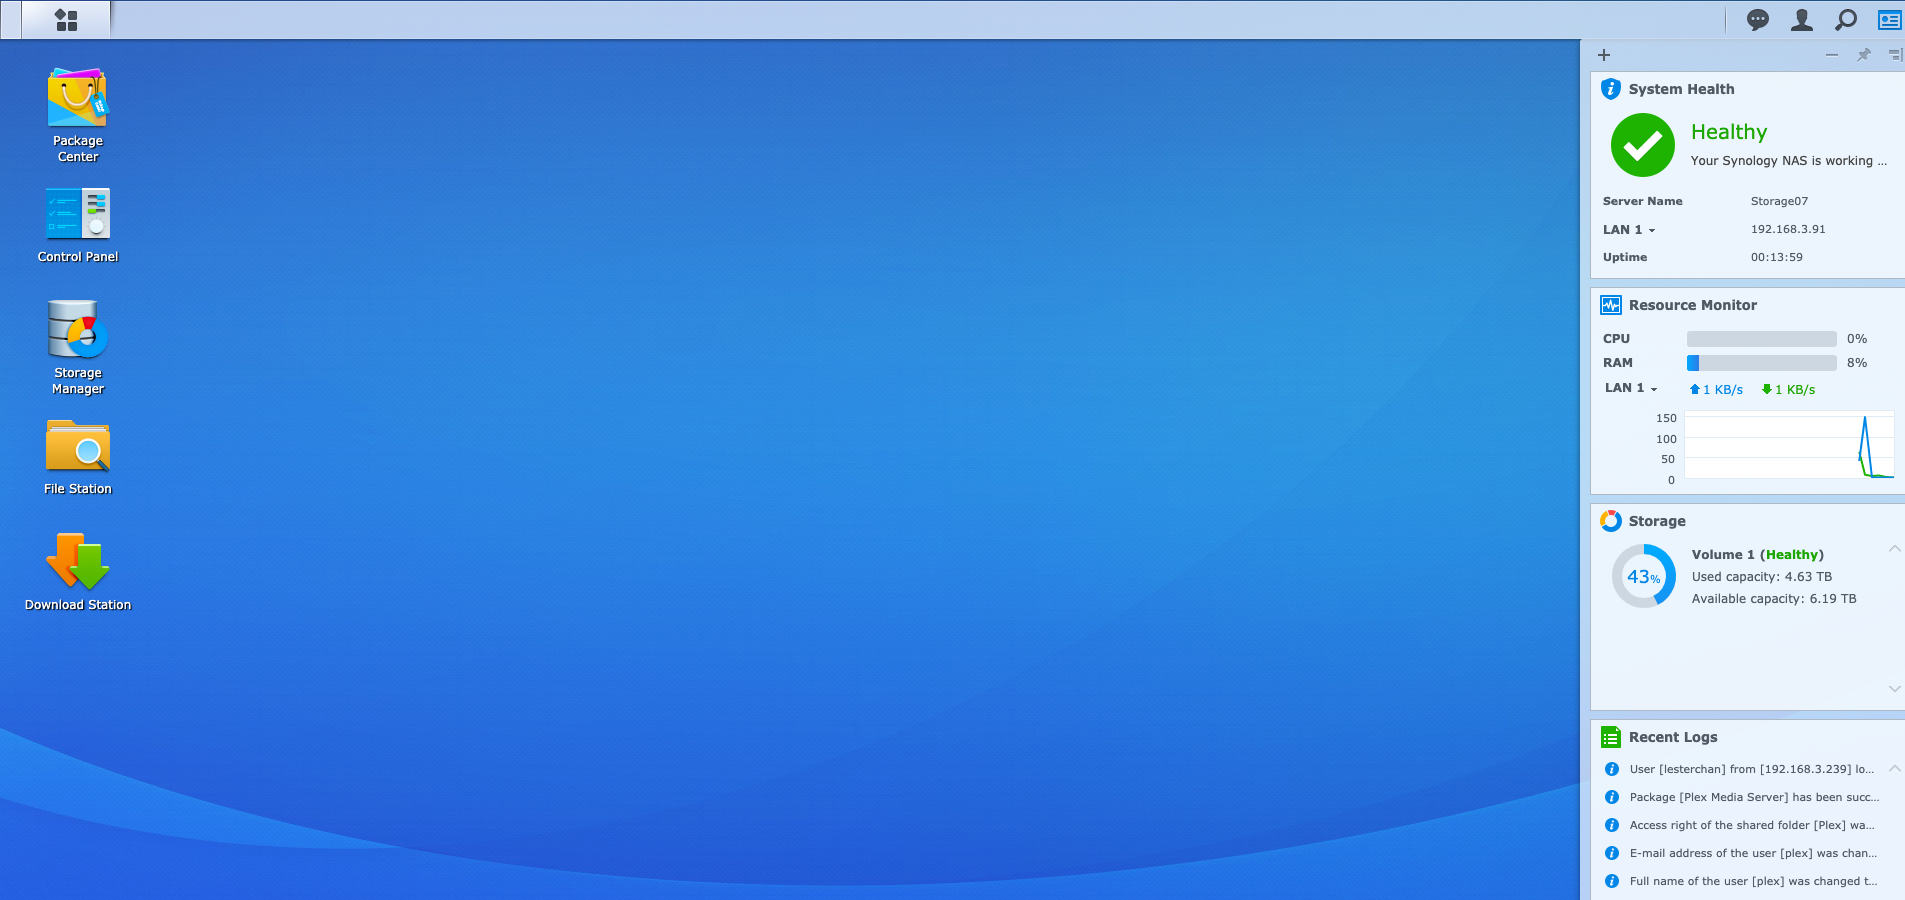
Synology shipped both DS920+ and DS220j to me at the same time. But I chose to set up DS920+ first. Hence DS920+ is my 7th Synology NAS, and hence it has the hostname of Storage07 while DS220j is my 8th Synology NAS, and hence it has the hostname of Storage08.
- Storage01: DS210j
- Storage02: DS413j
- Storage03: DS415play
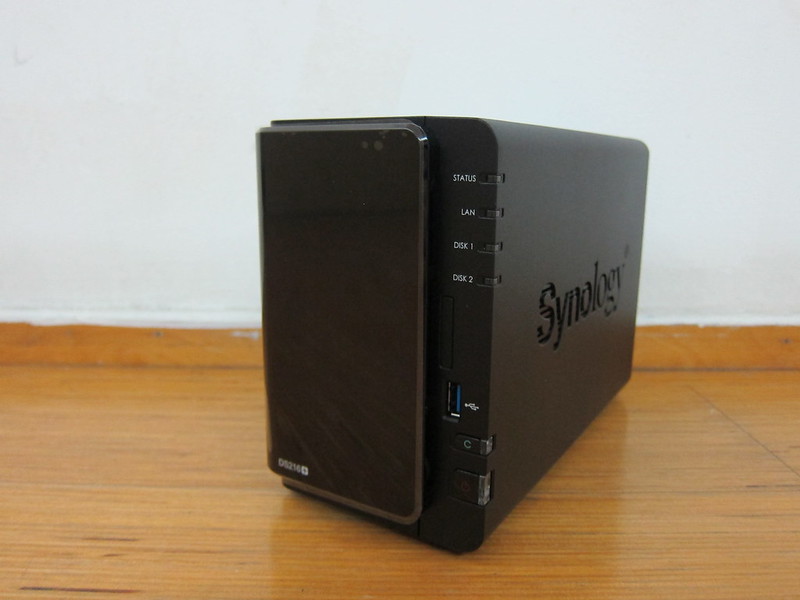
- Storage04: DS216+
- Storage05: DS418play
- Storage06: DS918+
- Storage07: DS920+
- Storage08: DS220j
Next, I have to setup QuickConnect.
QuickConnect allows client applications to connect to your Synology NAS via the Internet without the hassle of setting up port forwarding rules. QuickConnect can also work with Synology-developed packages, such as Audio Station, Video Station, Download Station, Surveillance Station, Photo Station, File Station, Note Station, CMS, Cloud Station, and mobile applications.

Finally, I need to set up SSD caching.


There is overhead for SSD cache. For every 1GB of SSD cache, it would need 416KB of RAM to process it. And hence, for my 465GB of SSD, it will require the use of 188.9MB of RAM.


500GB is more than enough for normal usage. My SSD usage has not gone beyond 21%. I have been using the DS920+ for slightly more than three weeks so far.

Once the setup is done, I tend to verify whether some of my existing settings are migrated correctly.
I will check the Package Manager, hard drives capacity, RAM size, and UPS.


Performance
DS920+ is powered by Intel J4125. Intel J4125 comes with Intel UHD Graphics 600, which gives you improvements when your NAS is transcoding video.
Intel J4125 has a PassMark score of about 3,035. In comparison, DS918+ which has Intel J3455 has a score of 2,234, and DS418play which has Intel J3355 has a score of 1,186.

Essentially, DS920+ is 2.5x more powerful than the DS418play and 30% more powerful than its predecessor, DS918+.
If you refer to Plex’s support article on What kind of CPU do I need for my Server?, to transcode a 1080p (10Mbps, H.264) file, your CPU need to have at least 2,000 PassMark score.
So the DS920+ can transcode 1080p video with ease but will not be able to do 4K transcoding as it requires a PassMark score of at least 12,000. You will probably need a computer with a dedicated graphics card to reach that score.
You will probably see better results when using DS Video to transcode video rather than Plex. DS Video is Synology’s alternative to Plex and is optimized to run on Synology NAS hardware.
Conclusion
You will not go wrong with the Synology DS920+ being a media NAS. In fact, the DS920+ can be much more than being media server. You can use it for backing up your remote public cloud with Cloud Sync, running virtual machines Virtual Machine Manager, and running containers with Docker.

If your budget allows, I recommend getting another Synology NAS and practice separation of concerns.
My DS920+ is only used for media streaming while I run Cloud Sync, Virtual Machines, VPN, and UPS on my DS918+.

Don’t mind me saying; Buying cheap SSD for cache use is very risky, Cheap SSDs typically have very poor write endurance and fail if you have a lot of random disk writes. And when they fail, you will encounter data corruption which can fail your entire RAID array especially if it is a read/write cache.
big time
So what happen to your DS418? Does synology accept trade-in of old units?