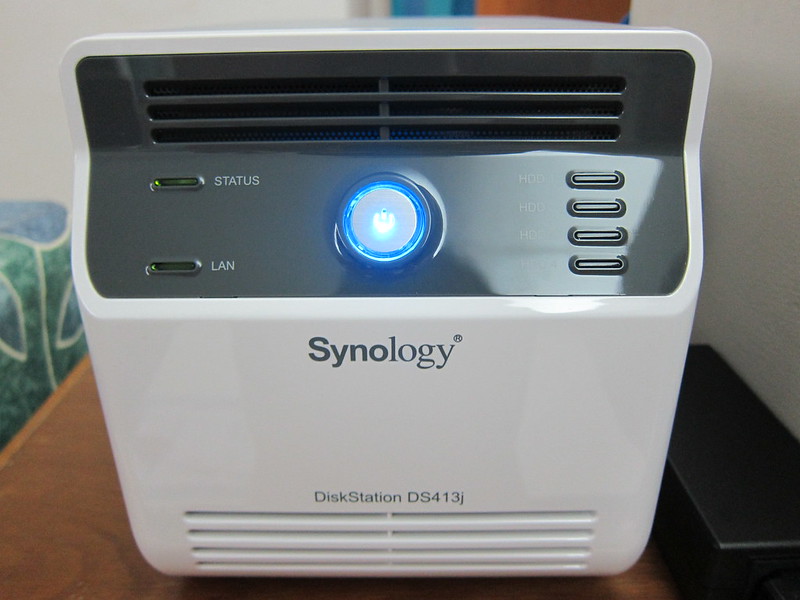
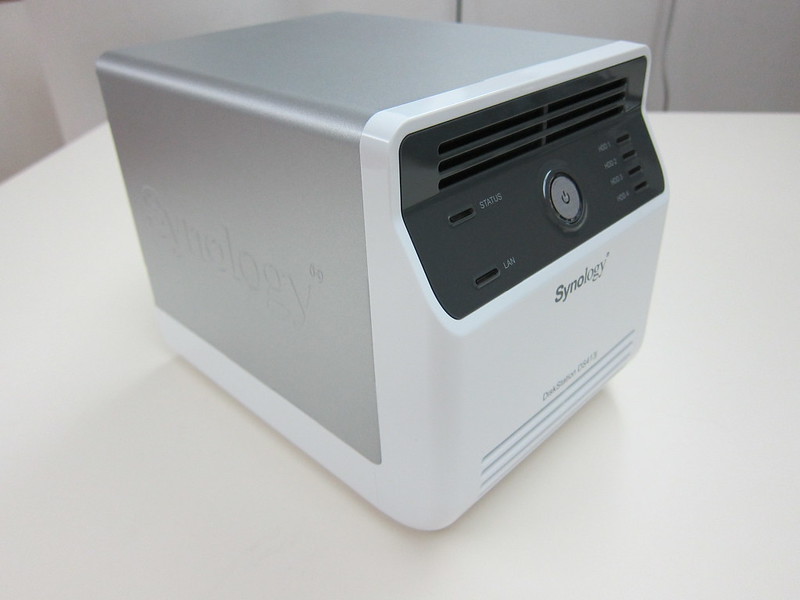
Synology DiskStation DS413j Review – Performance, Backup & CloudStation
In the first part review of the Synology DiskStation DS413j, I talked about unboxing and setting up and in this second part review, I will talk about the performance, backup and CloudStation.
Performance
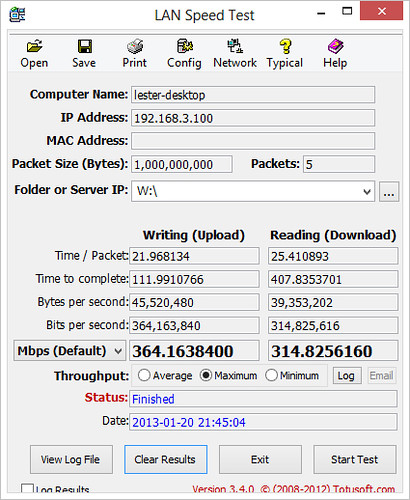
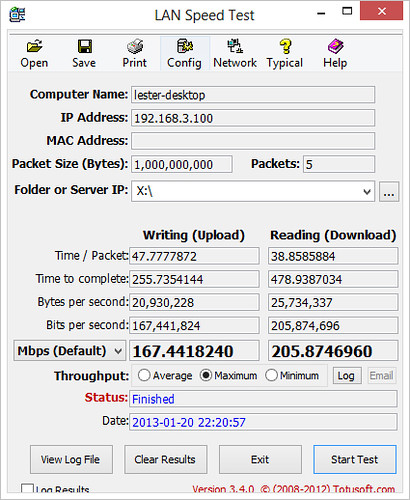
Tested the file transfer speed using LAN Speed test. The DS413j is on SHR with WD Red and the DS210j is on RAID 1 with WD Green. When I am doing the test, I also notice that the DS413j with WD Red is extremely quiet unlike the DS210j on WD Green which makes slightly more noise, but it is still acceptable.
Backup
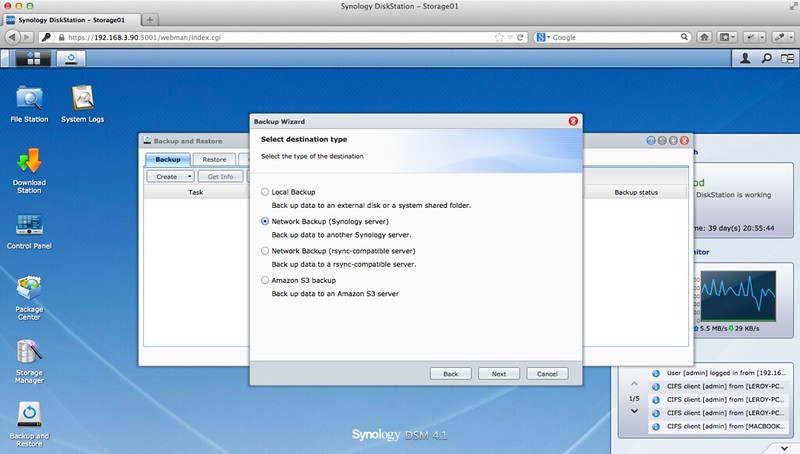
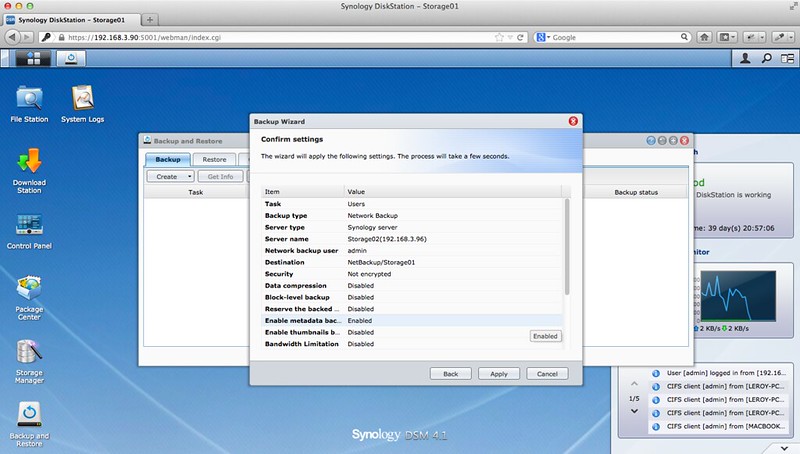
I am still currently using the Synology DiskStation DS210j which is on 2x WD Green 1TB running on RAID 1. It is possible from one Synology NAS to backup to another Synology NAS via it’s Network Backup feature.
There are a few types of backup options that are available in the Server Backup feature:
- Network Backup
Network Backup allows you to back up data from one Synology DiskStation to another one, including rsync compatible server, over the network. Encryption and compression makes a backup task safe and efficient. You can also block-level backup, so that only the changed files will be processed to save network bandwidth. - Shared Folder Sync
Shared Folder Sync allows users to synchronize specific folders from multiple servers to a single destination server in real-time. Branch offices will be able to share documents with headquarter seamlessly and safely with encrypted folder protection. The disaster recovery time can be greatly minimized when your source DiskStation experiences failure, and in turn it can ensure maximum service uptime. - Time Backup
Time Backup is a unique backup application that comes with snapshot, multiple backup versions, and smart recycle that keeps storage space from filling up. With an intuitive interface, backing up and restoring files is effortless. You can either back up files from one shared folder to another shared folder, or from one DiskStation to another DiskStation. - Local Backup
You can create multiple volumes to place your data, you can always backup important data from between two volumes – from one shared folder to another shared folder. You can also back up data to an external storage device, such as a USB/eSATA hard drive. - Amazon S3 Backup
Synology also allows business users to back up data from DiskStation to their Amazon S3 cloud storage account. So use Amazon S3 storage space as a backup to your DiskStation or treat it like a contingency site should anything happens to the data.
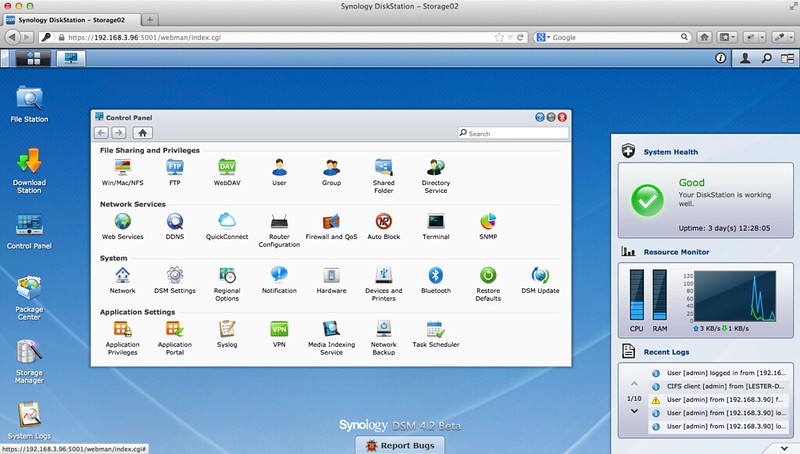
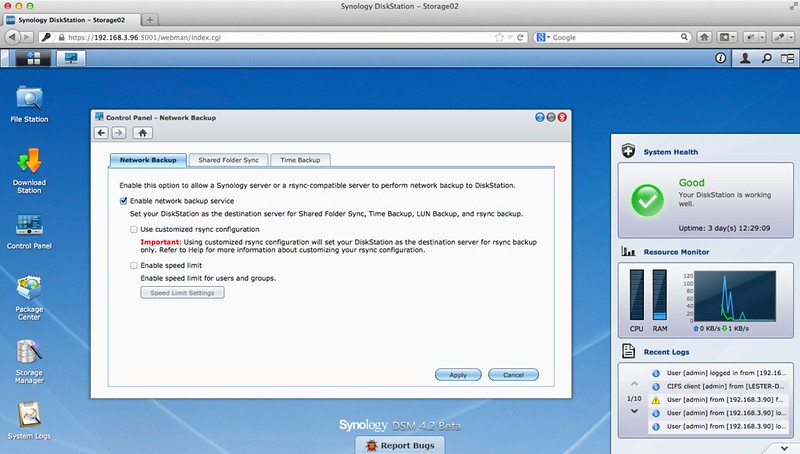
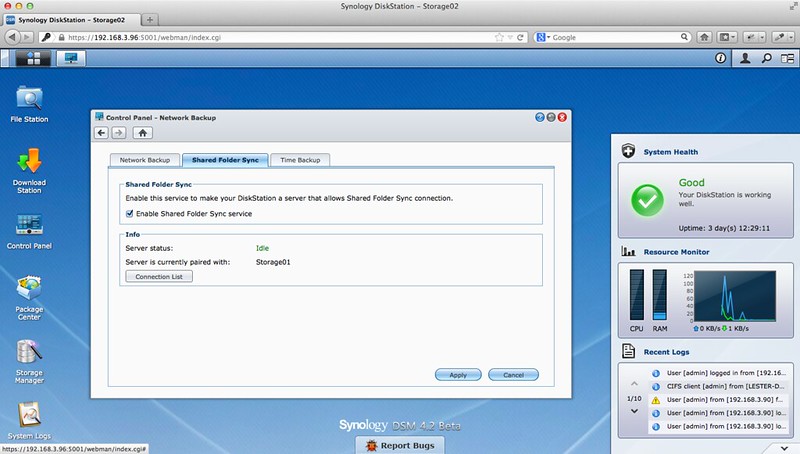
To enable Network Backup and/or Shared Folder Sync, just login to DSM and go to “Control Panel -> Network Backup” as shown in the screenshots below.
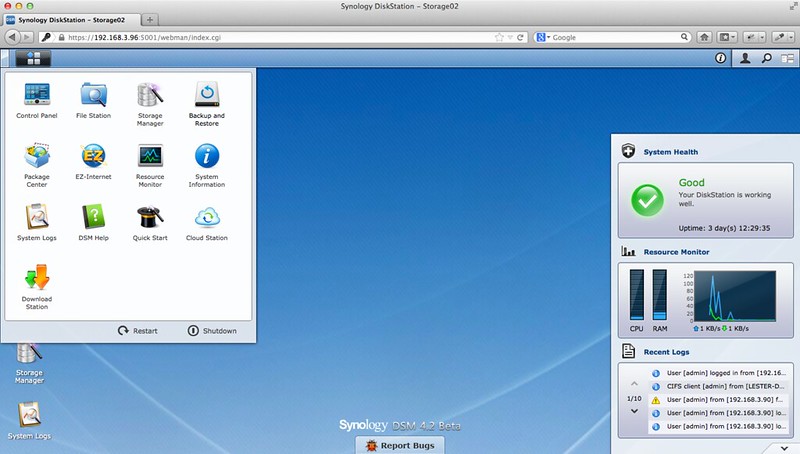
To access your Backup & Restore tasks, click on the “Apps” icon at the top menu bar and choose “Backup and Restore”.
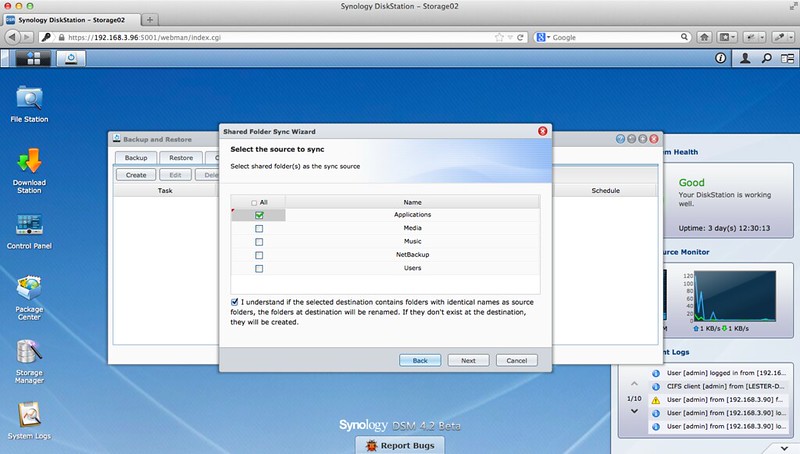
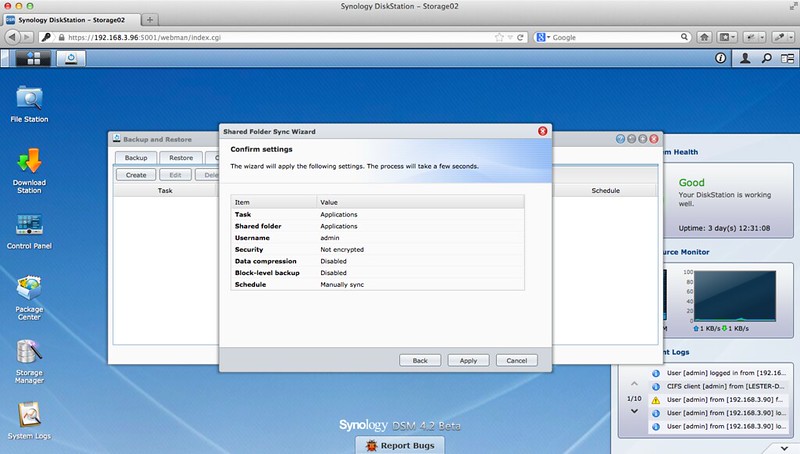
Backup – Shared Folder Sync
The difference between Shared Folder Sync and Network Backup is Shared Folder Sync will propagate changes in both ways (source < -> destination) while Network Backup will only propagate changes from a source to a destination (source -> destination).
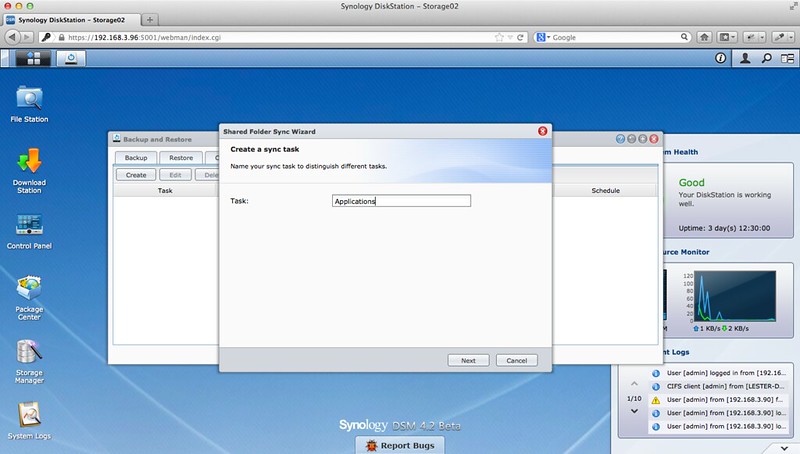
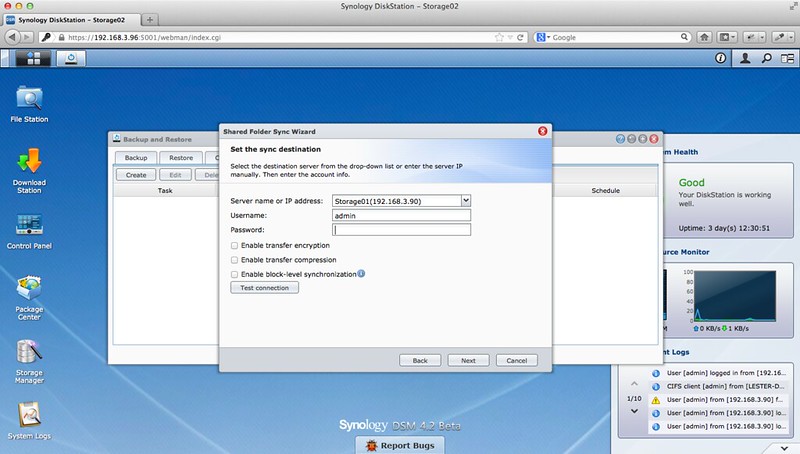
To create a Shared Folder Sync, go to “Apps -> Backup and Restore -> Shared Folder Sync Tab”.
I would recommend Shared Folder Sync if you are using two Synology NAS which is not physically located together. A use case for me is when I moved out to my own house sometime in 2016, I will get another Synology NAS and setup Shared Folder Sync to sync data back to my Synology NAS at my parents’ place. In this way, regardless of whether I am at my own house or at my parent’s place, I can always access the data.
In terms of the freshness of the data, it depends on what you set for the sync schedule. I would recommend choosing “Run sync on modification” if you need the data in real time. But I personally prefer to choose “Run sync every 1 hour” to avoid too much network/file overhead. The 1 hour is derive from the time taken to travel from my place to my parents’ place.


Backup – Network Backup
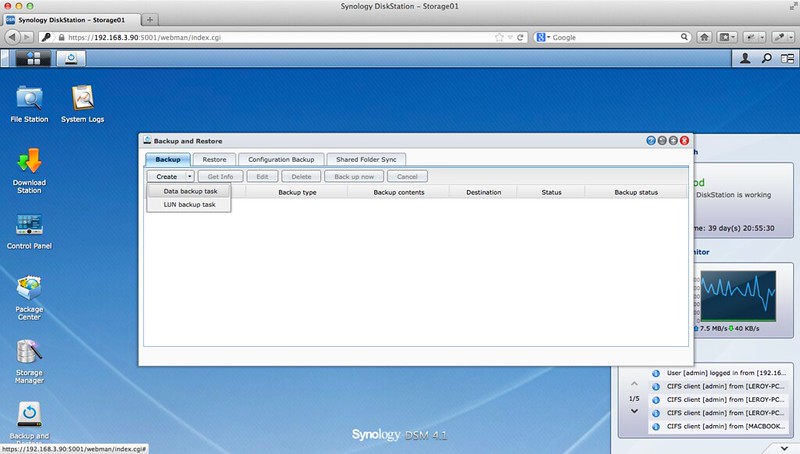
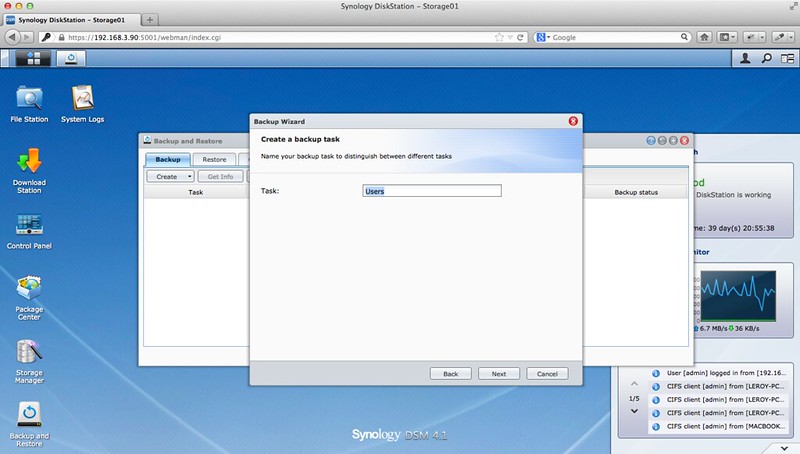
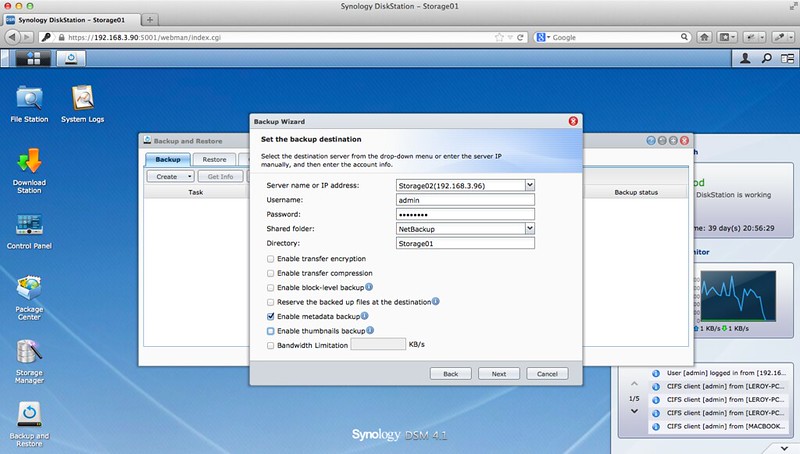
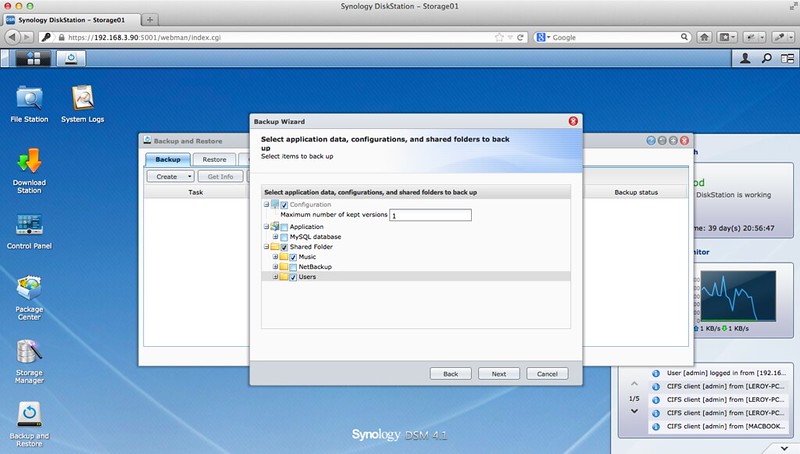
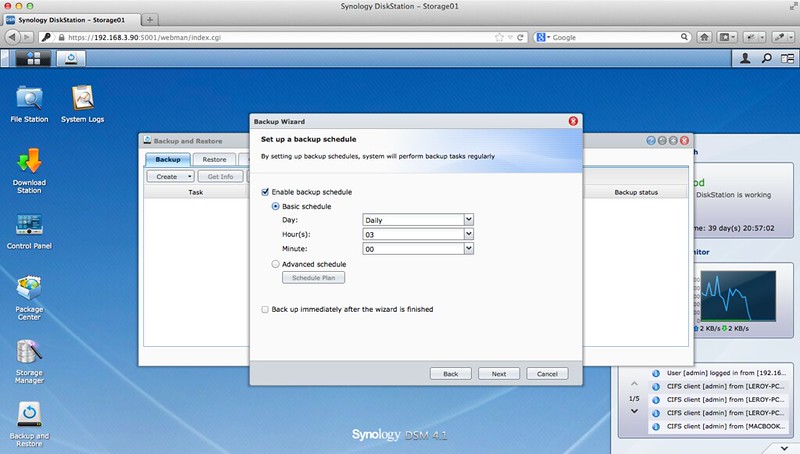
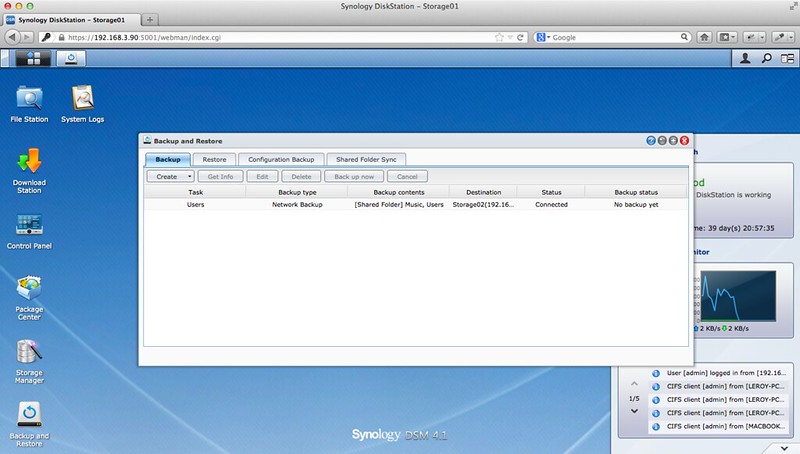
To create a Shared Folder Sync, go to “Apps -> Backup and Restore -> Backup Tab”.
I would recommend Network Backup if you have two Synology NAS which is physically located together. Like in my case I am placing the DS413j besides my DS210j and my primary NAS is the DS210j. I only open and save documents with my primary NAS which is already on RAID 1, and thus having the data available in real time for both NAS is not needed.
The reason I am using the Network Backup on a daily basic is just in case both my hard disk in my DS210j fails at the same time.
Cloud Station
Synology’s Cloud Station is like your personal Dropbox on your Synology NAS. For those unaware, Dropbox is a file hosting service that offers cloud storage and file synchronisation with your computer/devices. Dropbox is great but some people might have second thoughts about storing confidential files on third party servers But with Cloud Station, the files will be stored in your Synology NAS which you own.
To make Cloud Station seamlessly sync files from your computer to the Synology NAS and vice versa over the Internet, it makes use of QuickConnect to remove the hassle of configuring any port forwarding.
QuickConnect is a relay service that can help you set up Cloud Station syncing easily without configuring port forwarding rules for your DiskStation.
Of course if you are an advanced user, you can configure your own port forwarding. In fact if you would like to sync files between 3 or more computers, it is recommended to set up port forwarding rules for better performance. By default, Cloud Station uses TCP port 6690.
You can install Cloud Station via the Package Center.
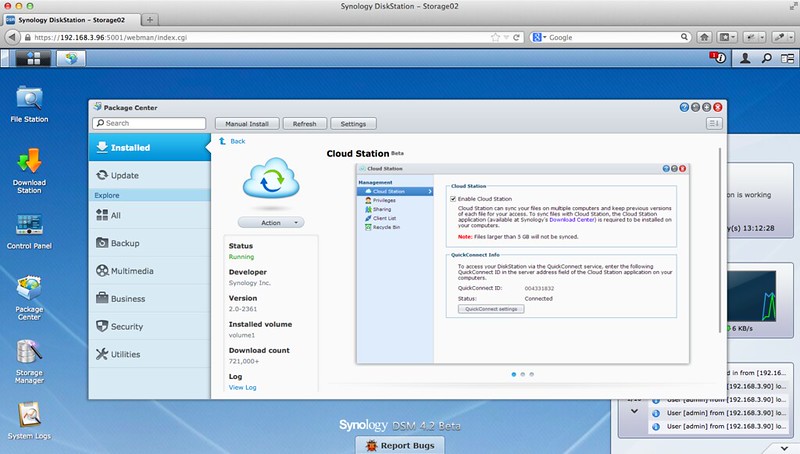
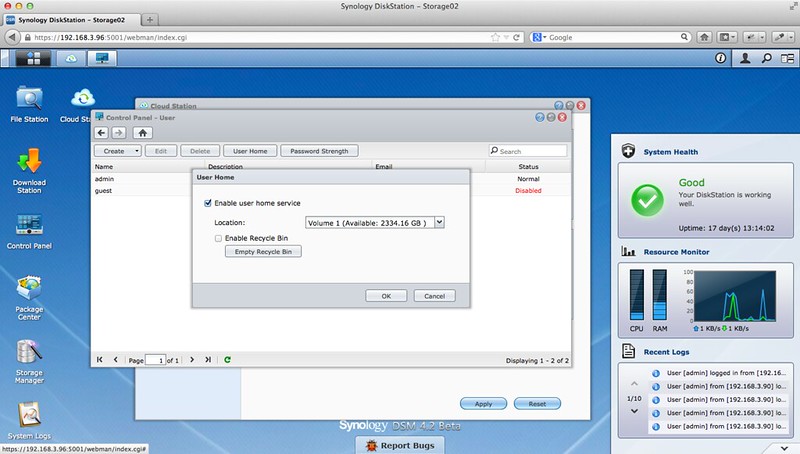
After installation, you need to enable User Home Service (Control Panel -> User -> User Home Tab -> Enable user home service).
Once that is done you can proceed on to setup your QuickConnect (Control Panel -> Quick Connect). By default your Quick Connect ID will be numeric, however you can customize it to uniquely identify your Synology NAS (in my example I am using lesterchan).
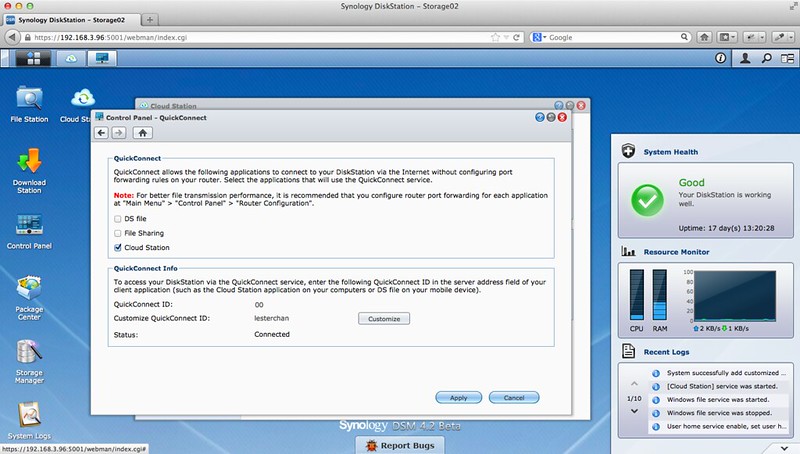
And you are almost done!
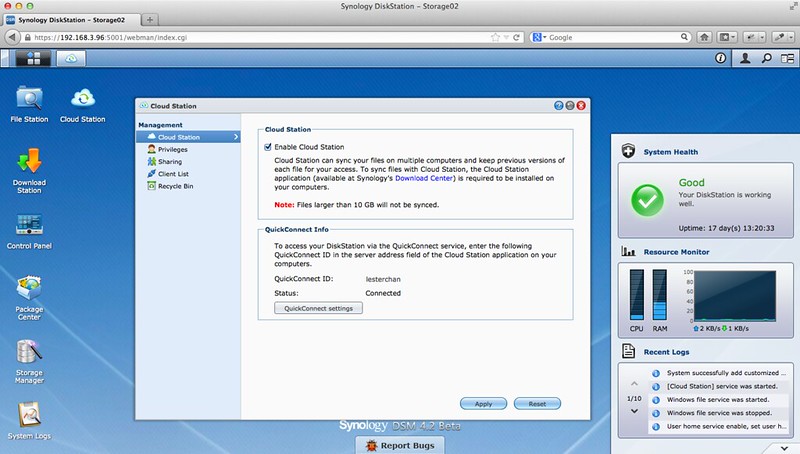
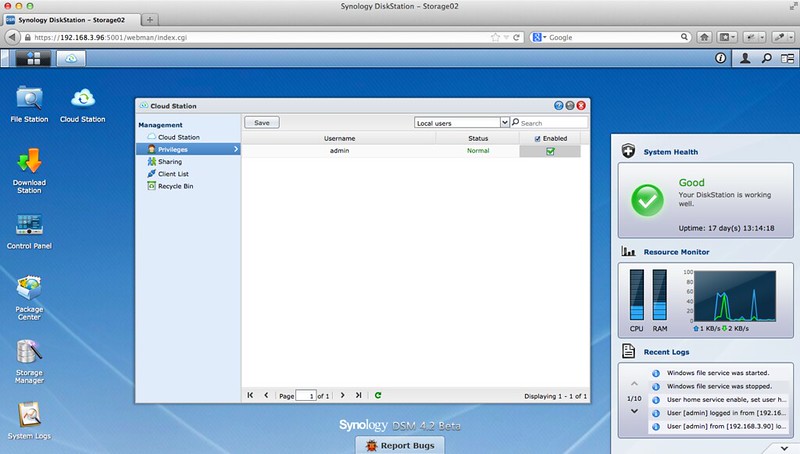
Remember to go to Cloud Station -> Privileges and check the boxes of those users that is allowed to sync files using Cloud Station!
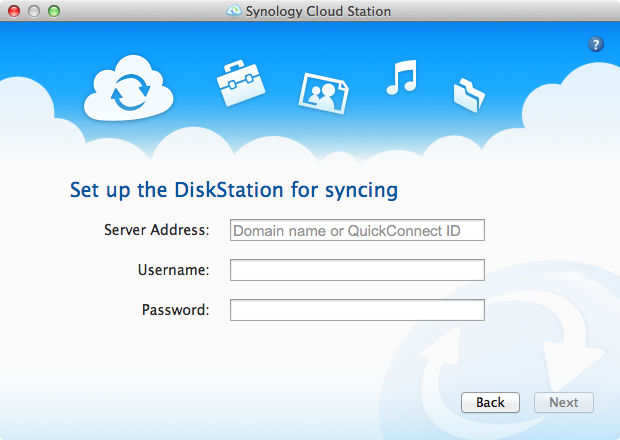
Next, we need to install the Cloud Station client on your computer for it to sync the files to the NAS. You can download the client from Synology Download Center. Right now only Windows and Mac are supported.


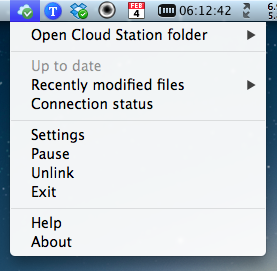
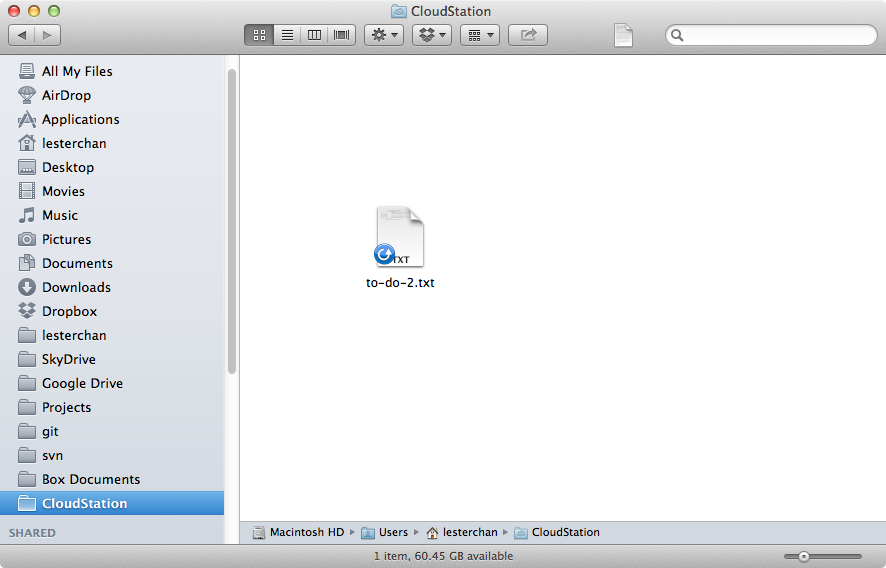
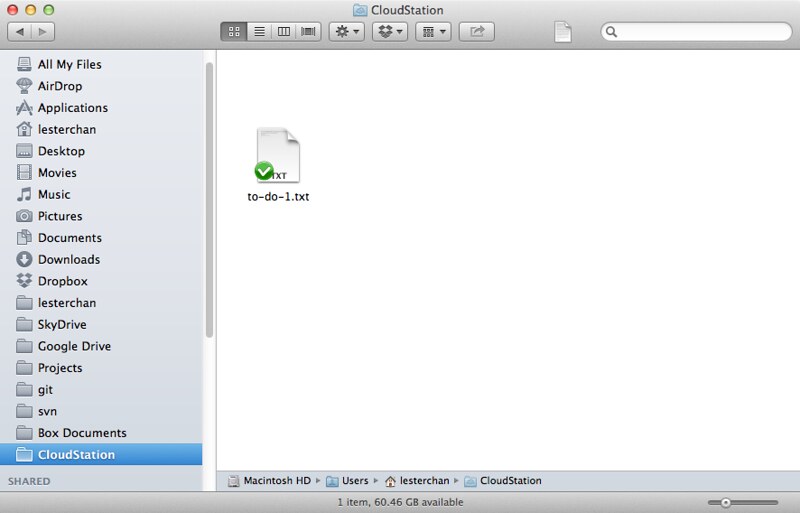
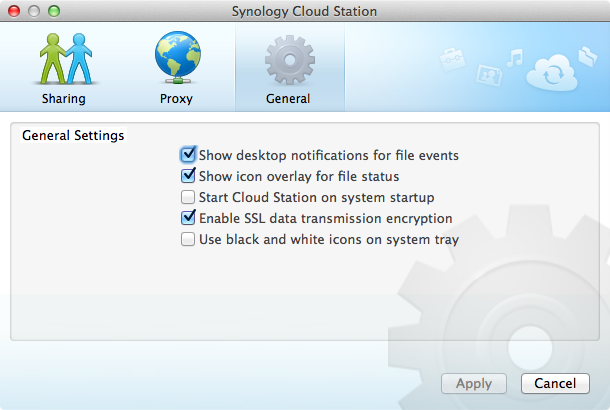
Syncing files is extremely easy, a folder called “Cloud Station” will be created in your home directory in your computer, if you copy and files or folders to it, it will have a “blue sync” icon overlaid on it and once the file has been synced to your Synology NAS, it will have a “green tick” icon as shown below. You can treat the “Cloud Station” folder like any other ordinary folder.
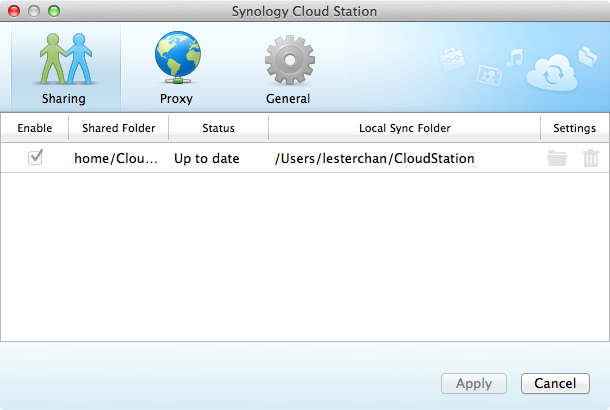
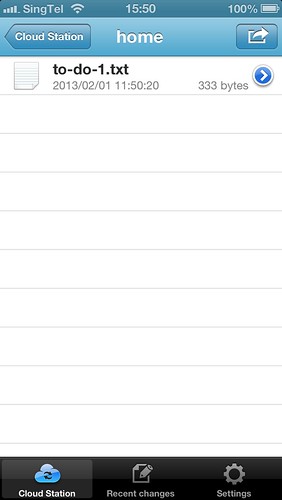
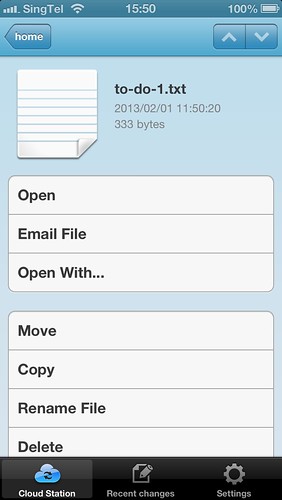
Cloud Station also has a native app called DS cloud for both iOS and Android.
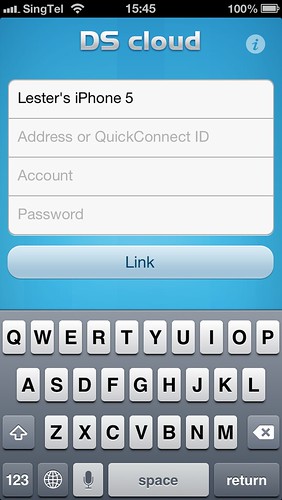
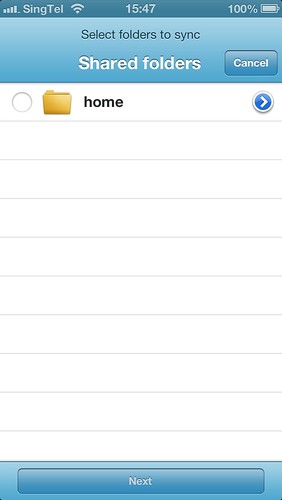

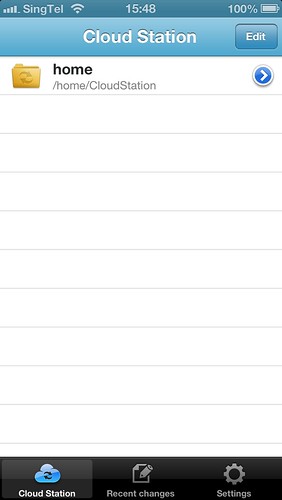
I have not experience any problems with Cloud Station so far, the only complaint I have is that it takes quite a while (1-2 minutes) to connect to my Synology NAS for the initial computer’s bootup if you are using QuickConnect. I tried forwarding TCP port 6690 on my router to the Synology NAS and it only takes 30 seconds to connect!
To Be Continued …
For the third and final part of the review, I will talk about Synology multimedia features such as Video Station, Audio Station, Photo Station as well as their native iOS/Android mobile apps, DS video, DS audio, and DS photo+.
Recap
- Synology DiskStation DS413j Review #1: Unboxing and Setup
- Synology DiskStation DS413j Review #2: Performance, Backup & CloudStation (this post)
- Synology DiskStation DS413j Review #3: Video, Audio & Photo Station
