Synology DiskStation DS220j is an entry-level NAS from Synology targeting at users who wish to give Synology NAS a try or are new to the NAS world.
Ten years ago, I decided to switch to Synology DiskStation DS210j from D-Link DNS-323 and I have never looked back since.

DS220j retails for S$249 on Lazada.
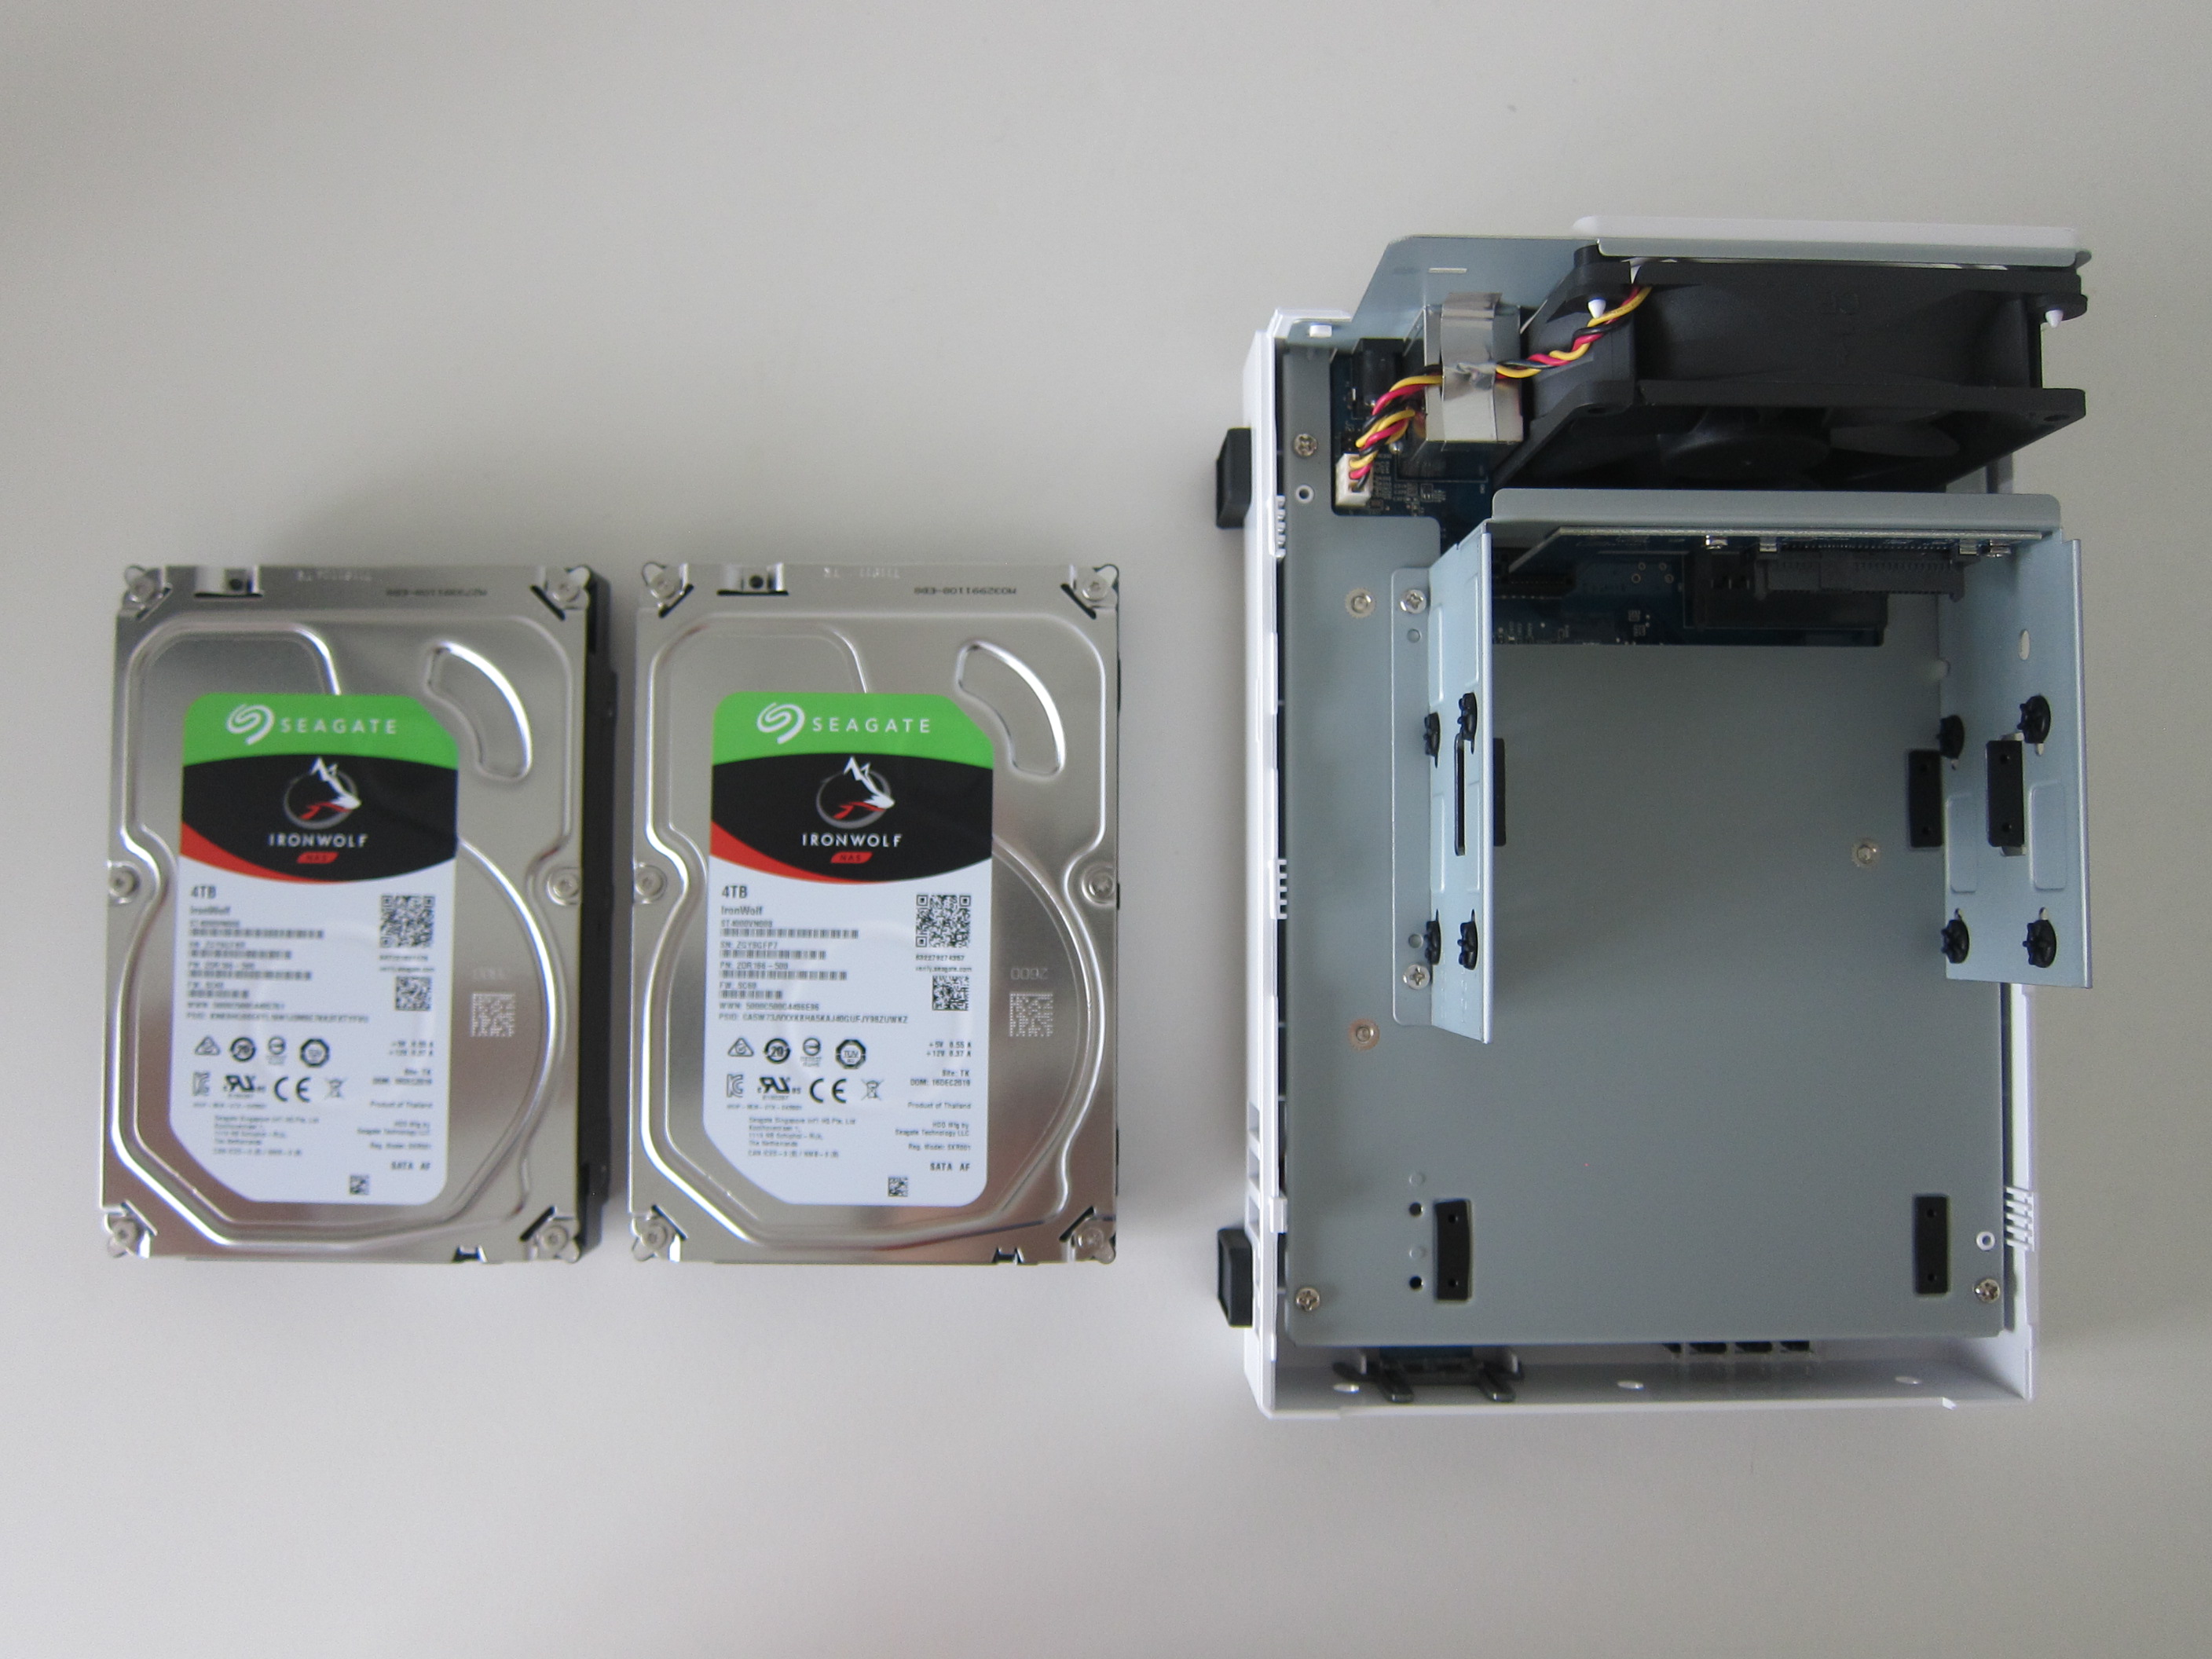
At S$249, the DS220j is affordable and a reasonable amount to spend if you are new to the Synology or NAS world. It doesn’t come with hard drives; You just have to get two hard drives along with it.
Seagate has kindly sponsored me two IronWolf 4TB to go along with my DS220j. The 4TB IronWolf retails for S$184 on Lazada.
This NAS build cost S$617 (S$249 + 2x $184). If it is out of your budget, you can consider getting two 2TB IronWolf instead at S$121 each, making the build S$491 (S$249 + 2x S$121).
I have been paying for Dropbox since 2011, and it has served me well. Dropbox is still a public cloud after all, and there might be some privacy concerns as a third party handles data.
Both public and private clouds have their pros and cons.
Setting up a public cloud is easy, just sign up an account, download the installer, and you are good to go. You do not need to worry about all hard drives failing because your data are in the cloud. That is a double edge sword when privacy comes into the picture.
Private cloud, on the other hand, takes a little longer to set up, and if all of your hard drives are spoiled at the same time, your data might be gone. But you do not need to worry about privacy.
Cost-wise, in the long run, having a private cloud is cheaper. Because you pay just once and it can last you probably for more than five years. Do get a good hard drive like the IronWolf or IronWolf Pro.
Because based on my experience, your hard drives will be the first to spoil. My ten years old DS210j is still working fine, but I have changed both hard drives once. In these ten years, I have already paid US$990 (S$1,400) to Dropbox.

Unlikely I will unsubscribe to Dropbox anytime soon, as I want a piece of mind for some of my data. So there is a price to pay “for a piece of mind.” I am going towards a hybrid approach. Non-sensitive data and data that I cannot afford to lose will be in Dropbox. Sensitive data and data that I am ok losing it will go in DS220j.
Non-sensitive data and data that I cannot afford to lose probably include only photos and videos. Non-sensitive data that I am ok losing includes documents, application data, application backups, scripts, design files, etc.
Sensitive data for me include confidential documents like payslips, scan copies identity documents (password and NRIC), database dumps, and SSH keys. To a certain extend, I can accept the risk of losing sensitive data in the unlikely event that both my hard drives fail at the same time.
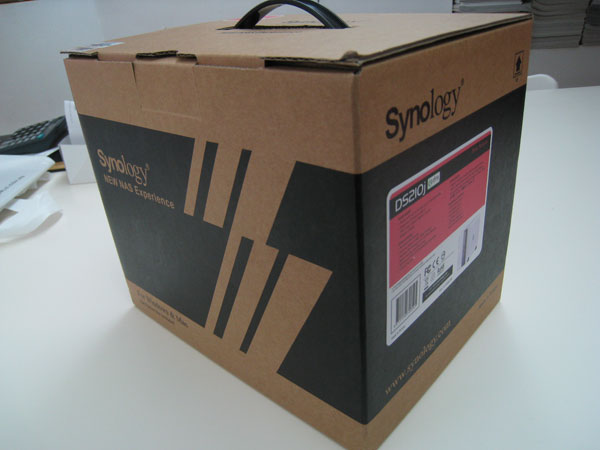
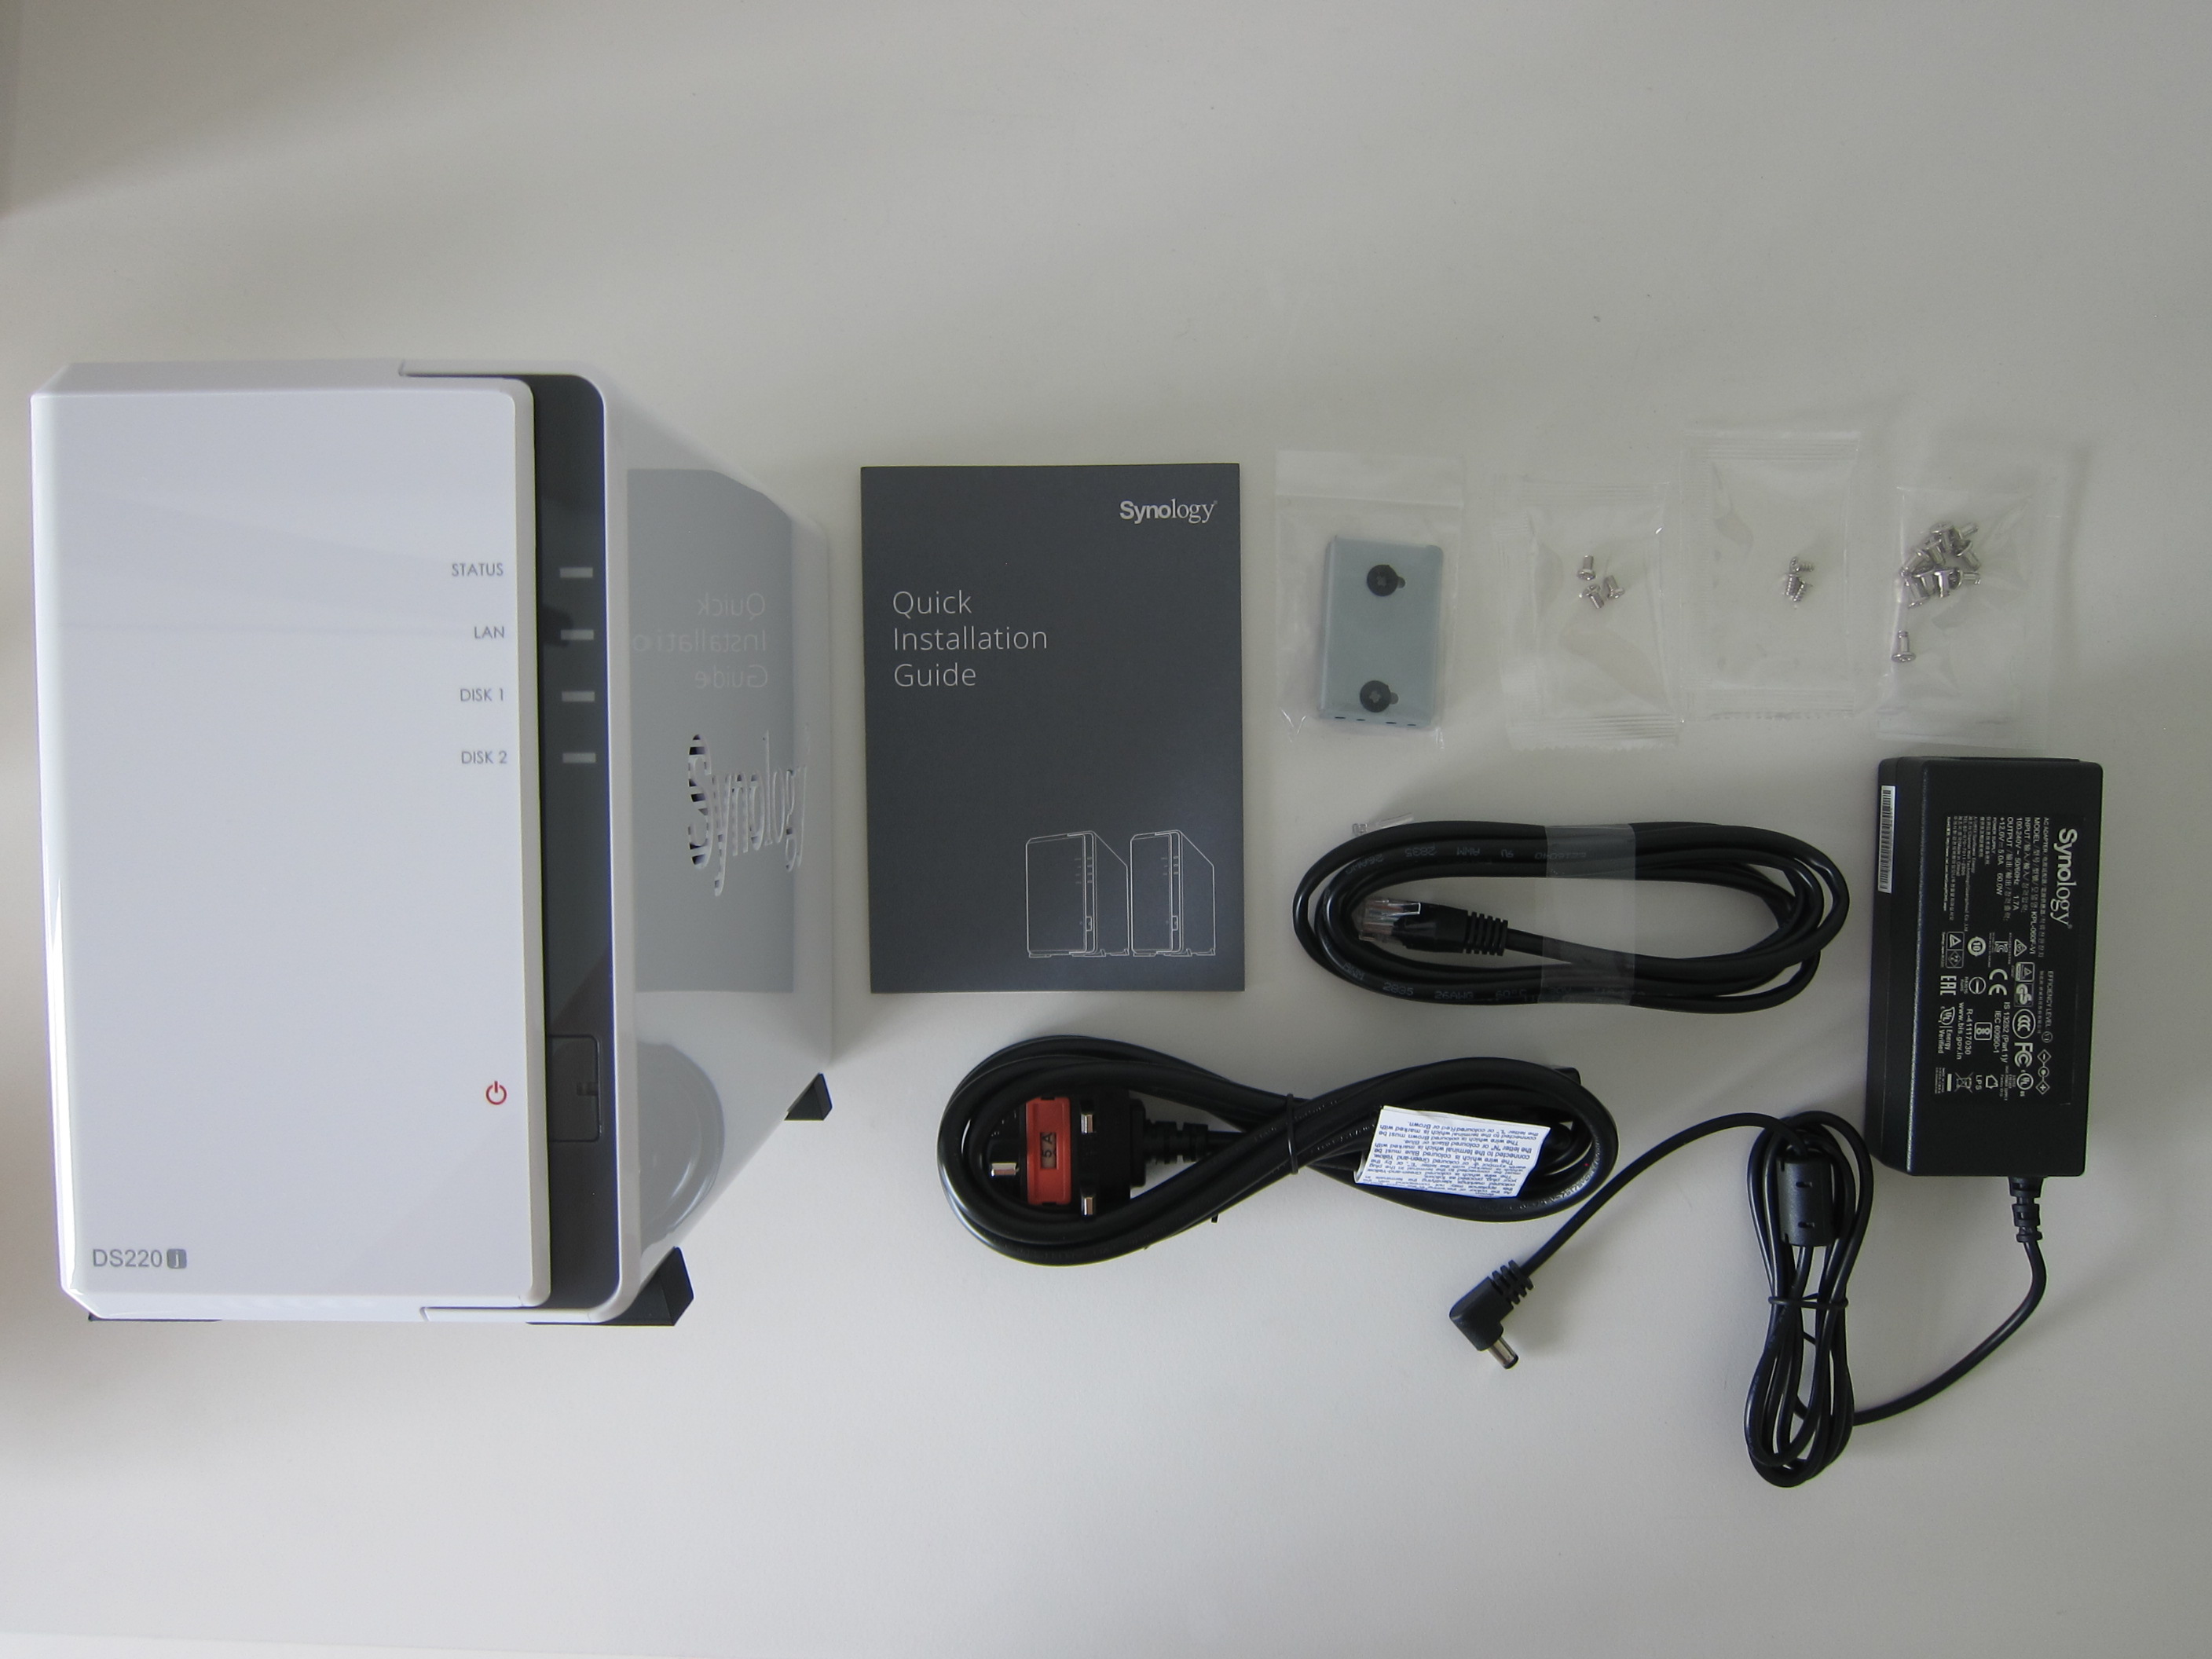
Unboxing


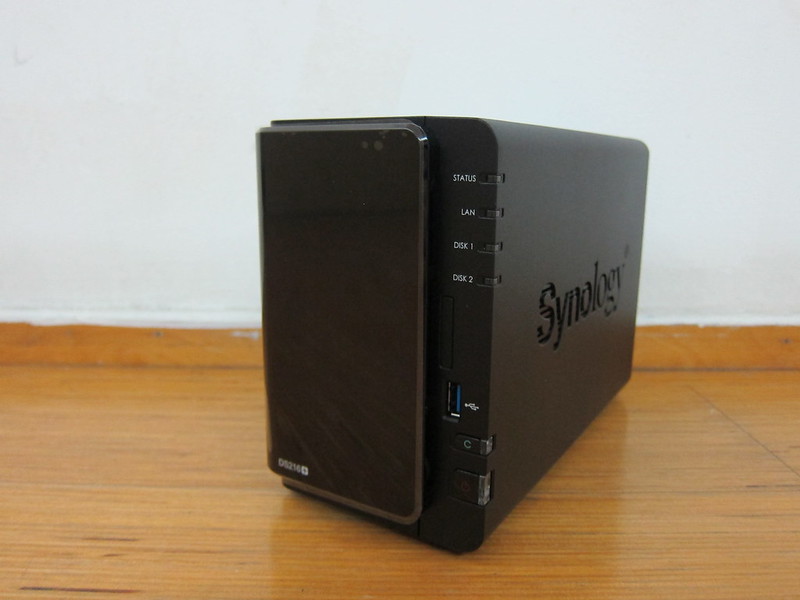
Design
Unlike NAS from the Value or Plus series, which uses matte black as the design, NAS from the J series uses a gloss white design.
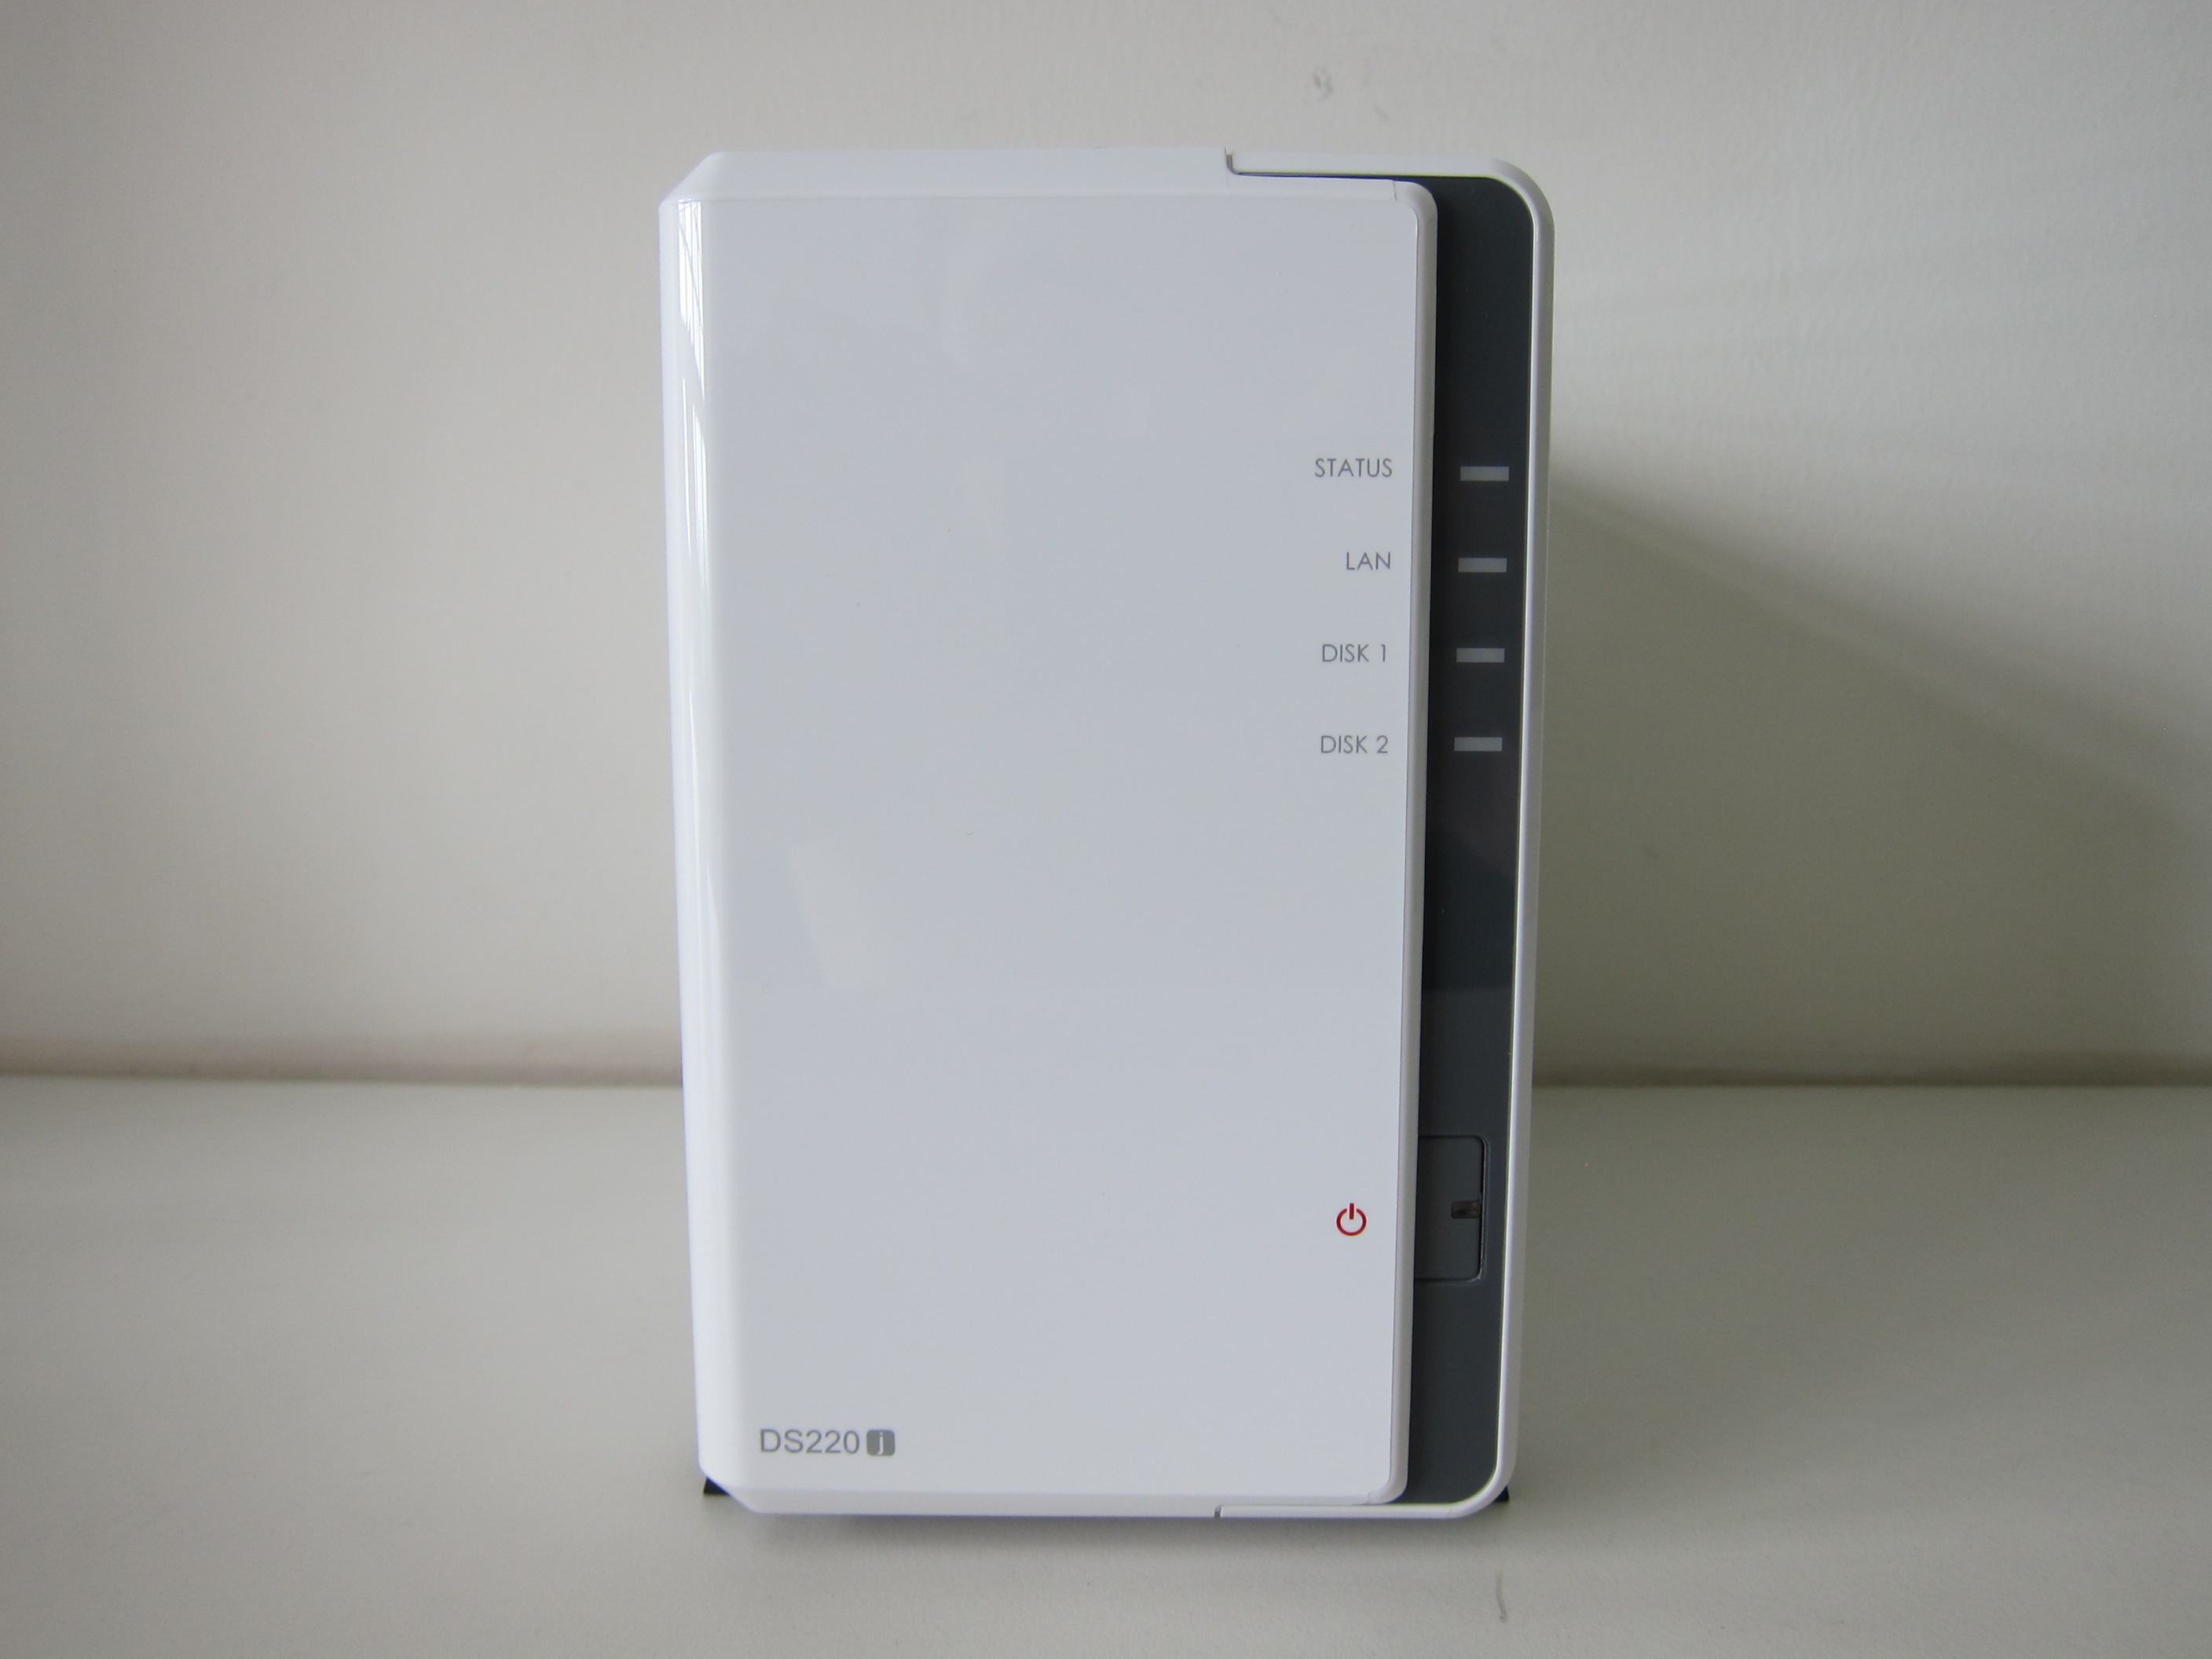

DS220j comes with Realtek RTD1296, which is a 4-core 1.4 GHz CPU and 512MB of DDR4 RAM.
All the ports are at the back, and that includes two USB 3.0 ports and the 1GbE LAN port.

The fan is a 920mm x 920mm fan, which is good enough to cool a 2-bay drive NAS.
There is a screw hole at the top and bottom of the back of the NAS for you to secure the NAS cover. Screws are provided, but I don’t use it as I find the lid secured enough.
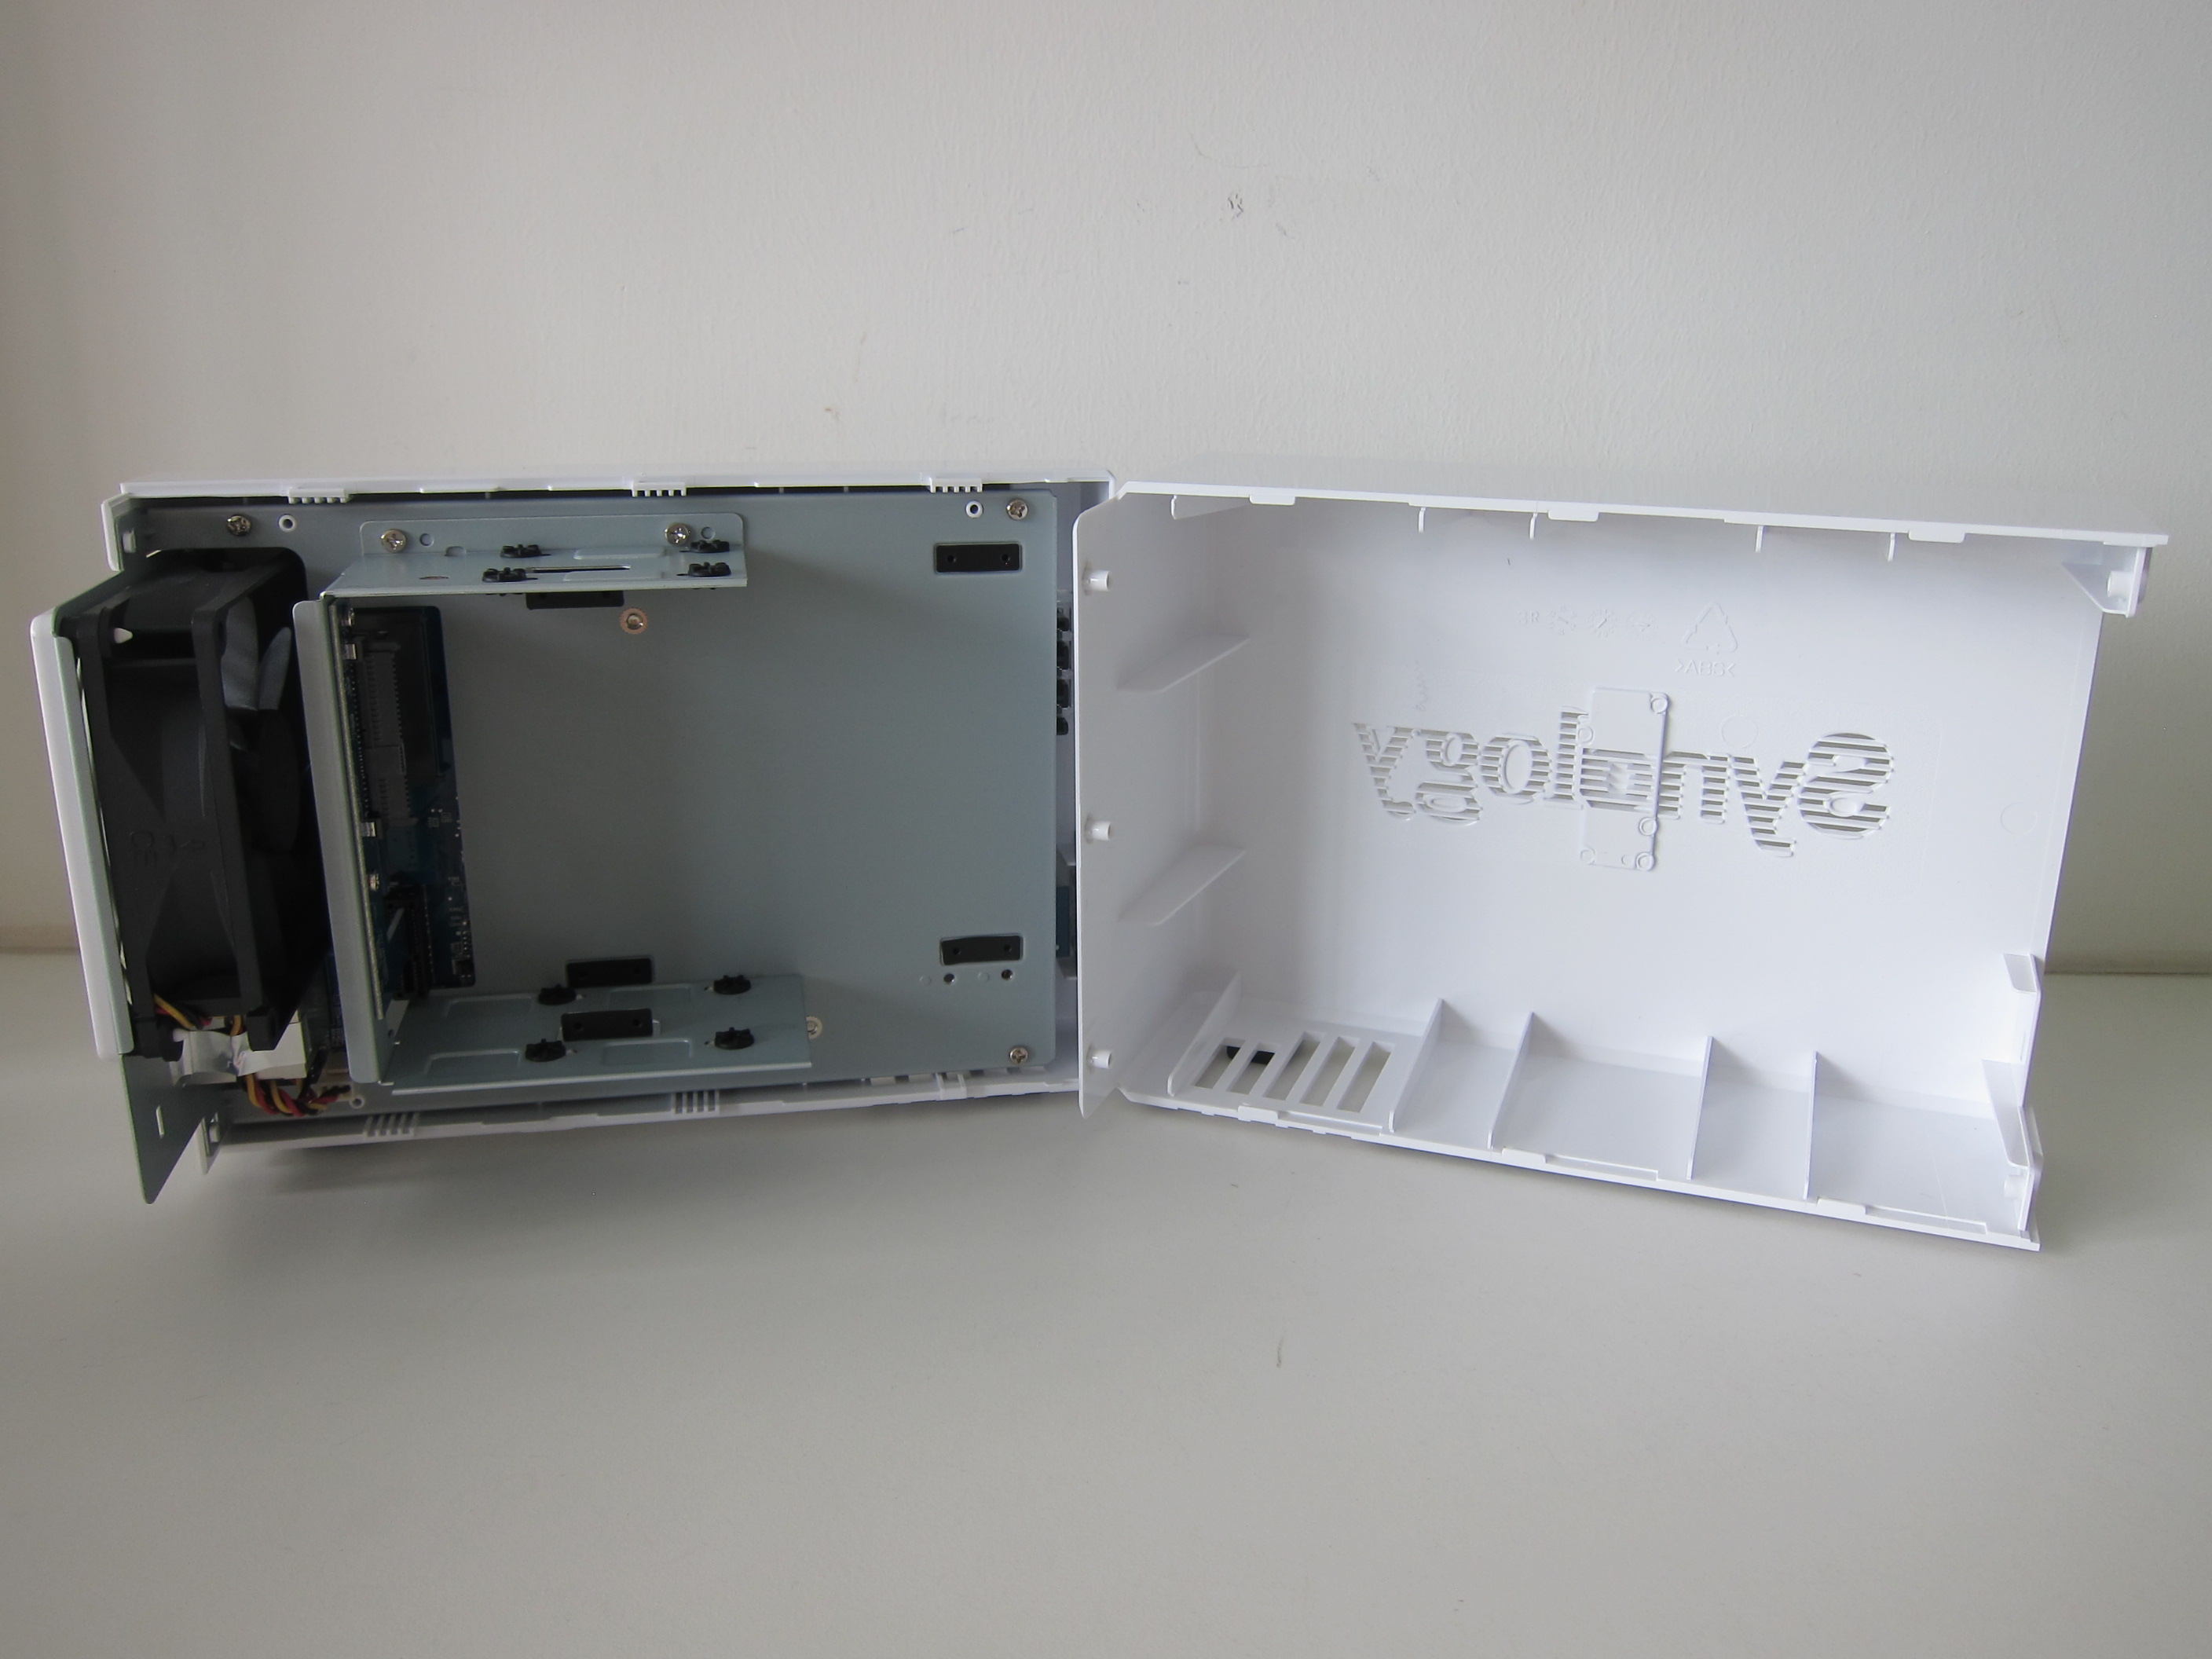


The only thing I do not like about the Synology J series NAS is the lack of tray for your hard drives. Because of that, you will need to use a screwdriver to screw the hard drives directly to the NAS.

Setup NAS
After installing both hard drives on the DS220j, power it on and wait for the beep sound. Proceed on to visit find.synology.com on your favourite browser.

Your DS220j should appear on the list and click “Connect.”

Follow the on-screen instructions.
It takes about five minutes to download and install the DiskStation Manager (DSM) to the DS220j. DSM is Synology’s web OS for your NAS.

After the restart, you will be prompted to create an administrator account and set up Synology QuickConnect.

I recommend you to set up QuickConnect so that you can connect to your NAS easily without the need to do port forwarding on your router.
Synology QuickConnect allows you to access your Synology NAS anytime, anywhere, from any device and browser, without having to set up port forwarding and firewalls.


Once the initial setup is done, you will be able to access your DSM.

By default, your NAS will be set up in Synology Hybrid RAID (SHR), with data protection for 1-drive fault tolerance. Your data will be safe as long as one drive spoils at a time.
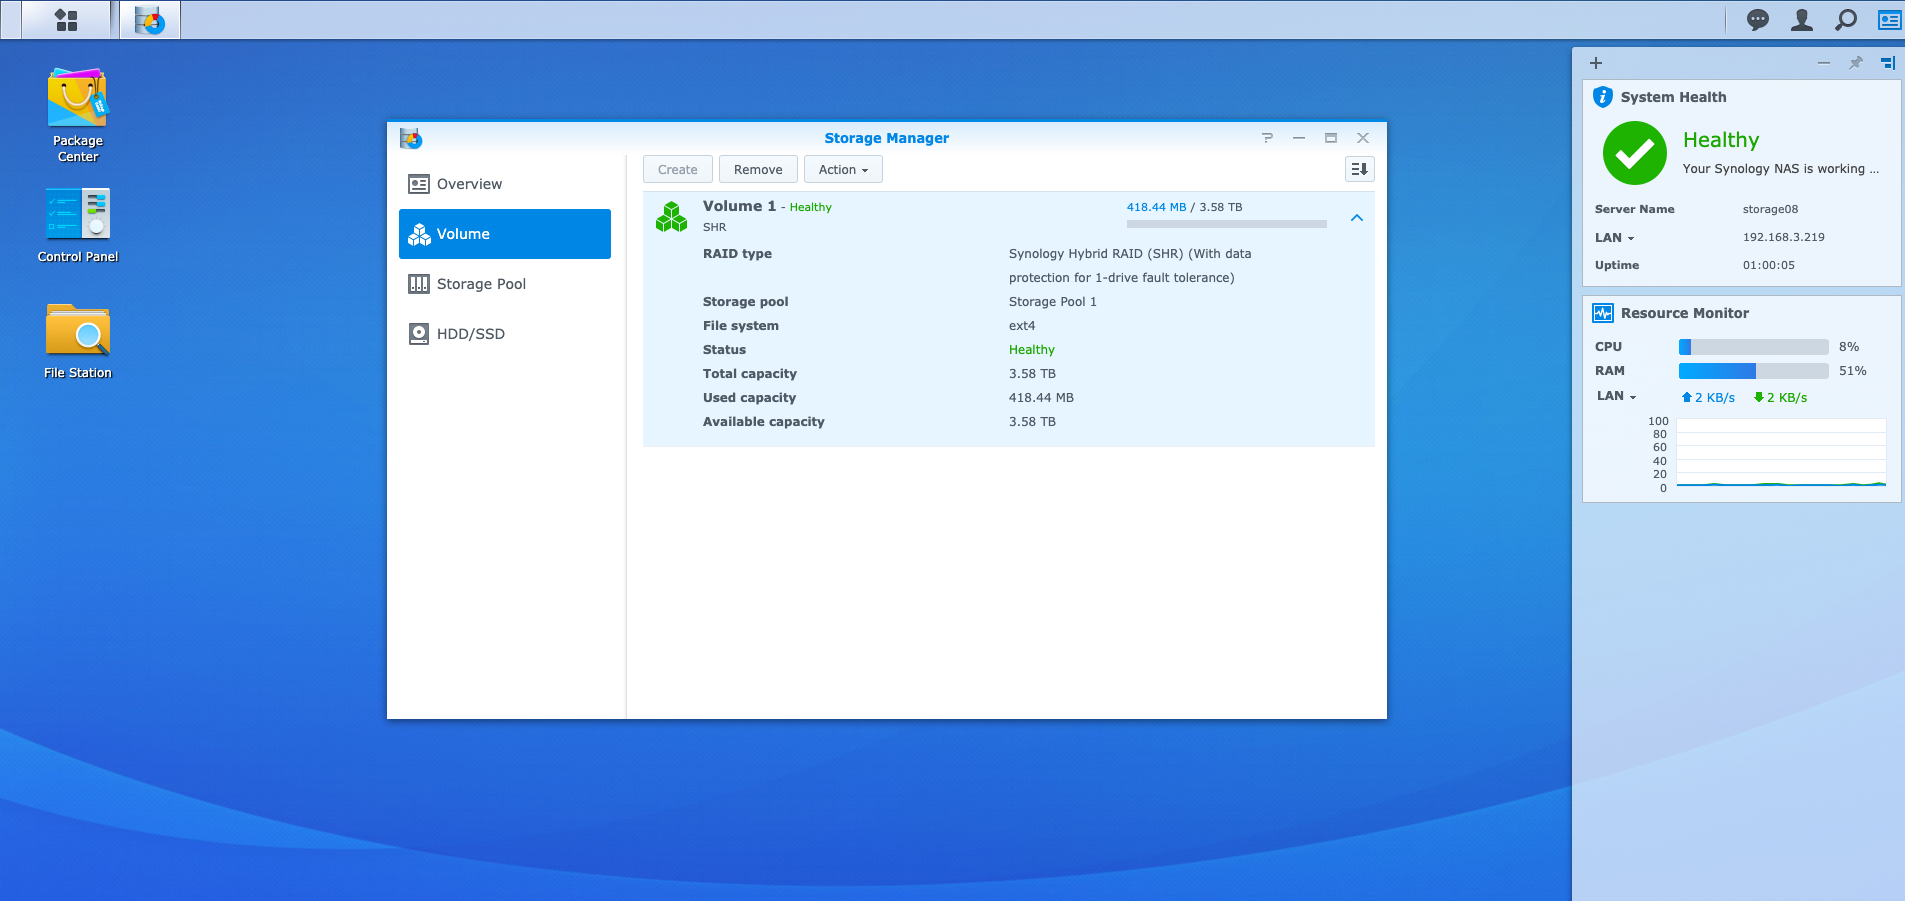
I have been using SHR for all my Synology NAS, and it works great.
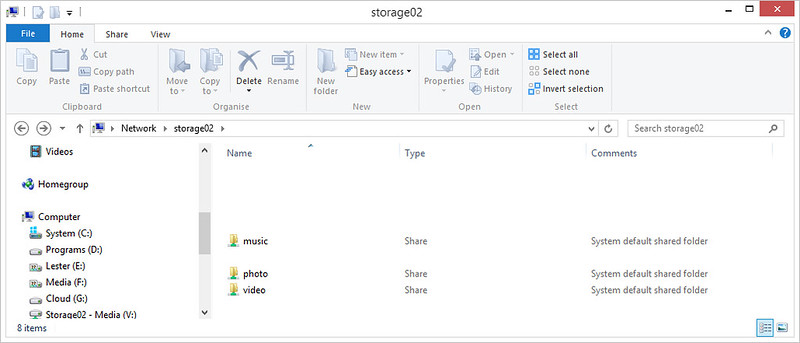
Setup Shared Folder
Before you can use Synology Drive, you will need to set up Shared Folders on DSM. Just click on the File Station icon and follow the on-screen instructions.

For the name, it is up to you to name. I always follow the hostname of my NAS, so in this case, it is storage08.

Setup Synology Drive Server
Synology Drive (previously known as Cloud Station) is Synology’s version of Dropbox. But instead of using a public cloud, it is using your own private cloud.
To get started with Synology Drive, you need to download the Synology Drive Server package from the DiskStation Manager (DSM) of your NAS.

After installing it, three apps will appear in the main menu, Synology Drive Admin Console, Synology Drive, and Synology Drive ShareSync.

Go to Synology Drive Admin Console, and choose settings.

Enable the shared folder that you have created earlier on.

You are done with setting up Synology Drive Server.
Setup Synology Drive Client
Next, you have to download Synology Drive Client on your Windows or Mac so that you can sync files to the Synology Drive Server.

Install the Synology Drive Client.

For my use case, since I will be using it like Dropbox, I chose “Sync Task.”

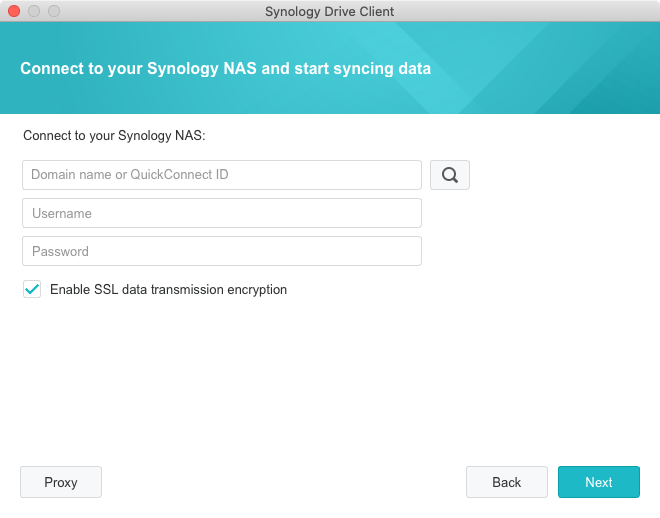
Fill in your QuickConnect ID together with your credentials, which you have set up earlier.
Click on the “Synology Drive Server” and choose the Shared Folder that you have created earlier.
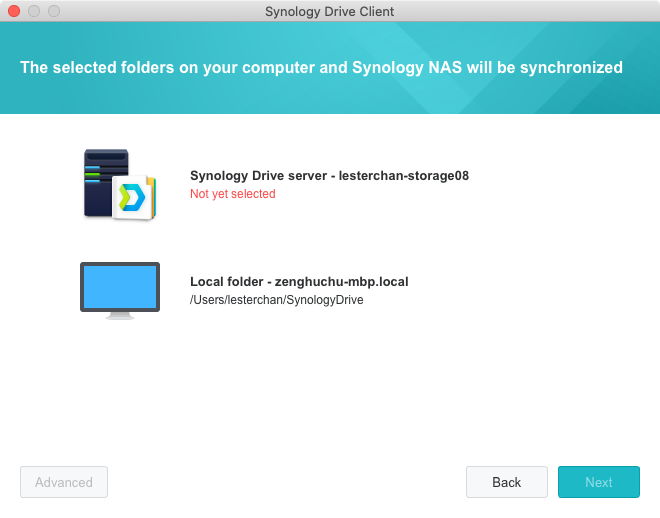


Once the setup is done, you can find the Synology Drive folder in your home directory.

Synology Drive app is also available on iOS and Android.
You can also access Synology Drive remotely via your web browser using QuickConnect.

Earlier on, I was mentioning that if all of your hard drives are spoiled at the same time, your data might be gone. This can be prevented with Synology Drive ShareSync.

If you have another Synology NAS in your house or at another location, you can use the app to replicate data to multiple Synology NAS so that you do not have a single point of failure. It is like literally having your own private cloud.
Performance
Performance-wise, I would say it is acceptable for being just a storage syncing solution. When you are getting the DS220j, I would recommend using it for storage syncing only and not other things else. Let the DS220j do one thing and do it well.
My RAM usage is constantly at 51% just by using Synology Drive Server. So I would not recommend you to stream media off this as your CPU and RAM usage will spike, and that might slow down the ongoing syncing process.
If you need to do storage and media streaming, I would recommend the DS918+ instead. Of course, it costs three times the price of the DS220j.
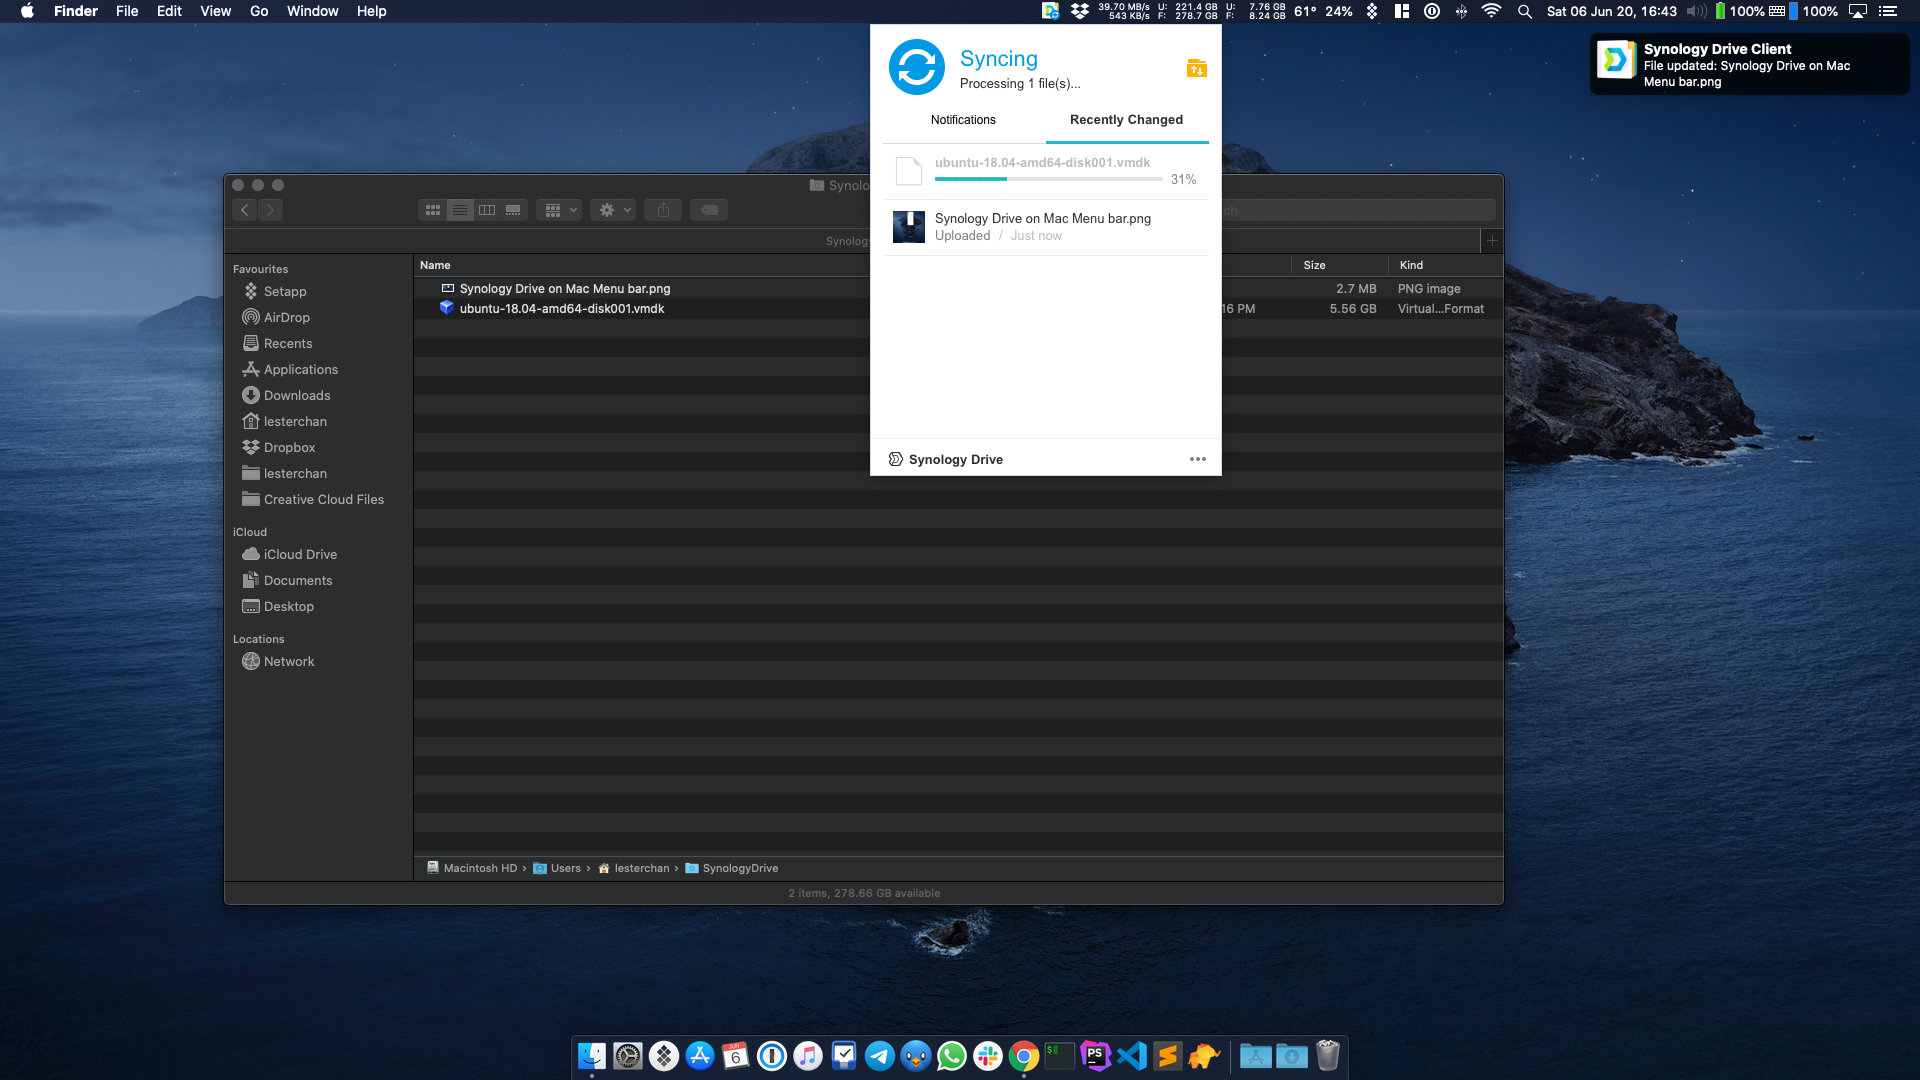
The syncing speed depends on your network at home. I have no issues syncing huge files locally and is faster than Dropbox when syncing locally. Locally, I am getting an average of 40MB/s.
However, when it comes to syncing files remotely, your home Internet connection and bandwidth plays a part. Dropbox has an advantage here.