Synology DiskStation DS413j Review – Unboxing + Setup
I am being seeded the Synology DiskStation DS413j alongside with 3x WD Red 1TB hard disk drives for a 3 part review. For the first part, I will talk about the unboxing and setting up of the DS413j.
Since I only have 3x WD Red 1TB and the DS413j is a 4-bay NAS, I went to Sim Lim Square to get another WD Red 1TB so as not to let 1 of the bay goes to waste. I didn’t realized that WD Red 1TB is a pretty old HDD and most of the stores carry 2TB onwards. Luckily Bizgram still has some WD Red 1TB left. So I bought it for S$120.
My favourite store in Sim Lim Square, Fuwell, is selling the Synology DiskStation DS413j for S$660. They are also selling the WD Red 2TB for S$190 and WD Red 3TB for S$245 each. So a full 12TB NAS system will cost you S$660 + (4 * S$245) = S$1,640.
There will be 3 models to the DS413 series. The DS413j is the lowest end and is suitable for Home to Small Office, the DS413 is suitable for Home to Business Workgroup and the DS413+ which I am guessing will be out soon is suitable for Small and Medium Business.
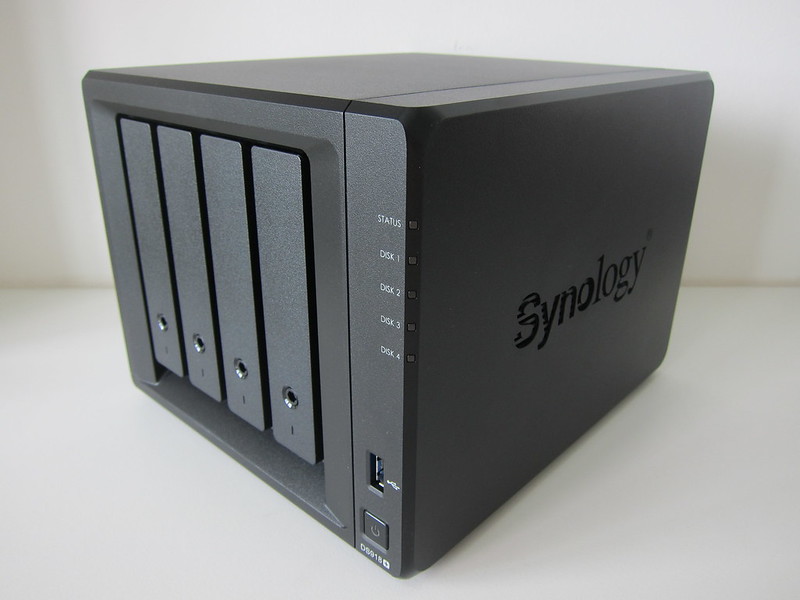
Synology DiskStation DS413j is a budget-friendly 4-bay NAS server for small offices and home use, specifically designed to provide a solution for file storage and sharing with data protection for your home environment with low power consumption, quiet operation and reliability.
I am currently using the Synology DiskStation DS210j which I bought 3 years ago and still going strong!
Hardware Specifications
- CPU Frequency: 1.6 GHz
- Hardware Encryption Engine
- Memory: DDR3 512 MB
- Internal HDD/SSD: 4x 3.5″ or 2.5″ SATA II
- Max Internal Capacity: 16 TB (4 X 4 TB HDD)
- External HDD Interface: 2x USB 2.0 Port
- Size (HxWxD): 184 x 168 x 230 mm
- Weight: 2.23 kg
- LAN: 1x Gigabit Port (Supports Wake on LAN/WAN)
- Wireless Support (dongle)
- System Fan: 2x 80mm x 80mm
- Supported RAID Type : Synology Hybrid RAID, Basic, JBOD, RAID 0, RAID 1, RAID 5, RAID 5+Spare, RAID 6, RAID 10
For the full specifications, check out the official site.
Unboxing
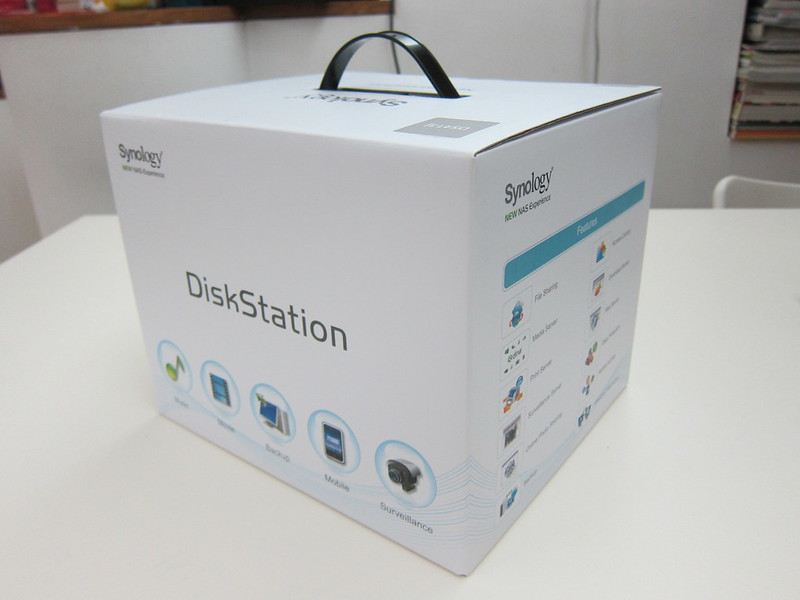
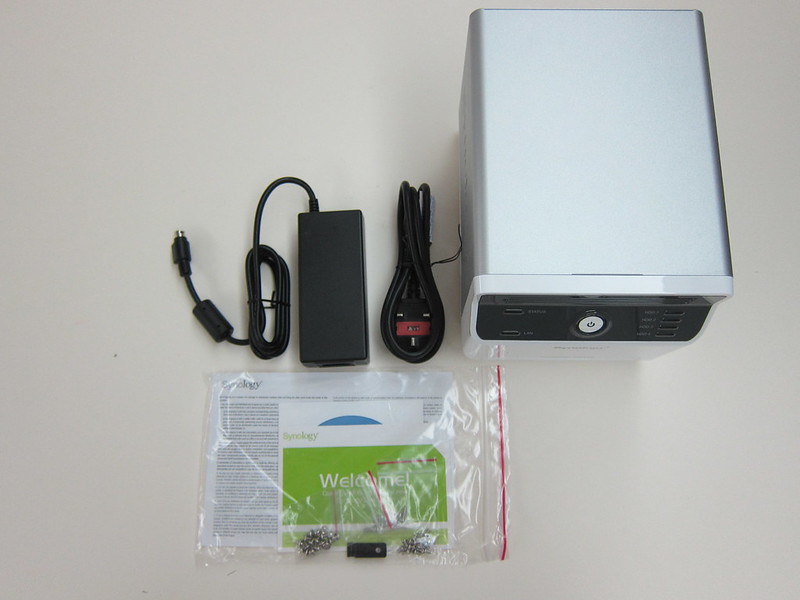
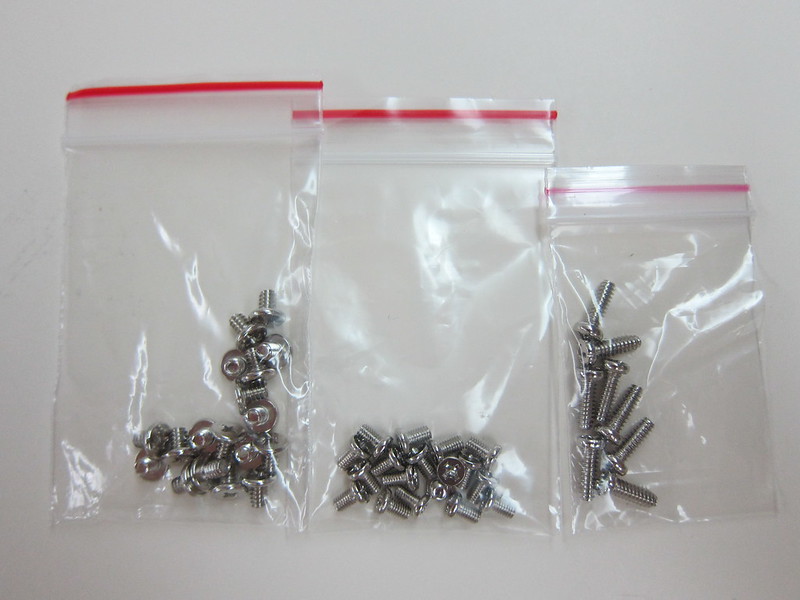
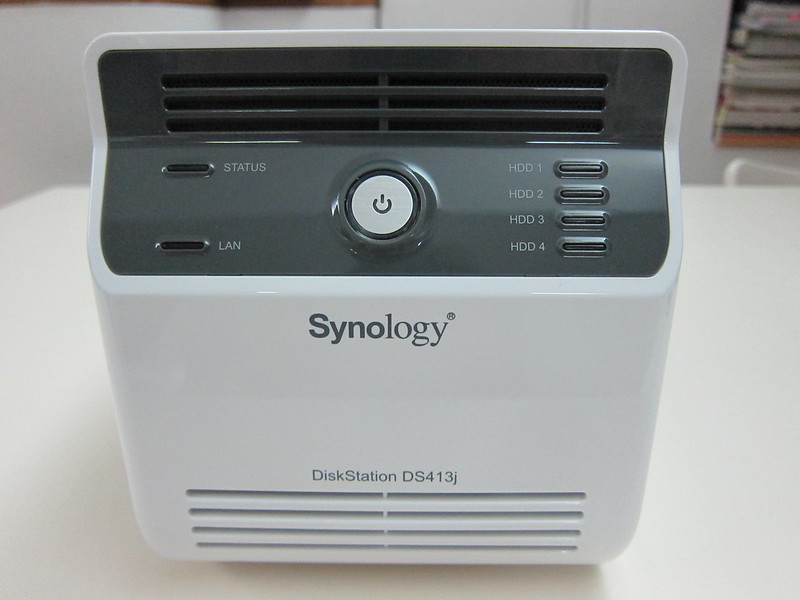
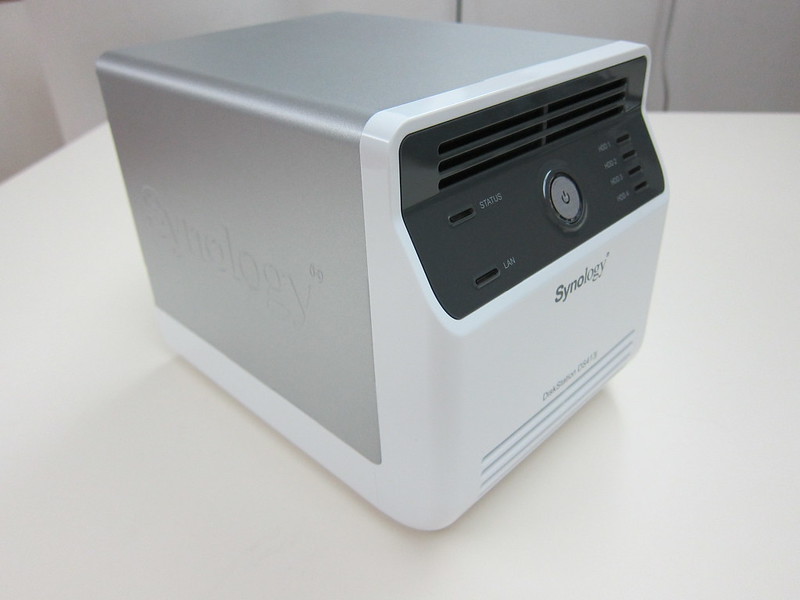
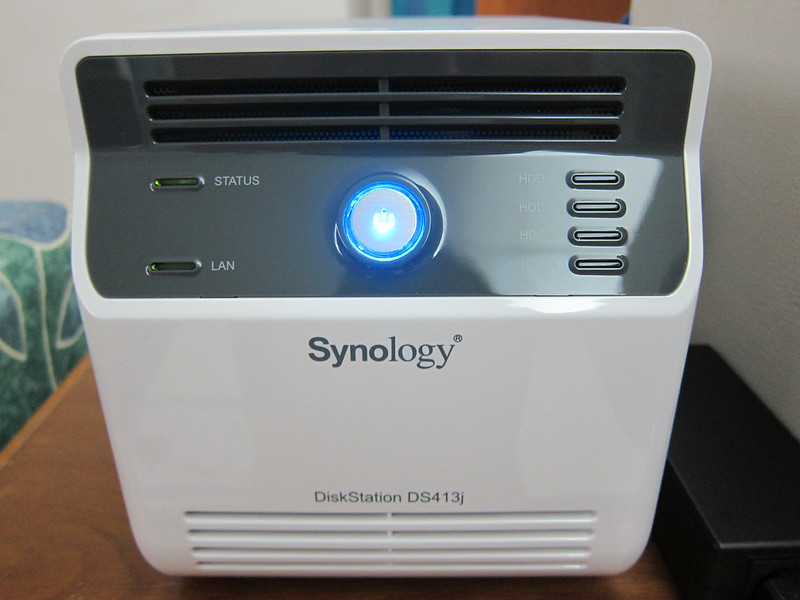
On the front, you will see all the light indicators. The status, LAN and 4 HDD indicators will be in green while the power indicator is in blue. I do not know whether it is the design of the DS413j or the light bulb used, but it seems that the indicators are less glaring compared to my existing DS210j.
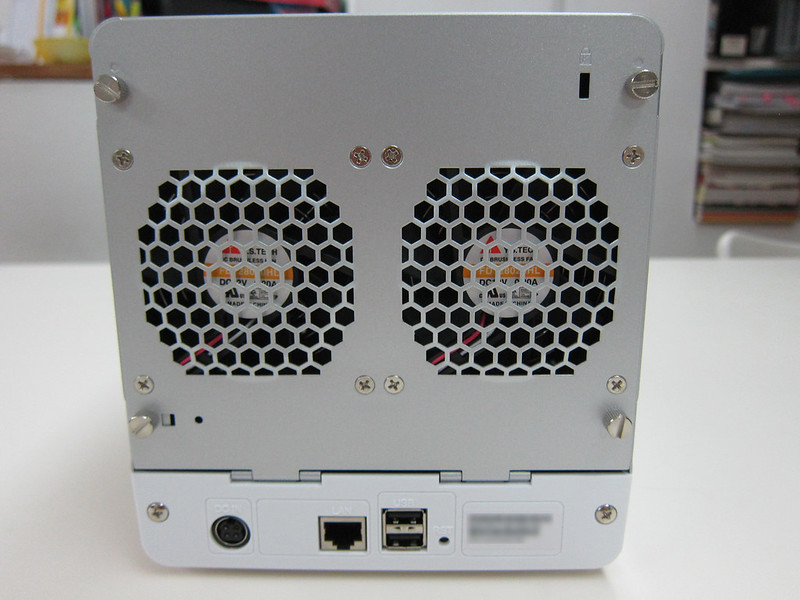
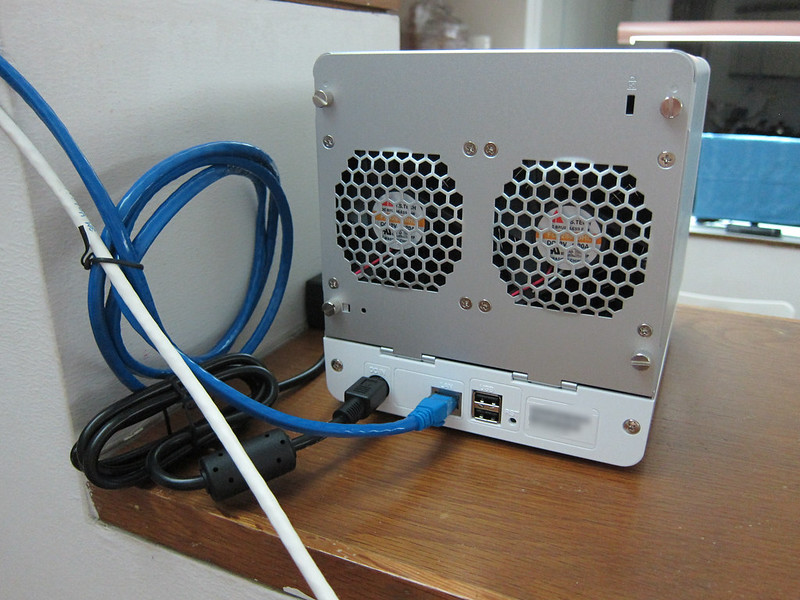
At the back houses the power port, gigabit port, 2x USB 2.0 port, reset button and 2x 80mm x 80mm fan. On my DS210j, the LAN port itself has an activity light indicator, but it is not present in this DS413j.
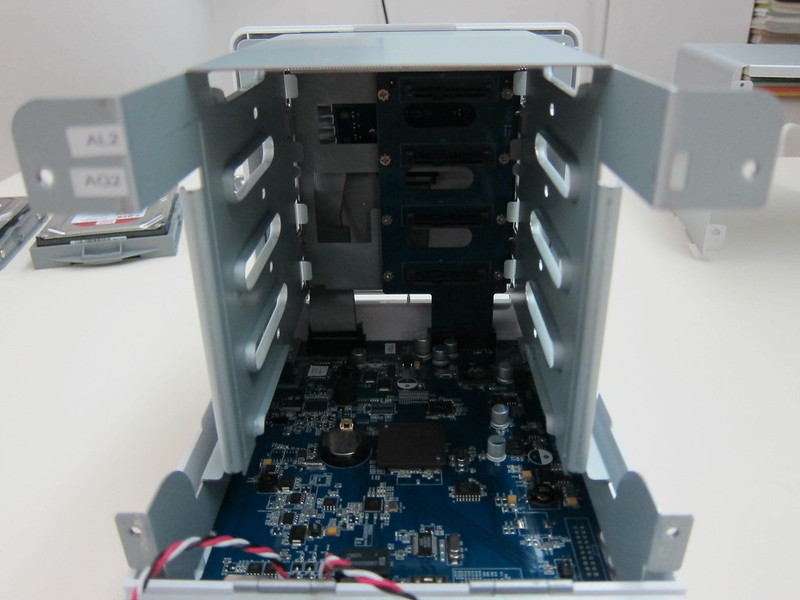
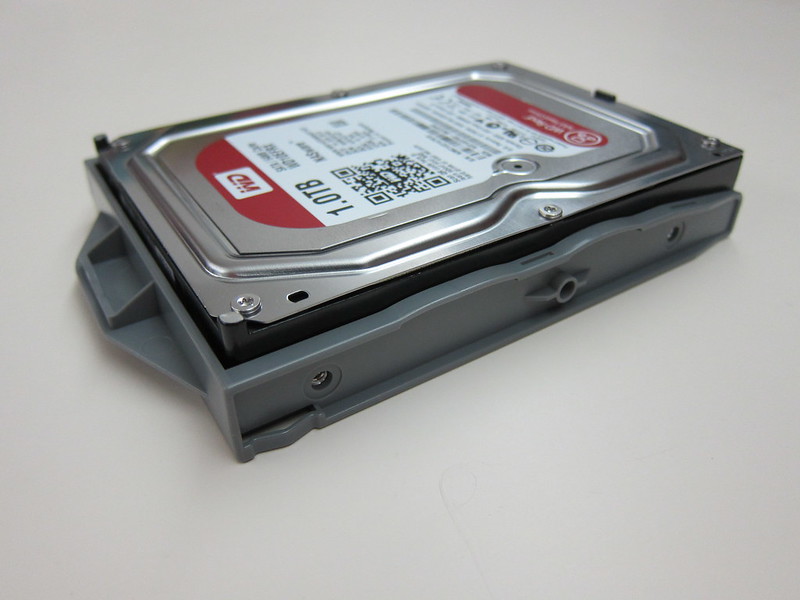
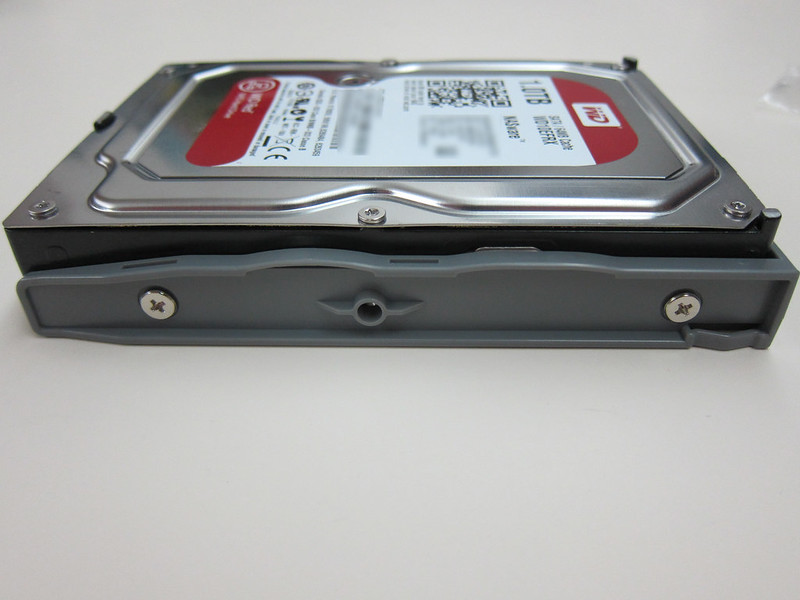
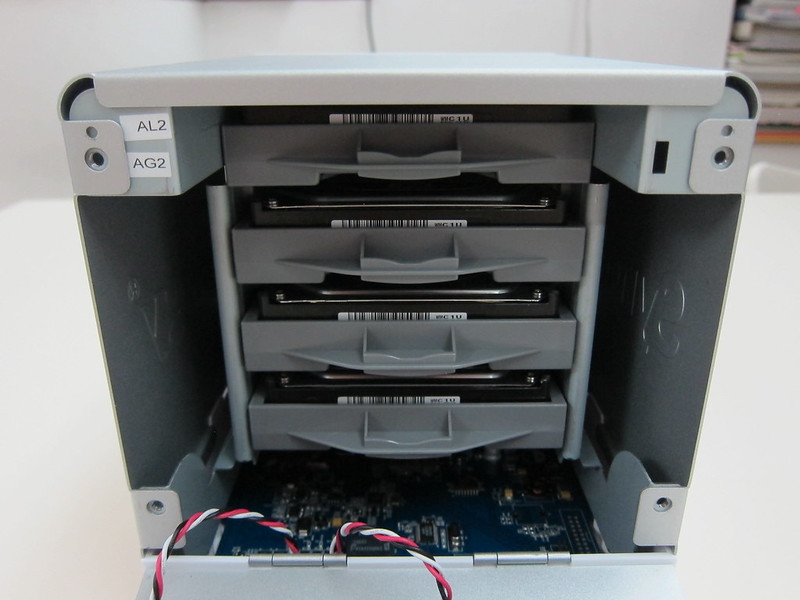
Installing The HDD
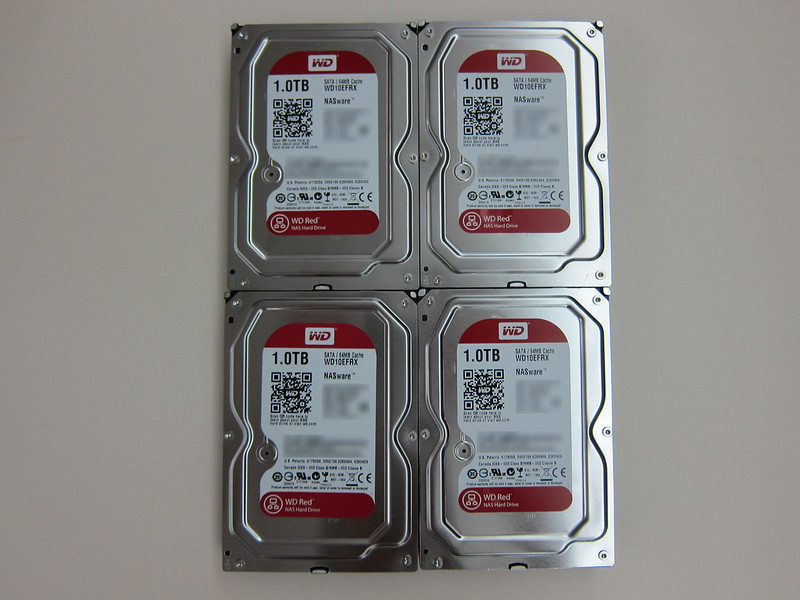
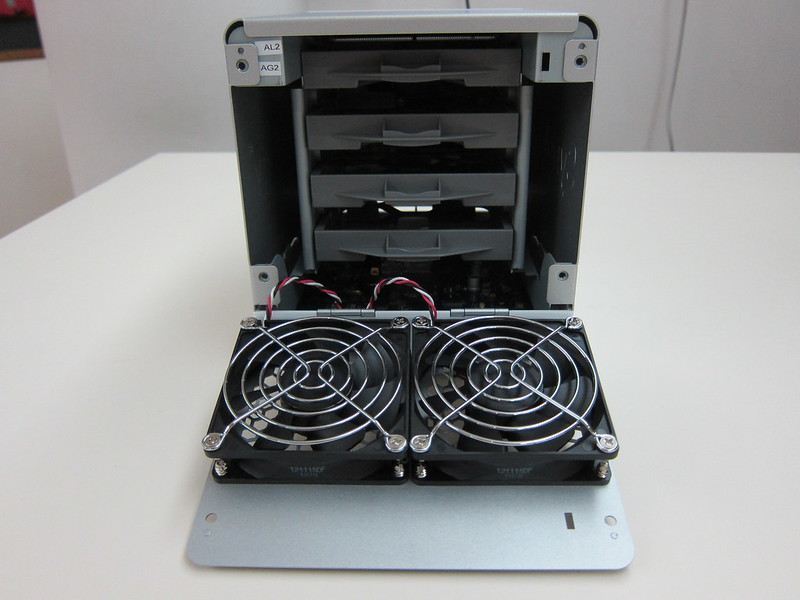
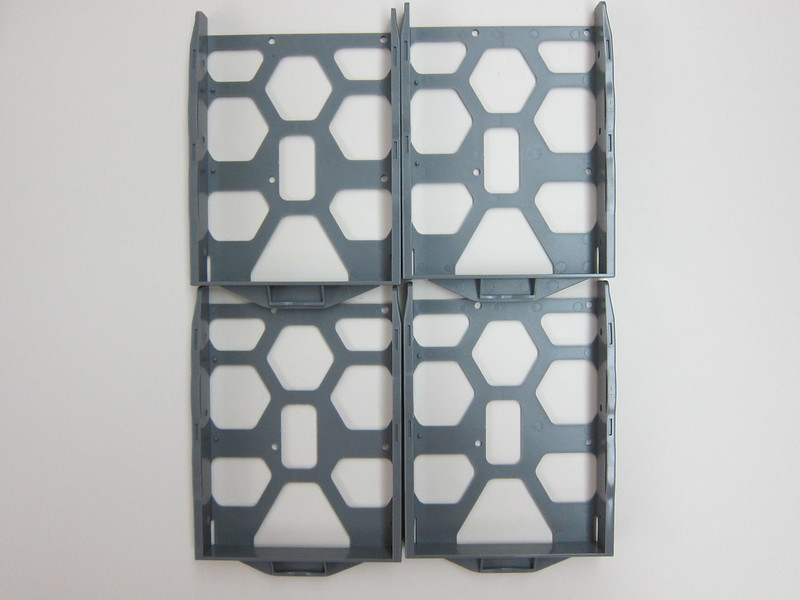
Setup
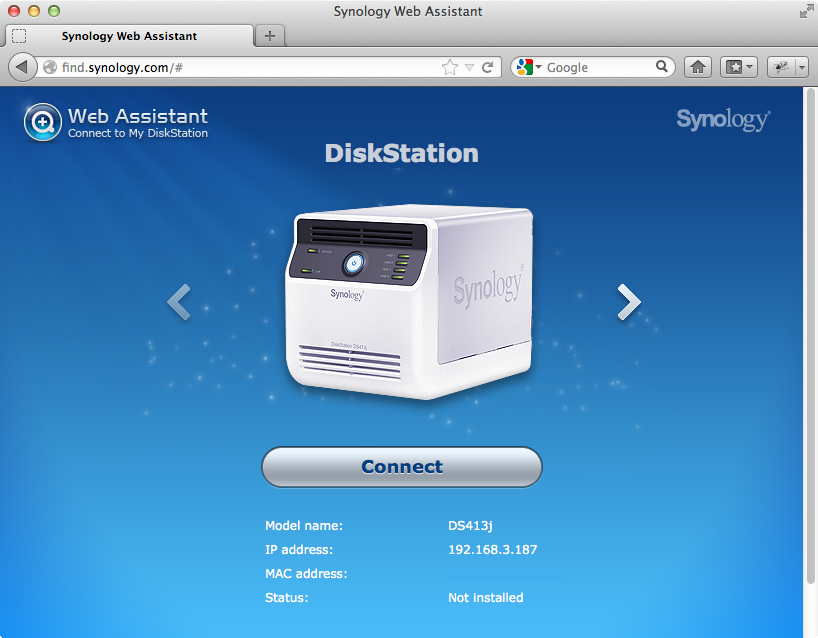
After powering up the DS413j, just point your browser to find.synology.com and it will automatically detect your DS413j within your network and follow the instructions in your browser to get it set up!
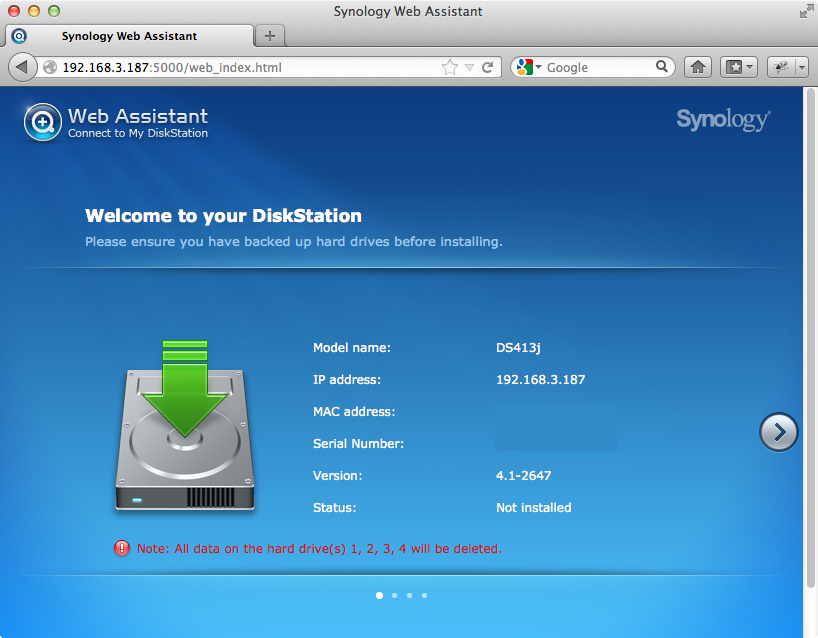
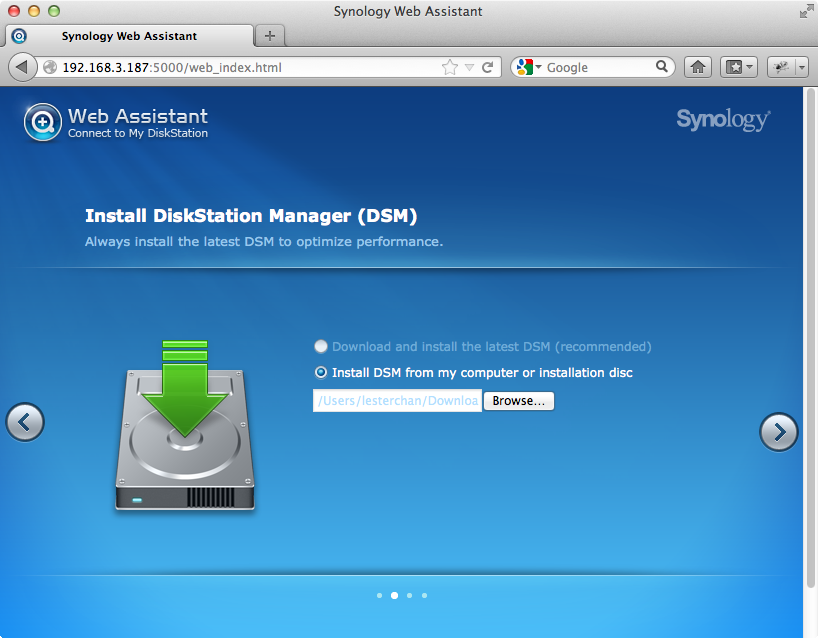
For step 3, since I am testing the latest DSM 4.2 Beta (OS that is powering the DS413j), I chose “Install DSM from my computer or installation disc”. For most users, you would normally choose the first option. However, if you have a slow Internet connection, choose “Install DSM from my computer or installation disc” and use the disc that is provided with the DS413j. Inside it contains DSM 4.1.
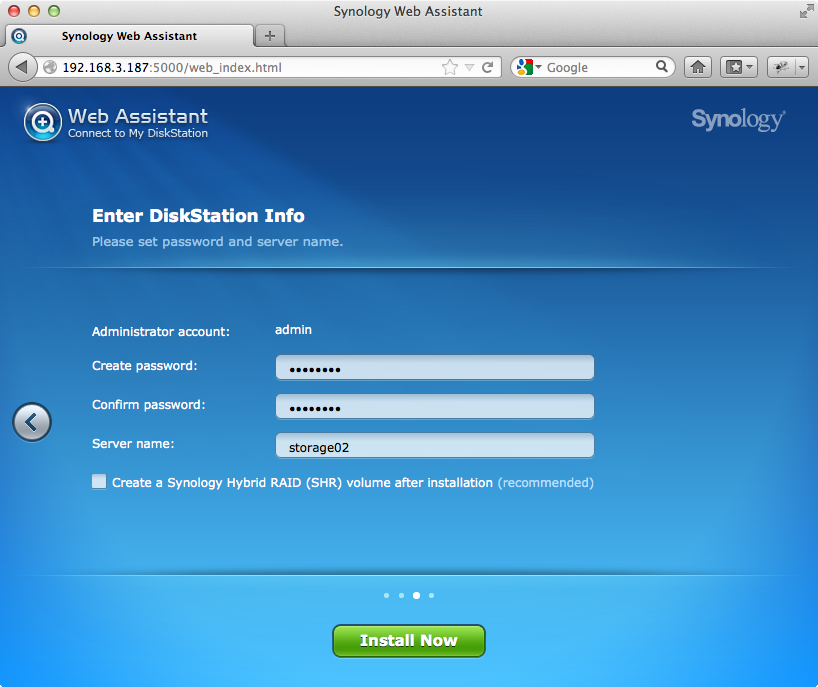
For Step 4, do remember to check the “Create a Synology Hybrid RAID (SHR) volume after installation”. The reason I did not check on it initially is because I wanted to use RAID 5 instead of SHR.
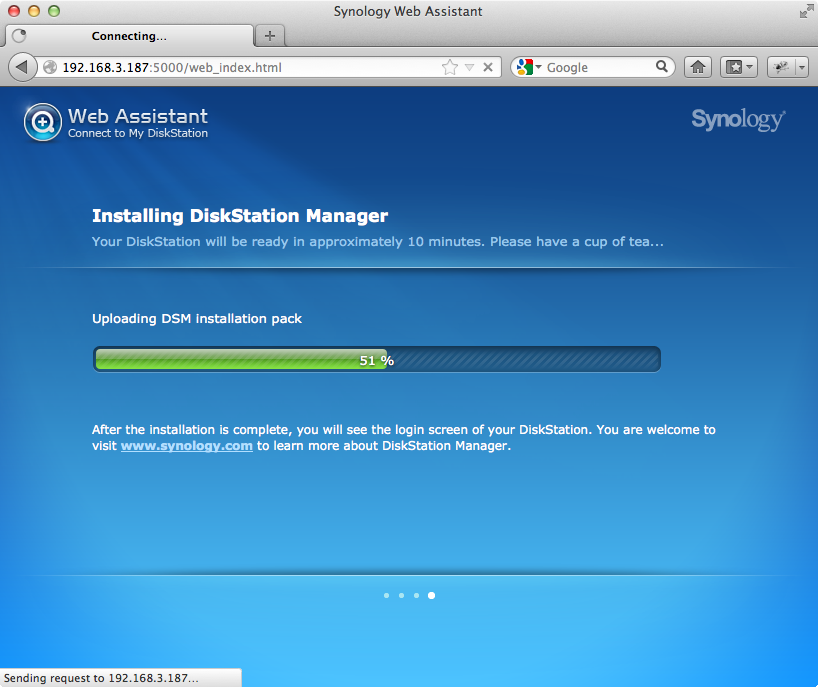
After about 5 minutes you will be redirected to the login screen.
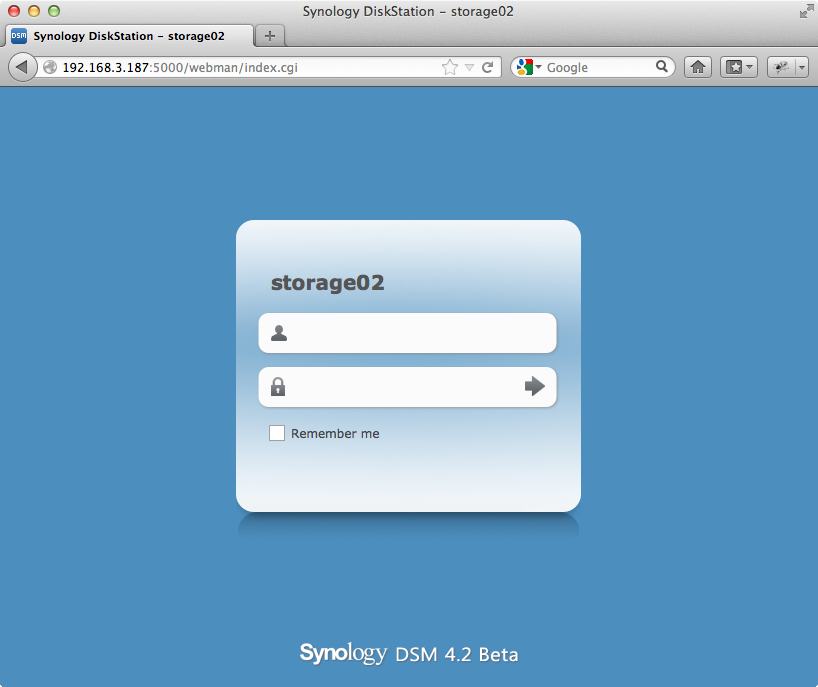
After logging in, I was prompted to create a volume and after one big round as mentioned in Step 4, I still decided to give SHR a try.
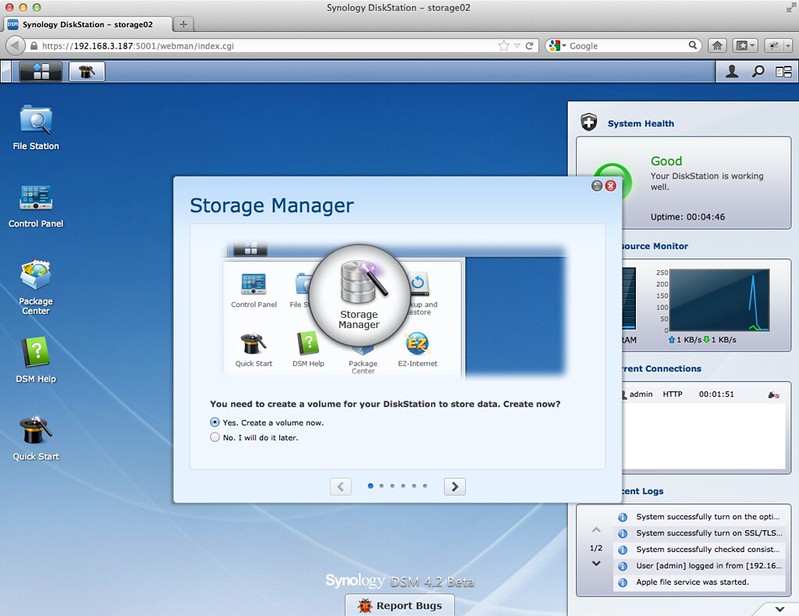
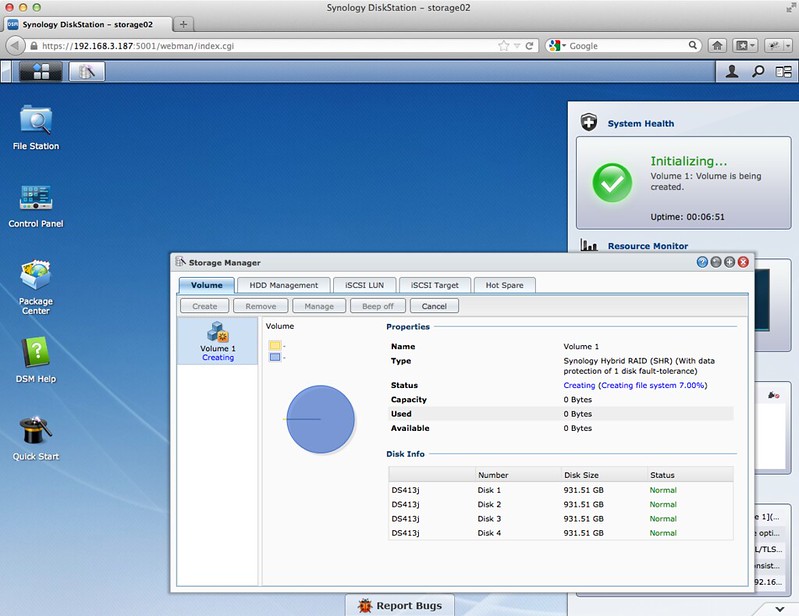
It will take about 15 minutes to setup the volume but after setting up the volume, it will run a parity check which will take about 8 hours.
Choosing Your RAID Type
Depending on which RAID type you choose, you will get different storage capacity vs redundancy for your NAS. You will have to weigh a balance and choose one that suits your data storage. For me, if I am going to store my personal documents, photos and videos in my primary NAS, I will go for RAID 10 as redundancy is more important than space. However, if I am going to use it for media streaming and storage, I will go for SHR or RAID 5 as space is important but there is still some basic redundancy.
So you might be wondering how is SHR (Synology Hybrid RAID) different from the traditional RAID?
SHR is a proprietary automated RAID management system from Synology which is based on the Linux RAID management system. For traditional RAID system, typically all the hard disk drives needs to be from the same manufacturer and have the same capacity. But for SHR, it supports different capacity hard disk drives. So if you started with 4x 1TB drives and if one of them fail, you can always swap the failed 1TB drive with a greater capacity one like a 3TB drive. Also if you run out of space in your NAS, you can always swap your existing 1TB HDD with a 3TB HDD (one at a time) and SHR will automatically expand the volume. Do note that expanding a volume will take a lot of time, so plan ahead and do consider this in your budget as well. For more details, do checkout What is Synology Hybrid RAID.
Synology has an awesome interactive RAID calculator which helps you calculate how much space you will have in your NAS depending on which RAID type you choose.
Here is a table comparing different RAID types taken from Synology RAID Calculator:
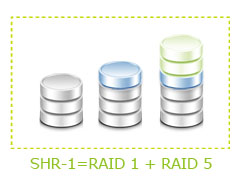 |
SHR (Synology Hybrid RAID)
Minimum HDD required: 2 (with data protection) Pros: 1 HDD redundancy & optimized volume size. Best used when combining hard disks of varying sizes. |
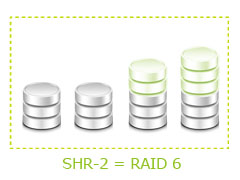 |
SHR-2 (Synology Hybrid RAID)
Minimum HDD required: 4 Pros: 2 HDD redundancy & optimized volume size. Best used when combining hard disks of varying sizes. |
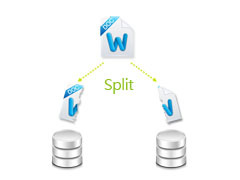 |
RAID 0
Minimum HDD required: 2 Pros: Data is divided into equal shares and written into the hard disks. Data access is quicker and more efficient. Cons: If one drive fails, all data is lost and you must restore from additional backup. |
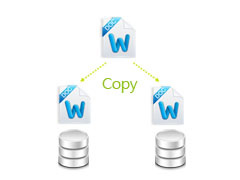 |
RAID 1
Minimum HDD required: 2 Pros: The same data is mirrored to all HDDs. If one drive fails, data integrity will not be affected. Cons: The available volume is limited to the storage capacity of one HDD. |
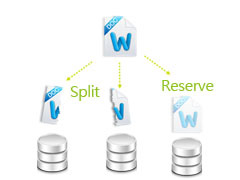 |
RAID 5
Minimum HDD required: 3 Pros: It offers 1 HDD redundancy. Data is striped across multiple disks with a parity check bit to the data. If one drive fails, the parity check bit will ensure data integrity. Cons: The storage capacity of 1 drive is reserved for data integrity check and therefore slightly affects the available volume size. |
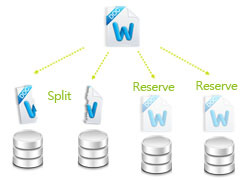 |
RAID 6
Minimum HDD required: 4 Pros: It offers 2 HDD redundancy. Data is striped across multiple disks with a parity check bit to the data. The parity check bit ensures data integrity. Cons: The storage capacity of 2 drives are reserved for data integrity check and therefore slightly affects the available volume size. |
 |
RAID 10
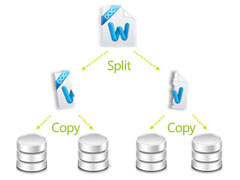
Minimum HDD required: 4, the number must be even Pros: It offers the benefit of both RAID 0 and RAID 1 – data access efficiency and mirroring protection. Cons: The available volume is half of the total HDD storage capacity. |
To Be Continued …
For the second part of the review, I will do a basic benchmark, talk about network backup and CloudStation. So stay tuned!
Recap
- Synology DiskStation DS413j Review #1: Unboxing and Setup (this post)
- Synology DiskStation DS413j Review #2: Performance, Backup & CloudStation
- Synology DiskStation DS413j Review #3: Video, Audio & Photo Station

